1977 MGB
When I bought the car it was in really nice shape for a 45 year old car. I had a couple of nice touches already. First, the carbs were back data to a much more desirable twin SU setup. Second 4 speed transmission had been swapped to 5 speed from a Datsun 240 using a kit from a company called Rivergate. The only change I made was to put in a lowering kit from Moss Motors. The car is what the MG community calls a rubber bumper car. At the same time the car went from chrome bumper to rubber bumper the ride height was increased about an inch to meet changing federal laws. It is common for people to lower the car back to chrome bumper height.
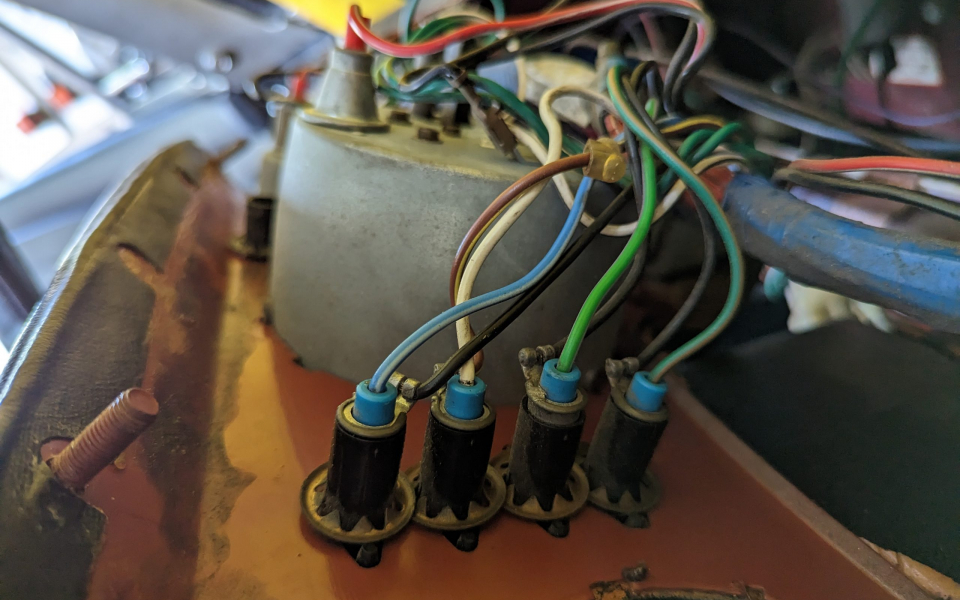
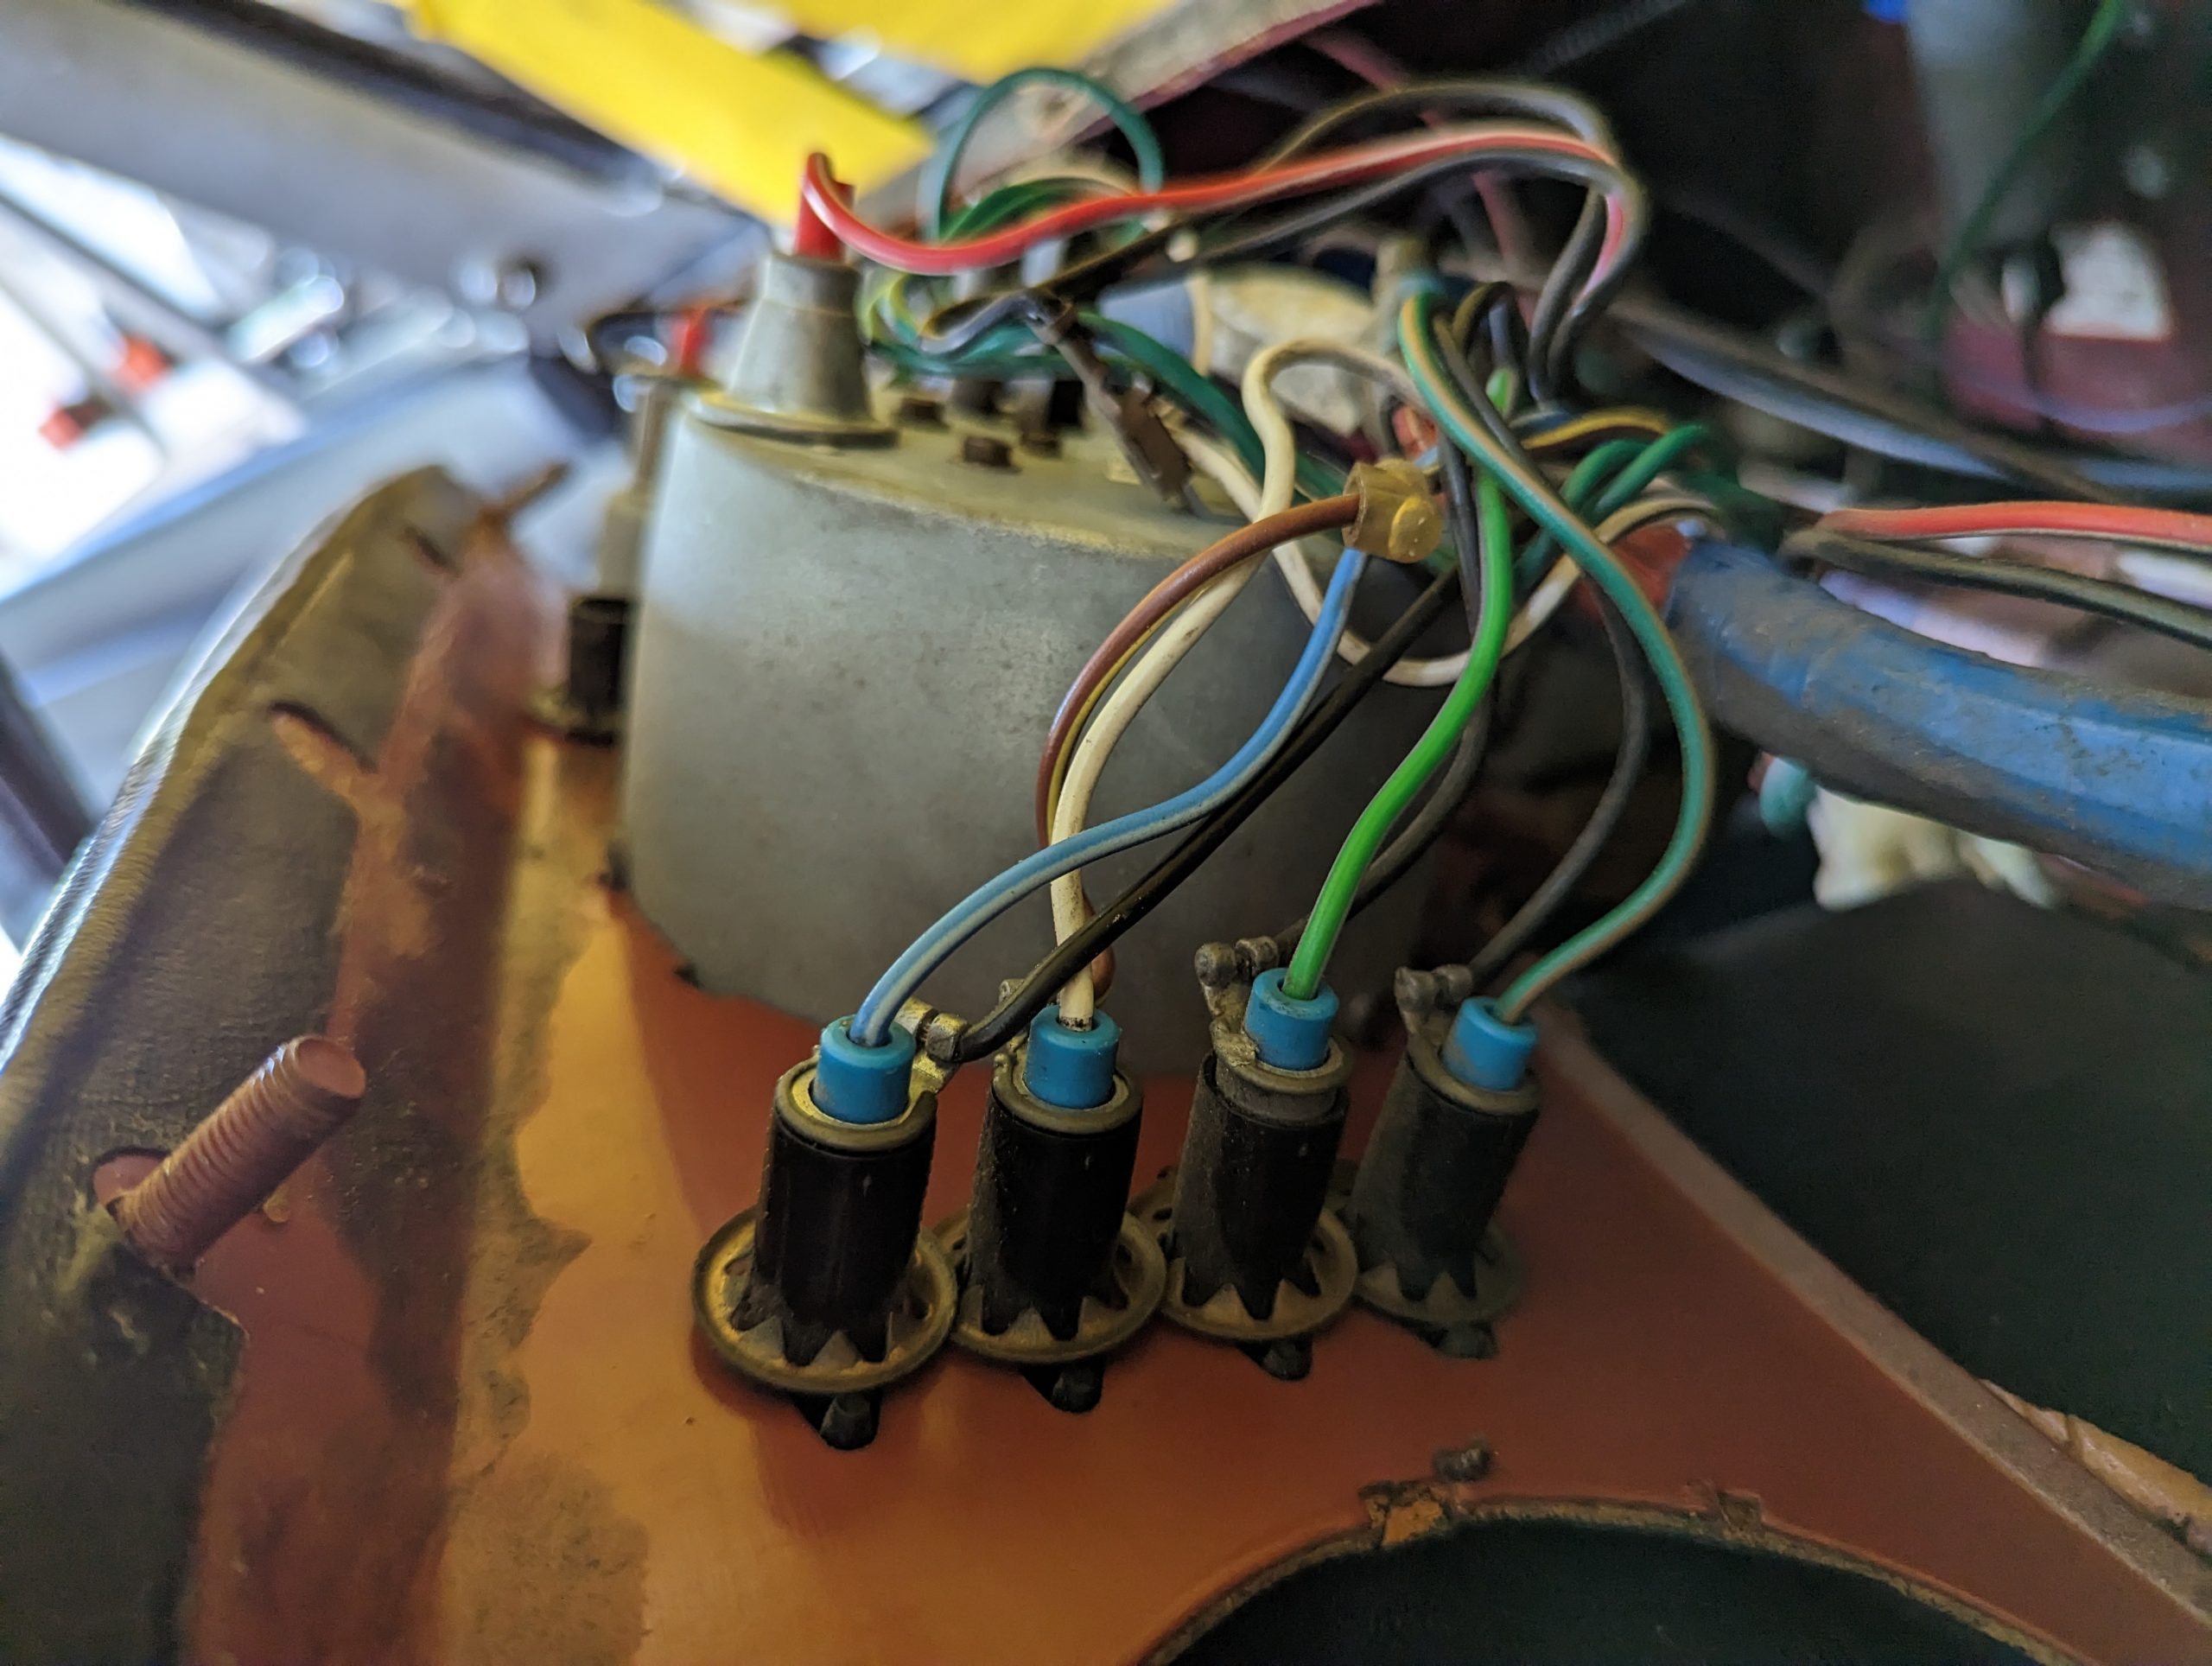
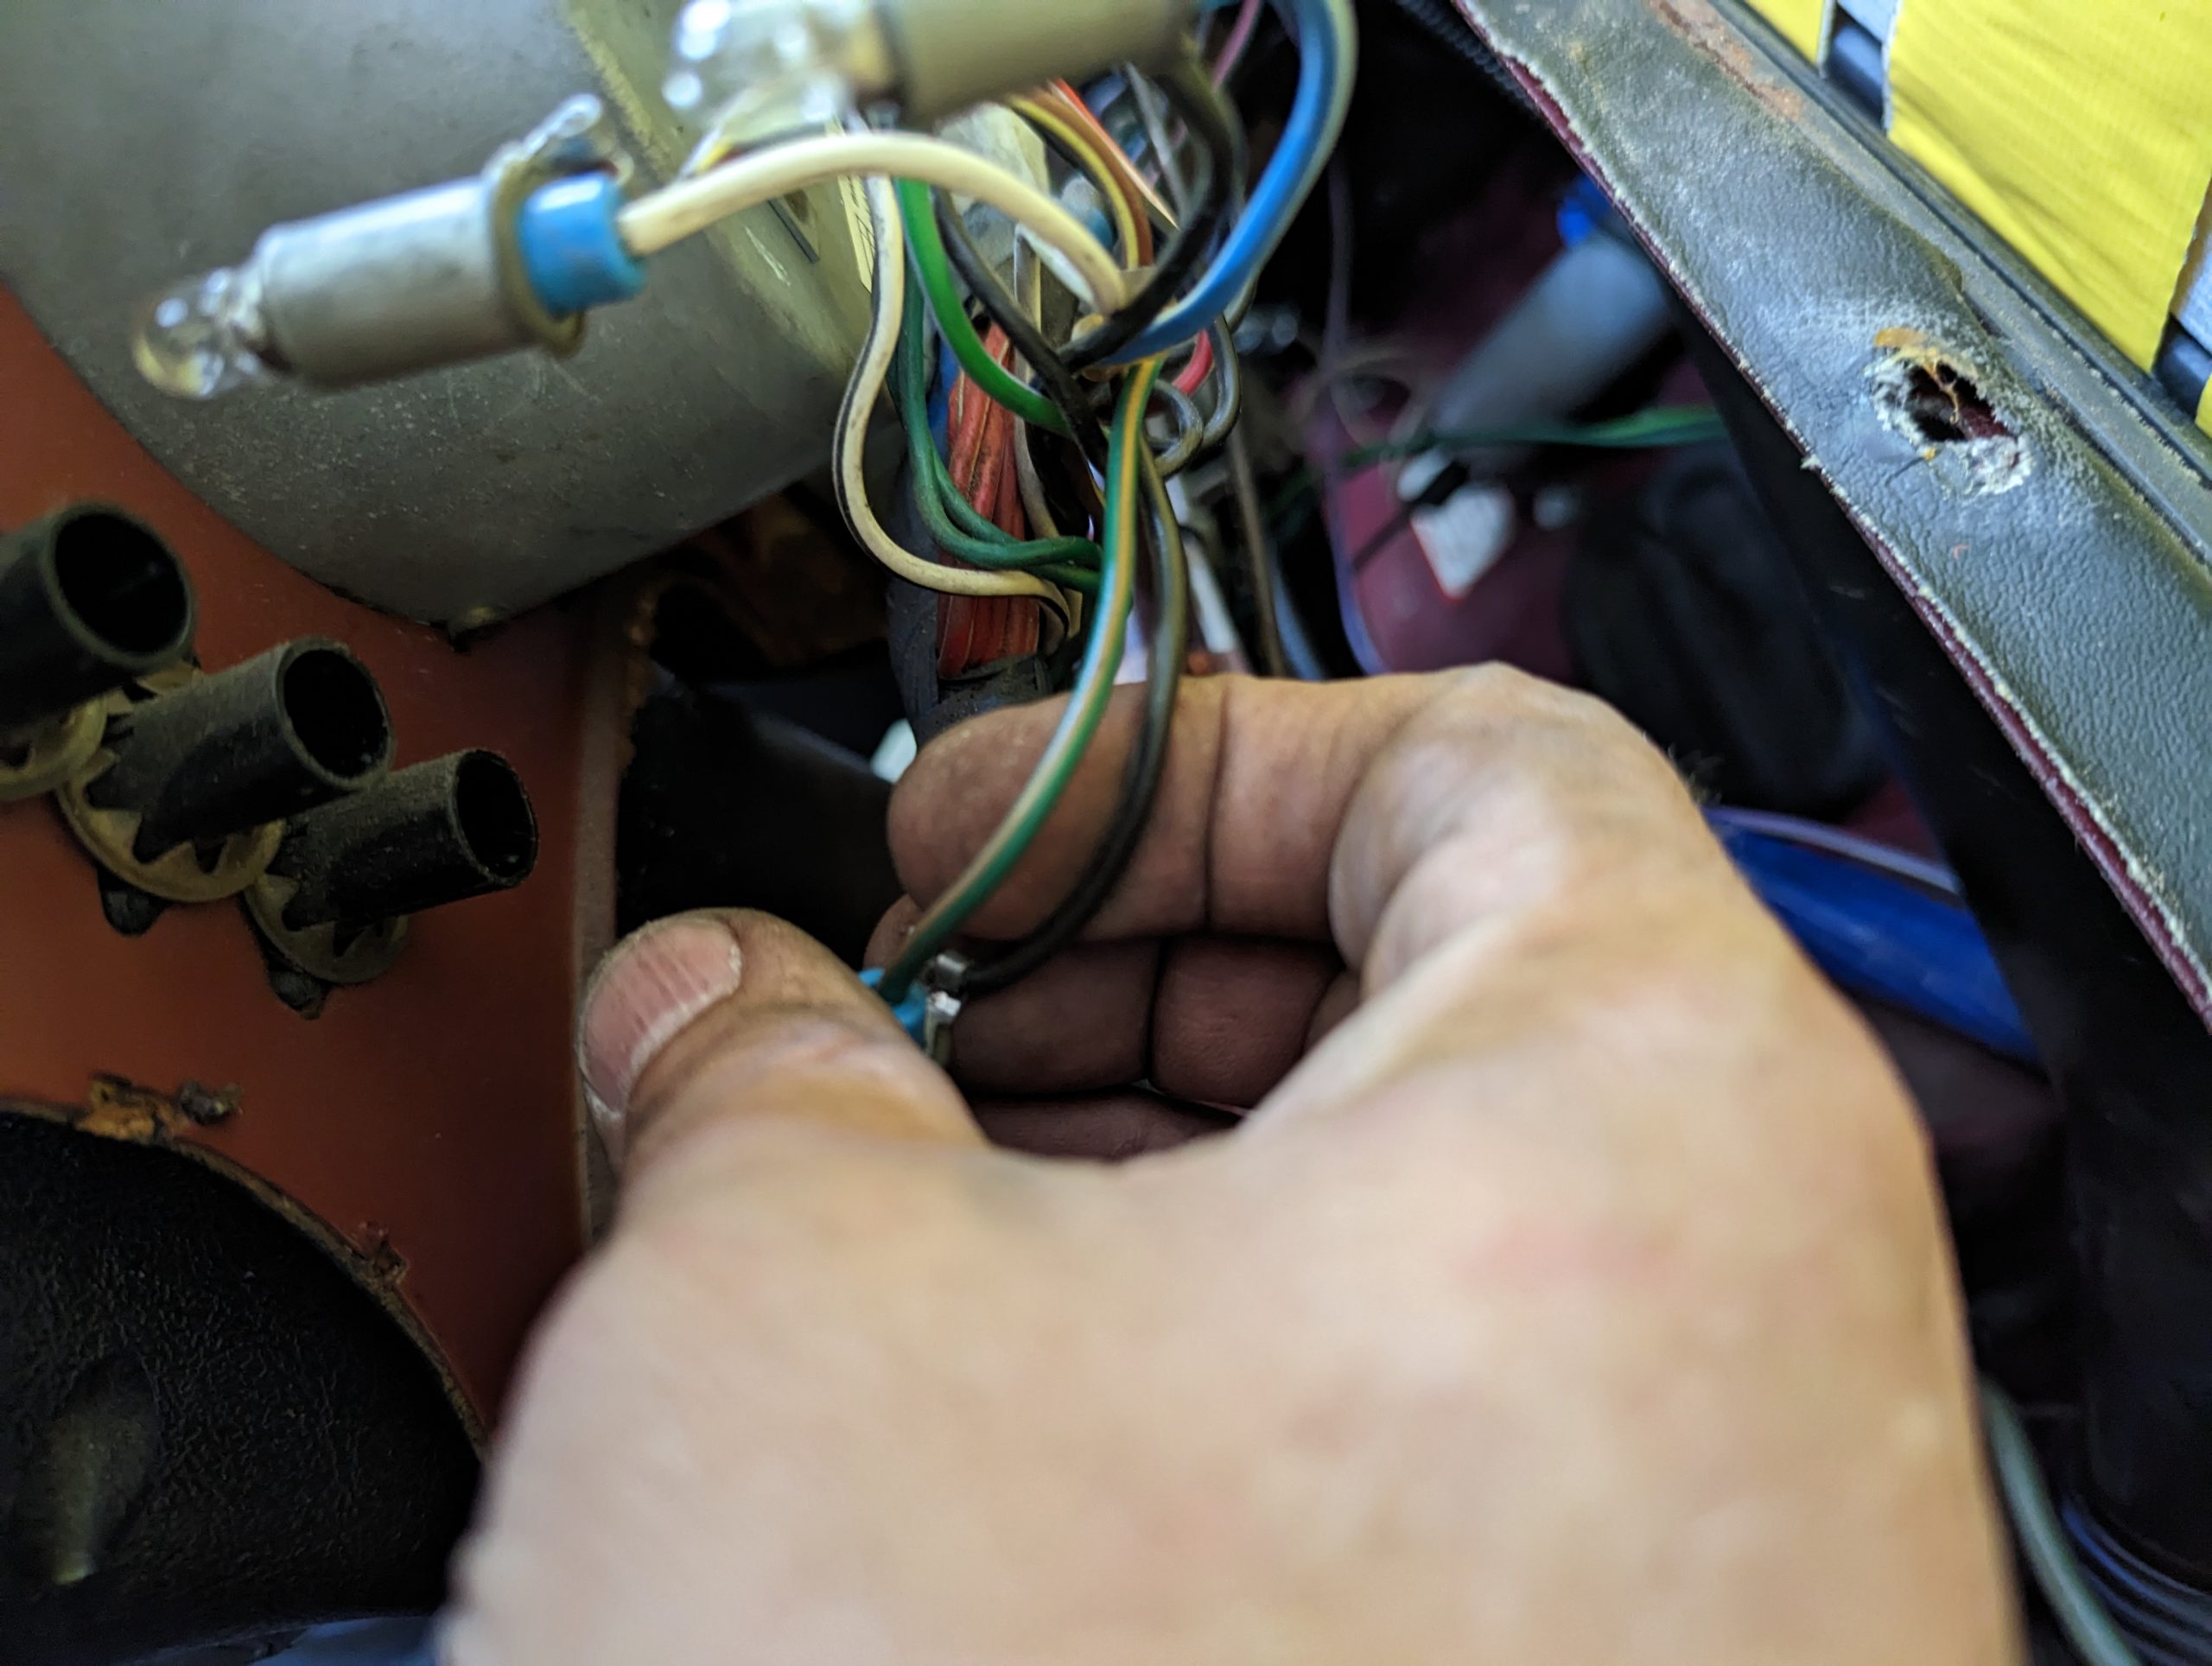
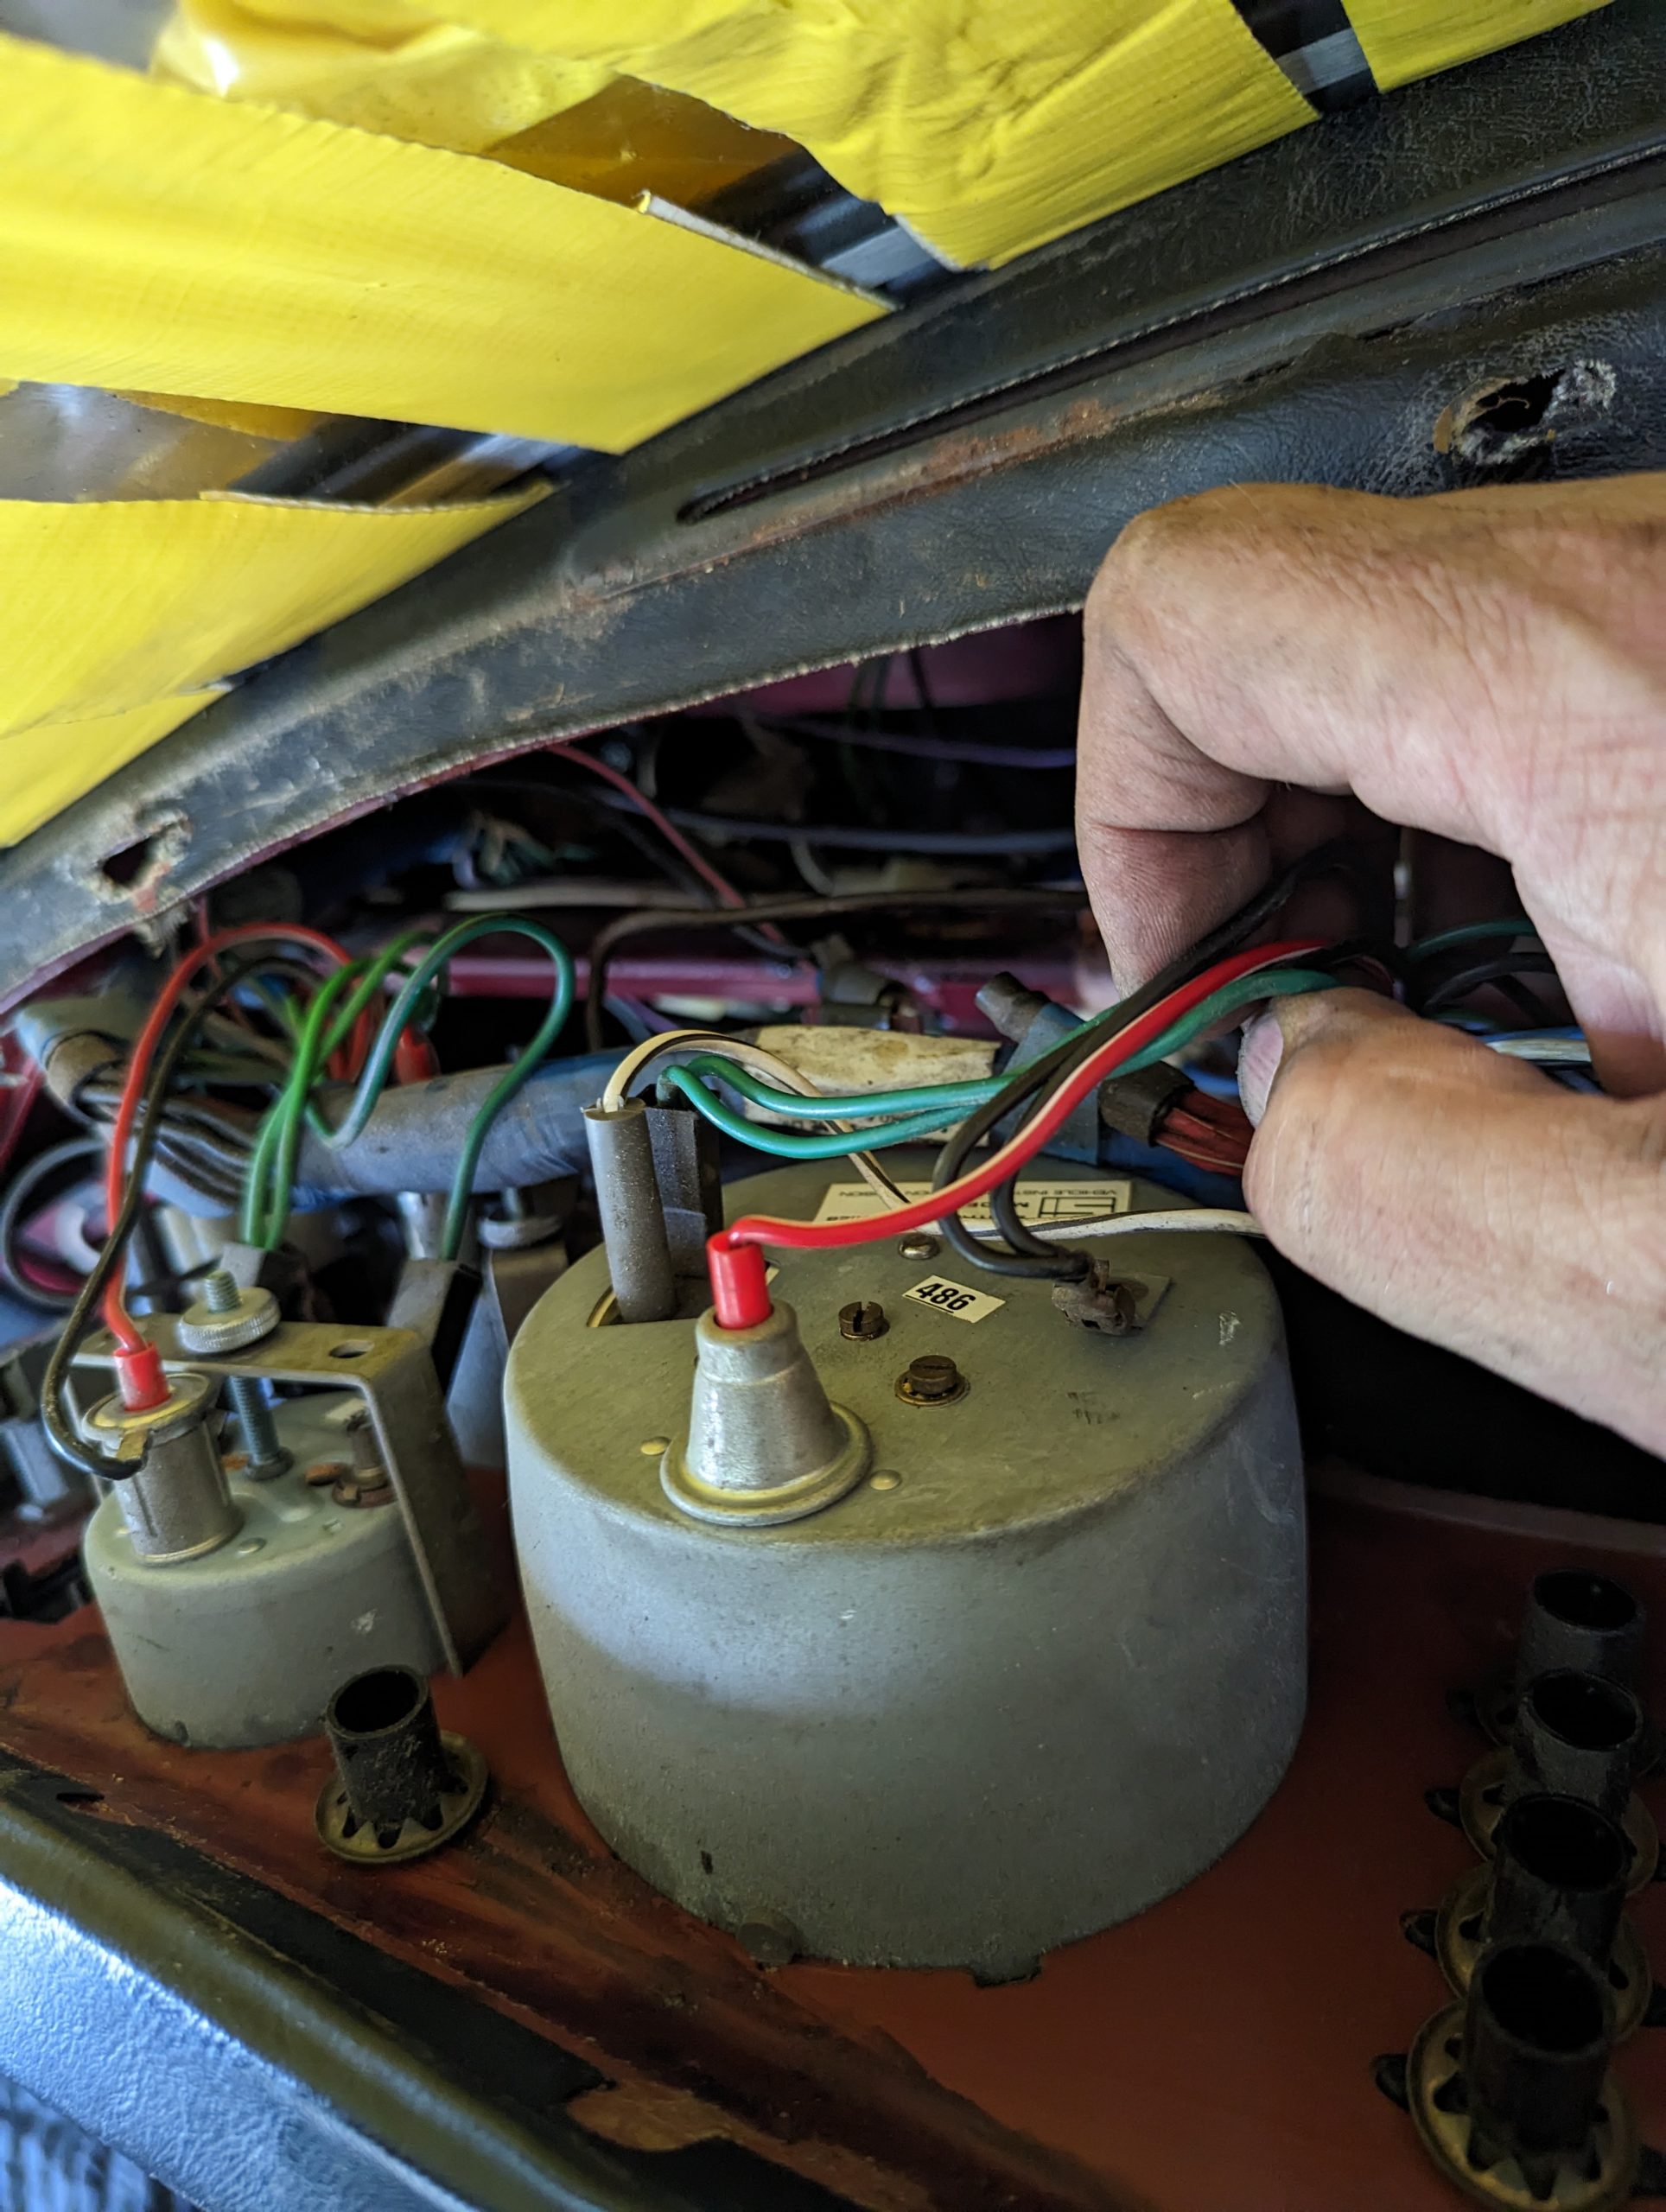
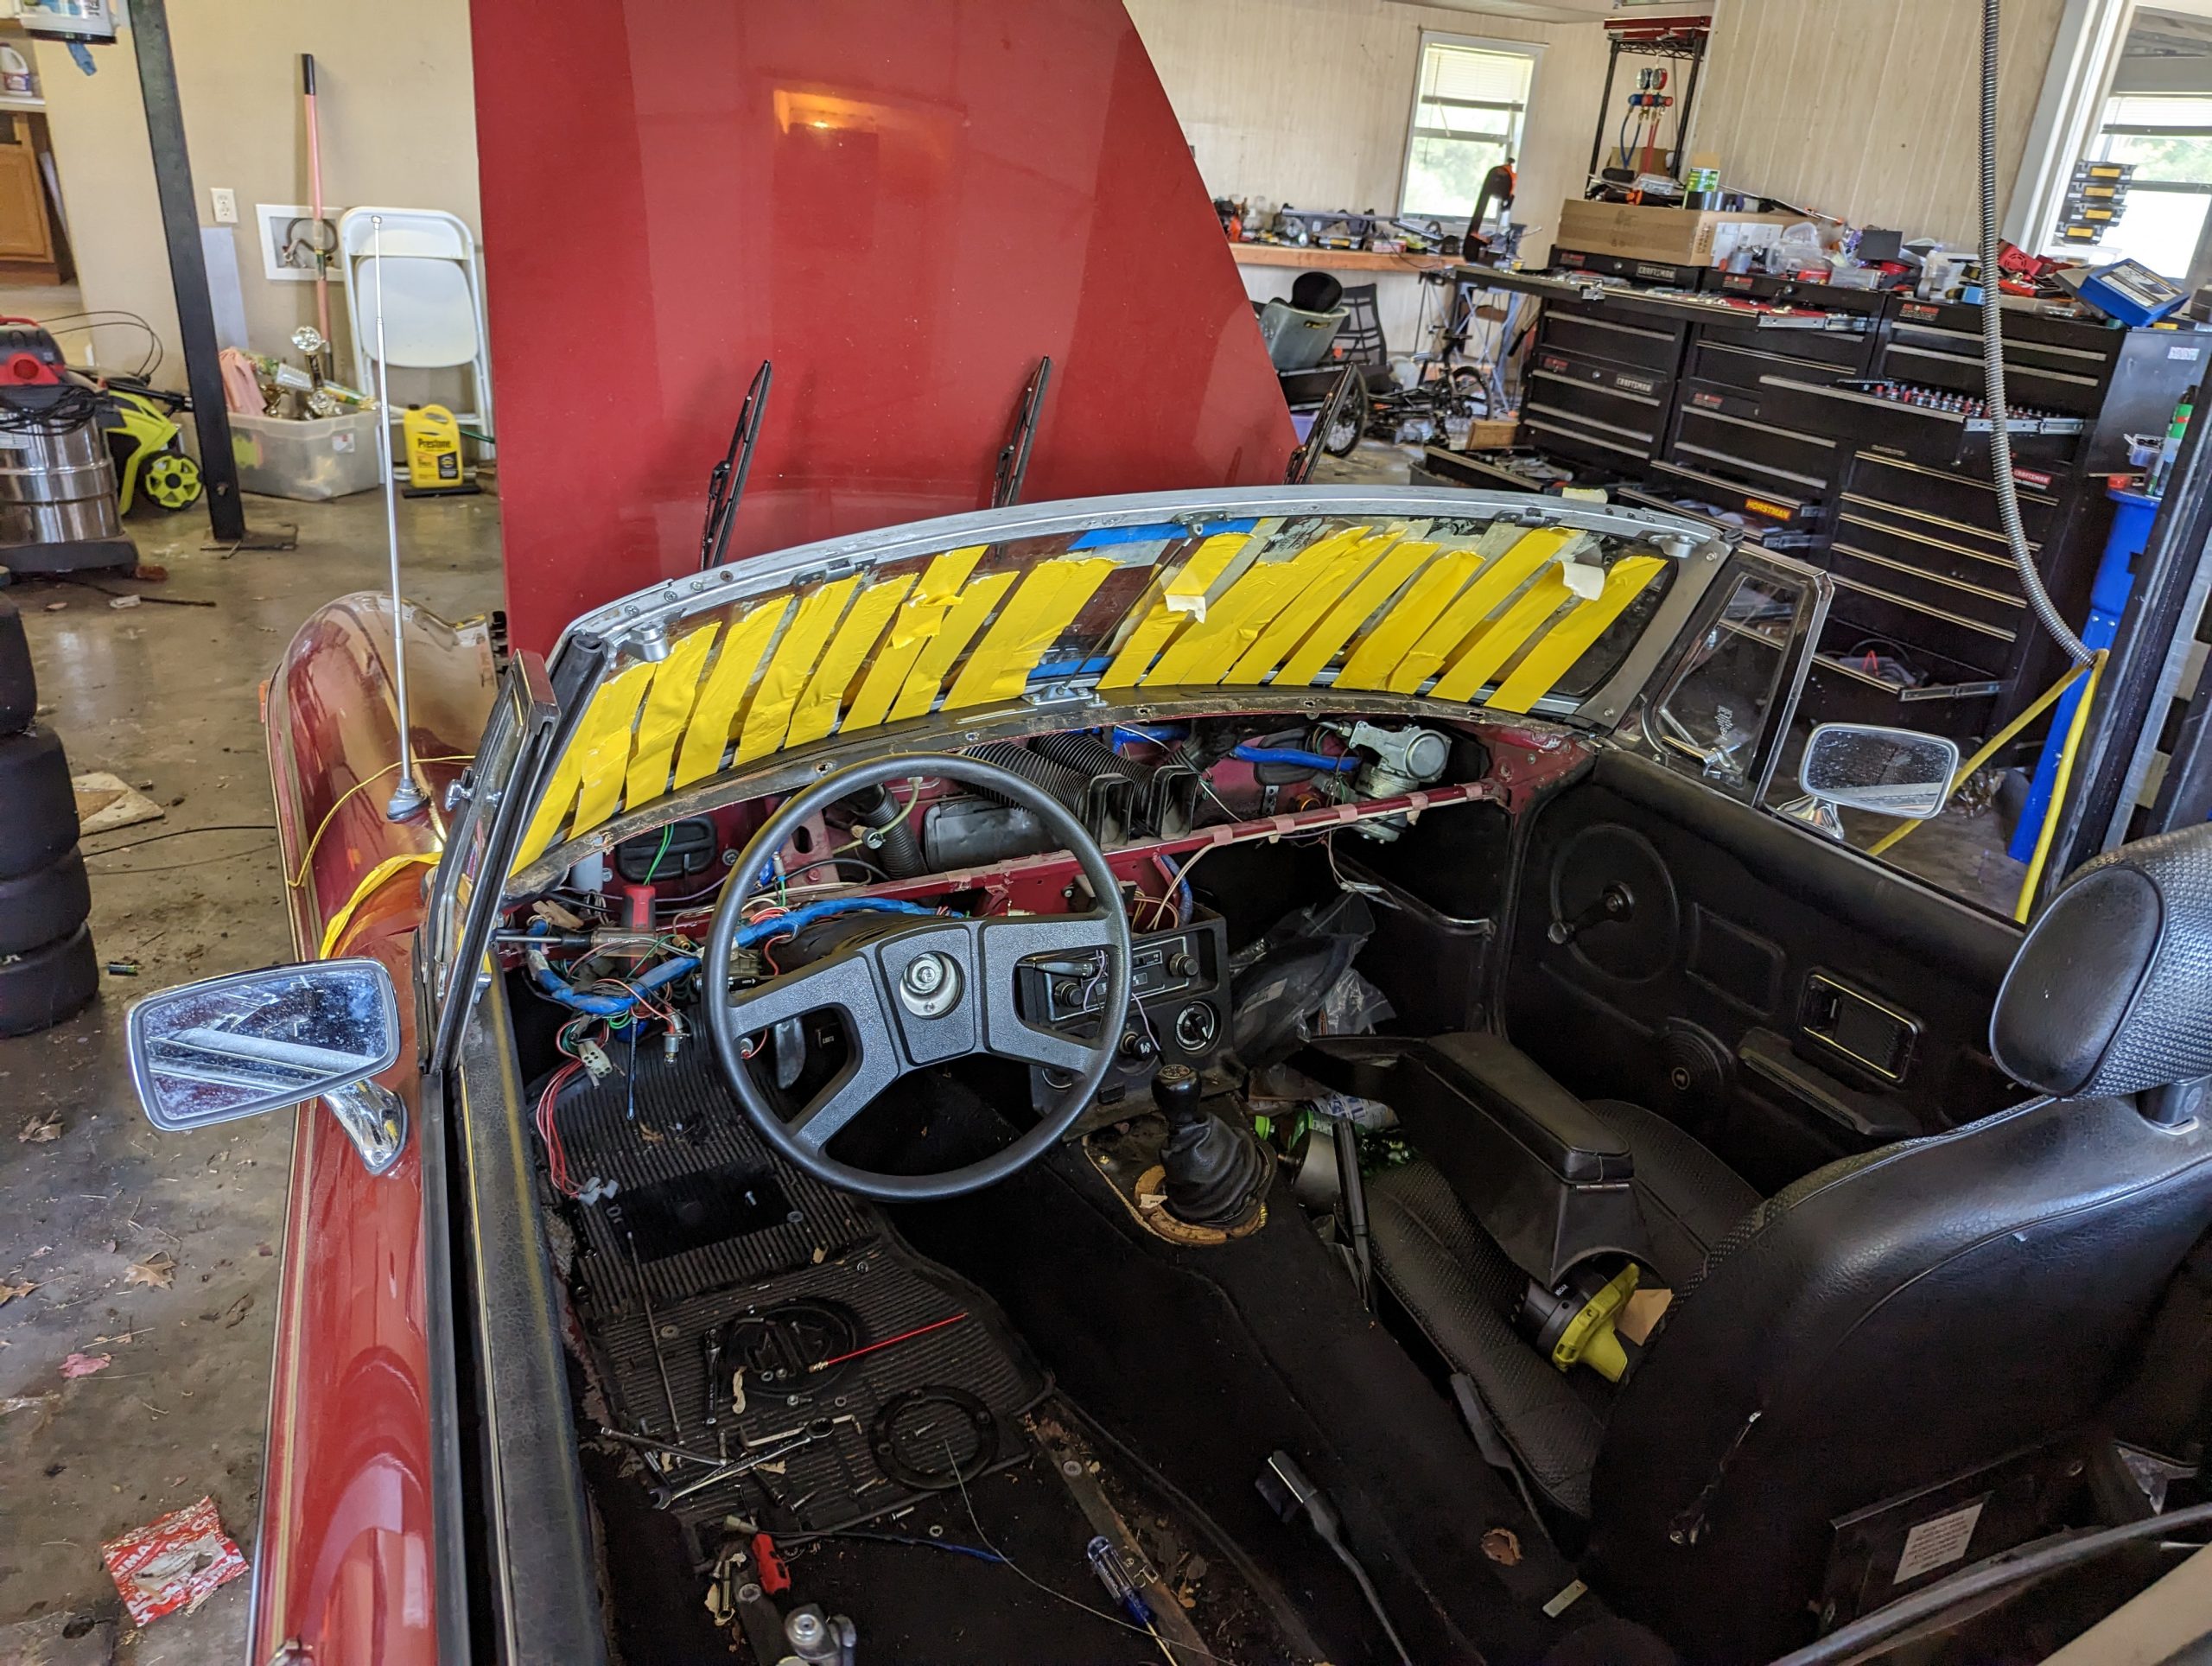
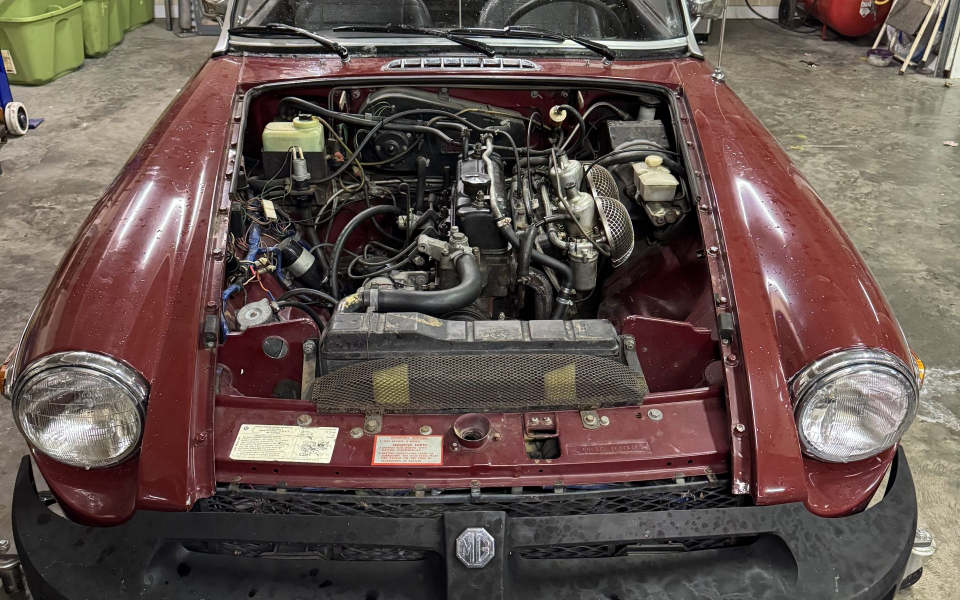
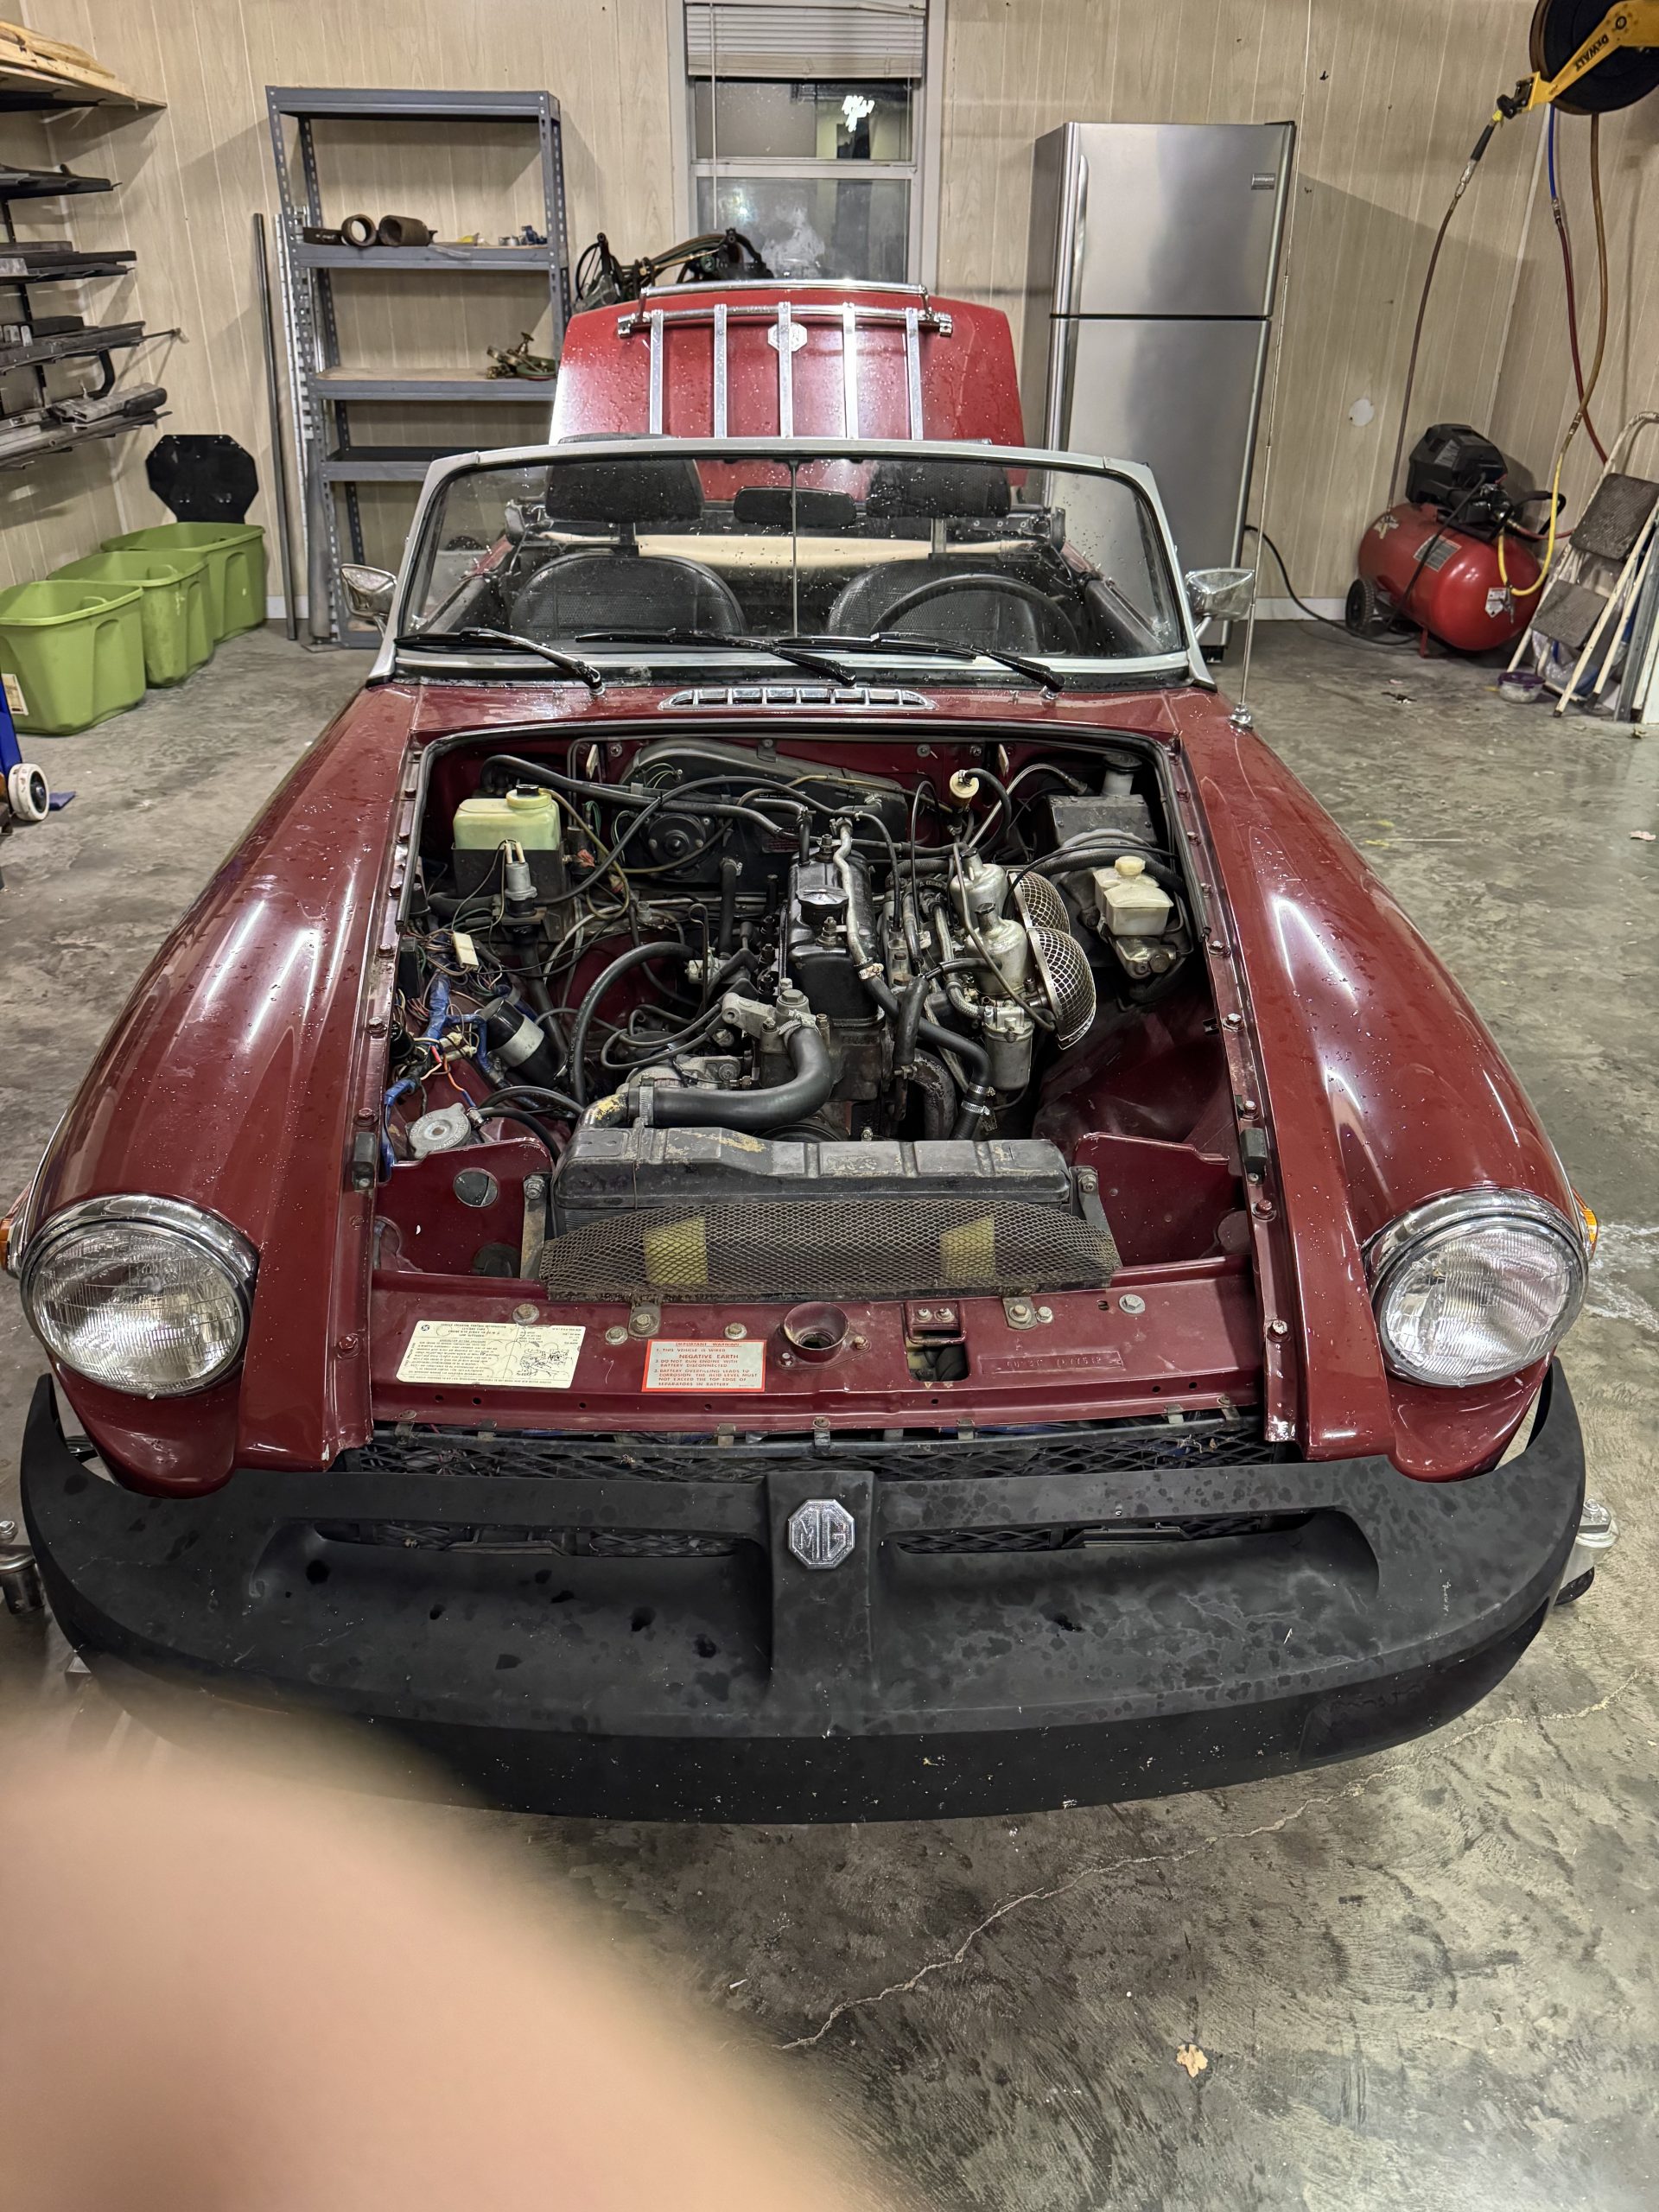
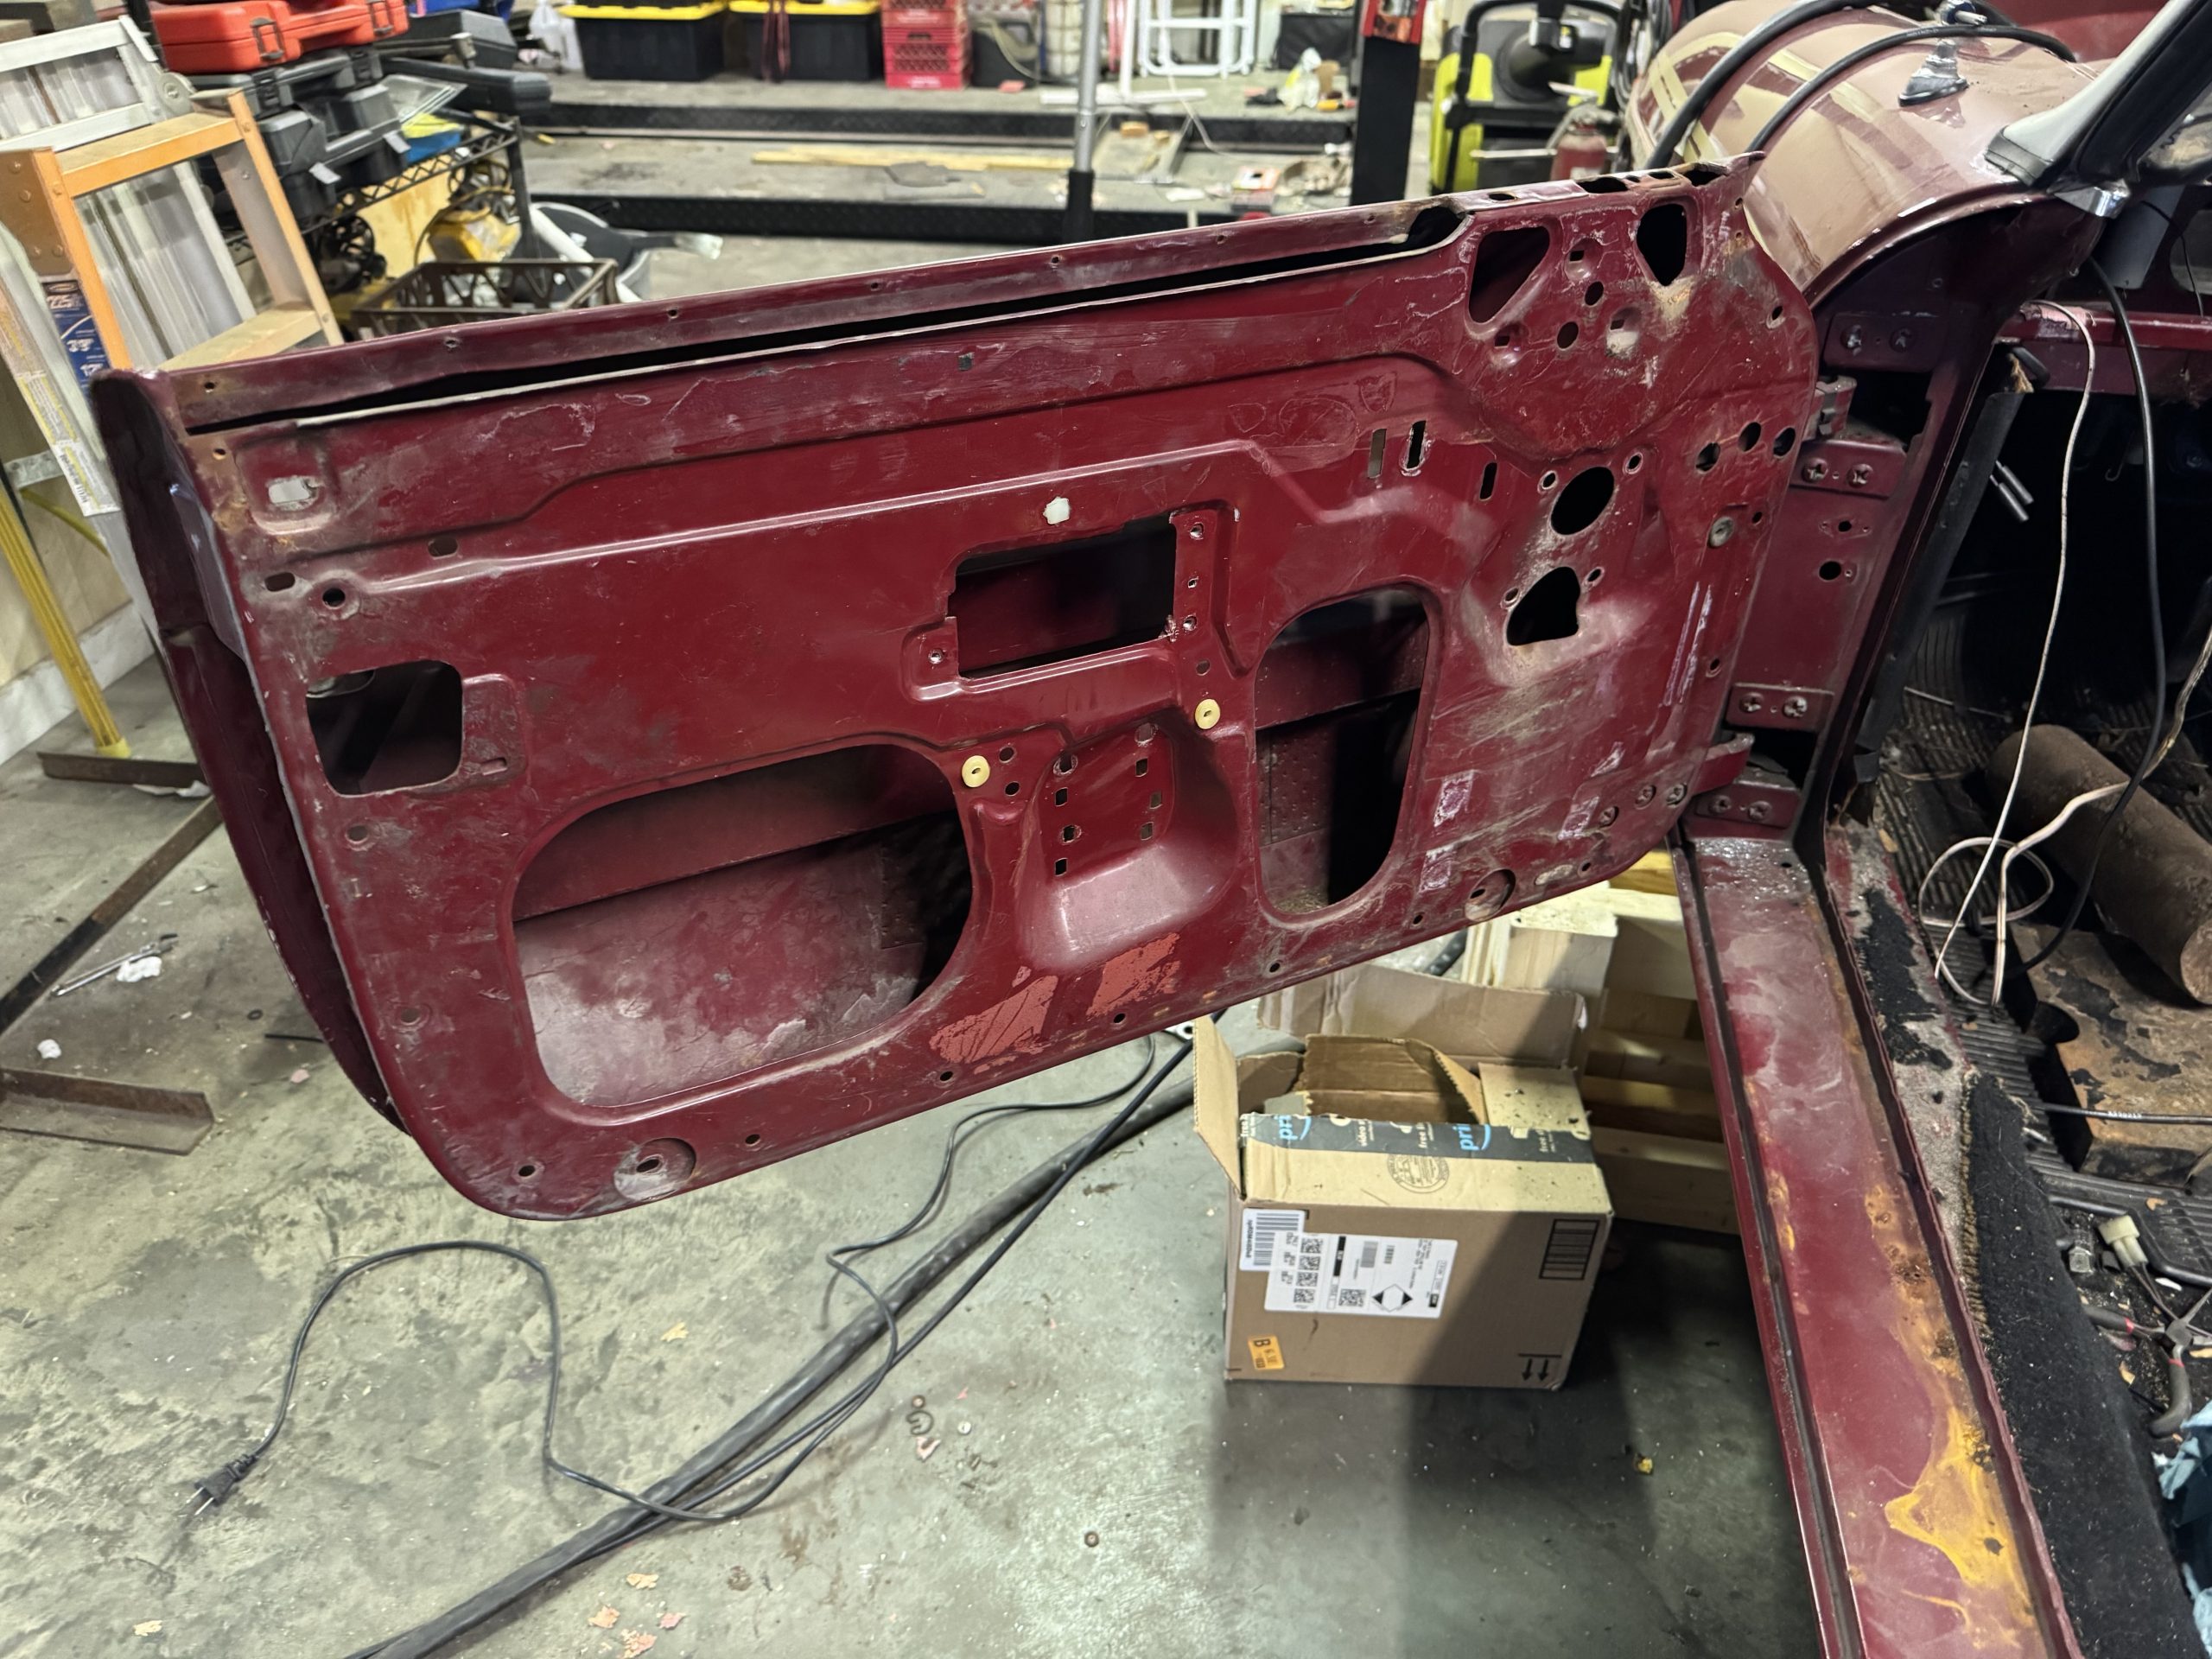
Shortly after purchasing the car the windshield cracked. So the first project was replacing the windshield. I decided to it myself for two reasons. First my impression is having someone else do it would mean it would get aftermarket glass. Apparently the original glass manufacturer, Triplex, is much preferred. Second there just aren’t many places that are interested in working on them. Replacing the window meant pulling the whole window frame from the car. Then dissasembling it. Then assembling with new glass and rubber. Putting the rubber back in the frame is somewhat difficult. It helps a lot the helped to let it sit out in the sun to soften. Next was putting the frame back in the car. This was extremely difficult until finally giving up an accepting that I would need to pull the dash out to facilitate installing the frame. Pulling the dash is not terrible but a little challanging. There were five or six screws that allows the full length of the dash to be removed. Half are hidden up behind the dash. To get at these I had to pull the drivers seat and lay on the car floor. Here are some pictures of the window replacement in process. When taking apart I took picture of every wire so I could reference it when putting the dash back in. The yellow tape is used to fold the seal up towards the windsheild to make it easier to fully insert the winshield frame. In som of the pictures you can see to bolt holes for the dash near the base of the windshield. The last picture is the car with new windshield installed.


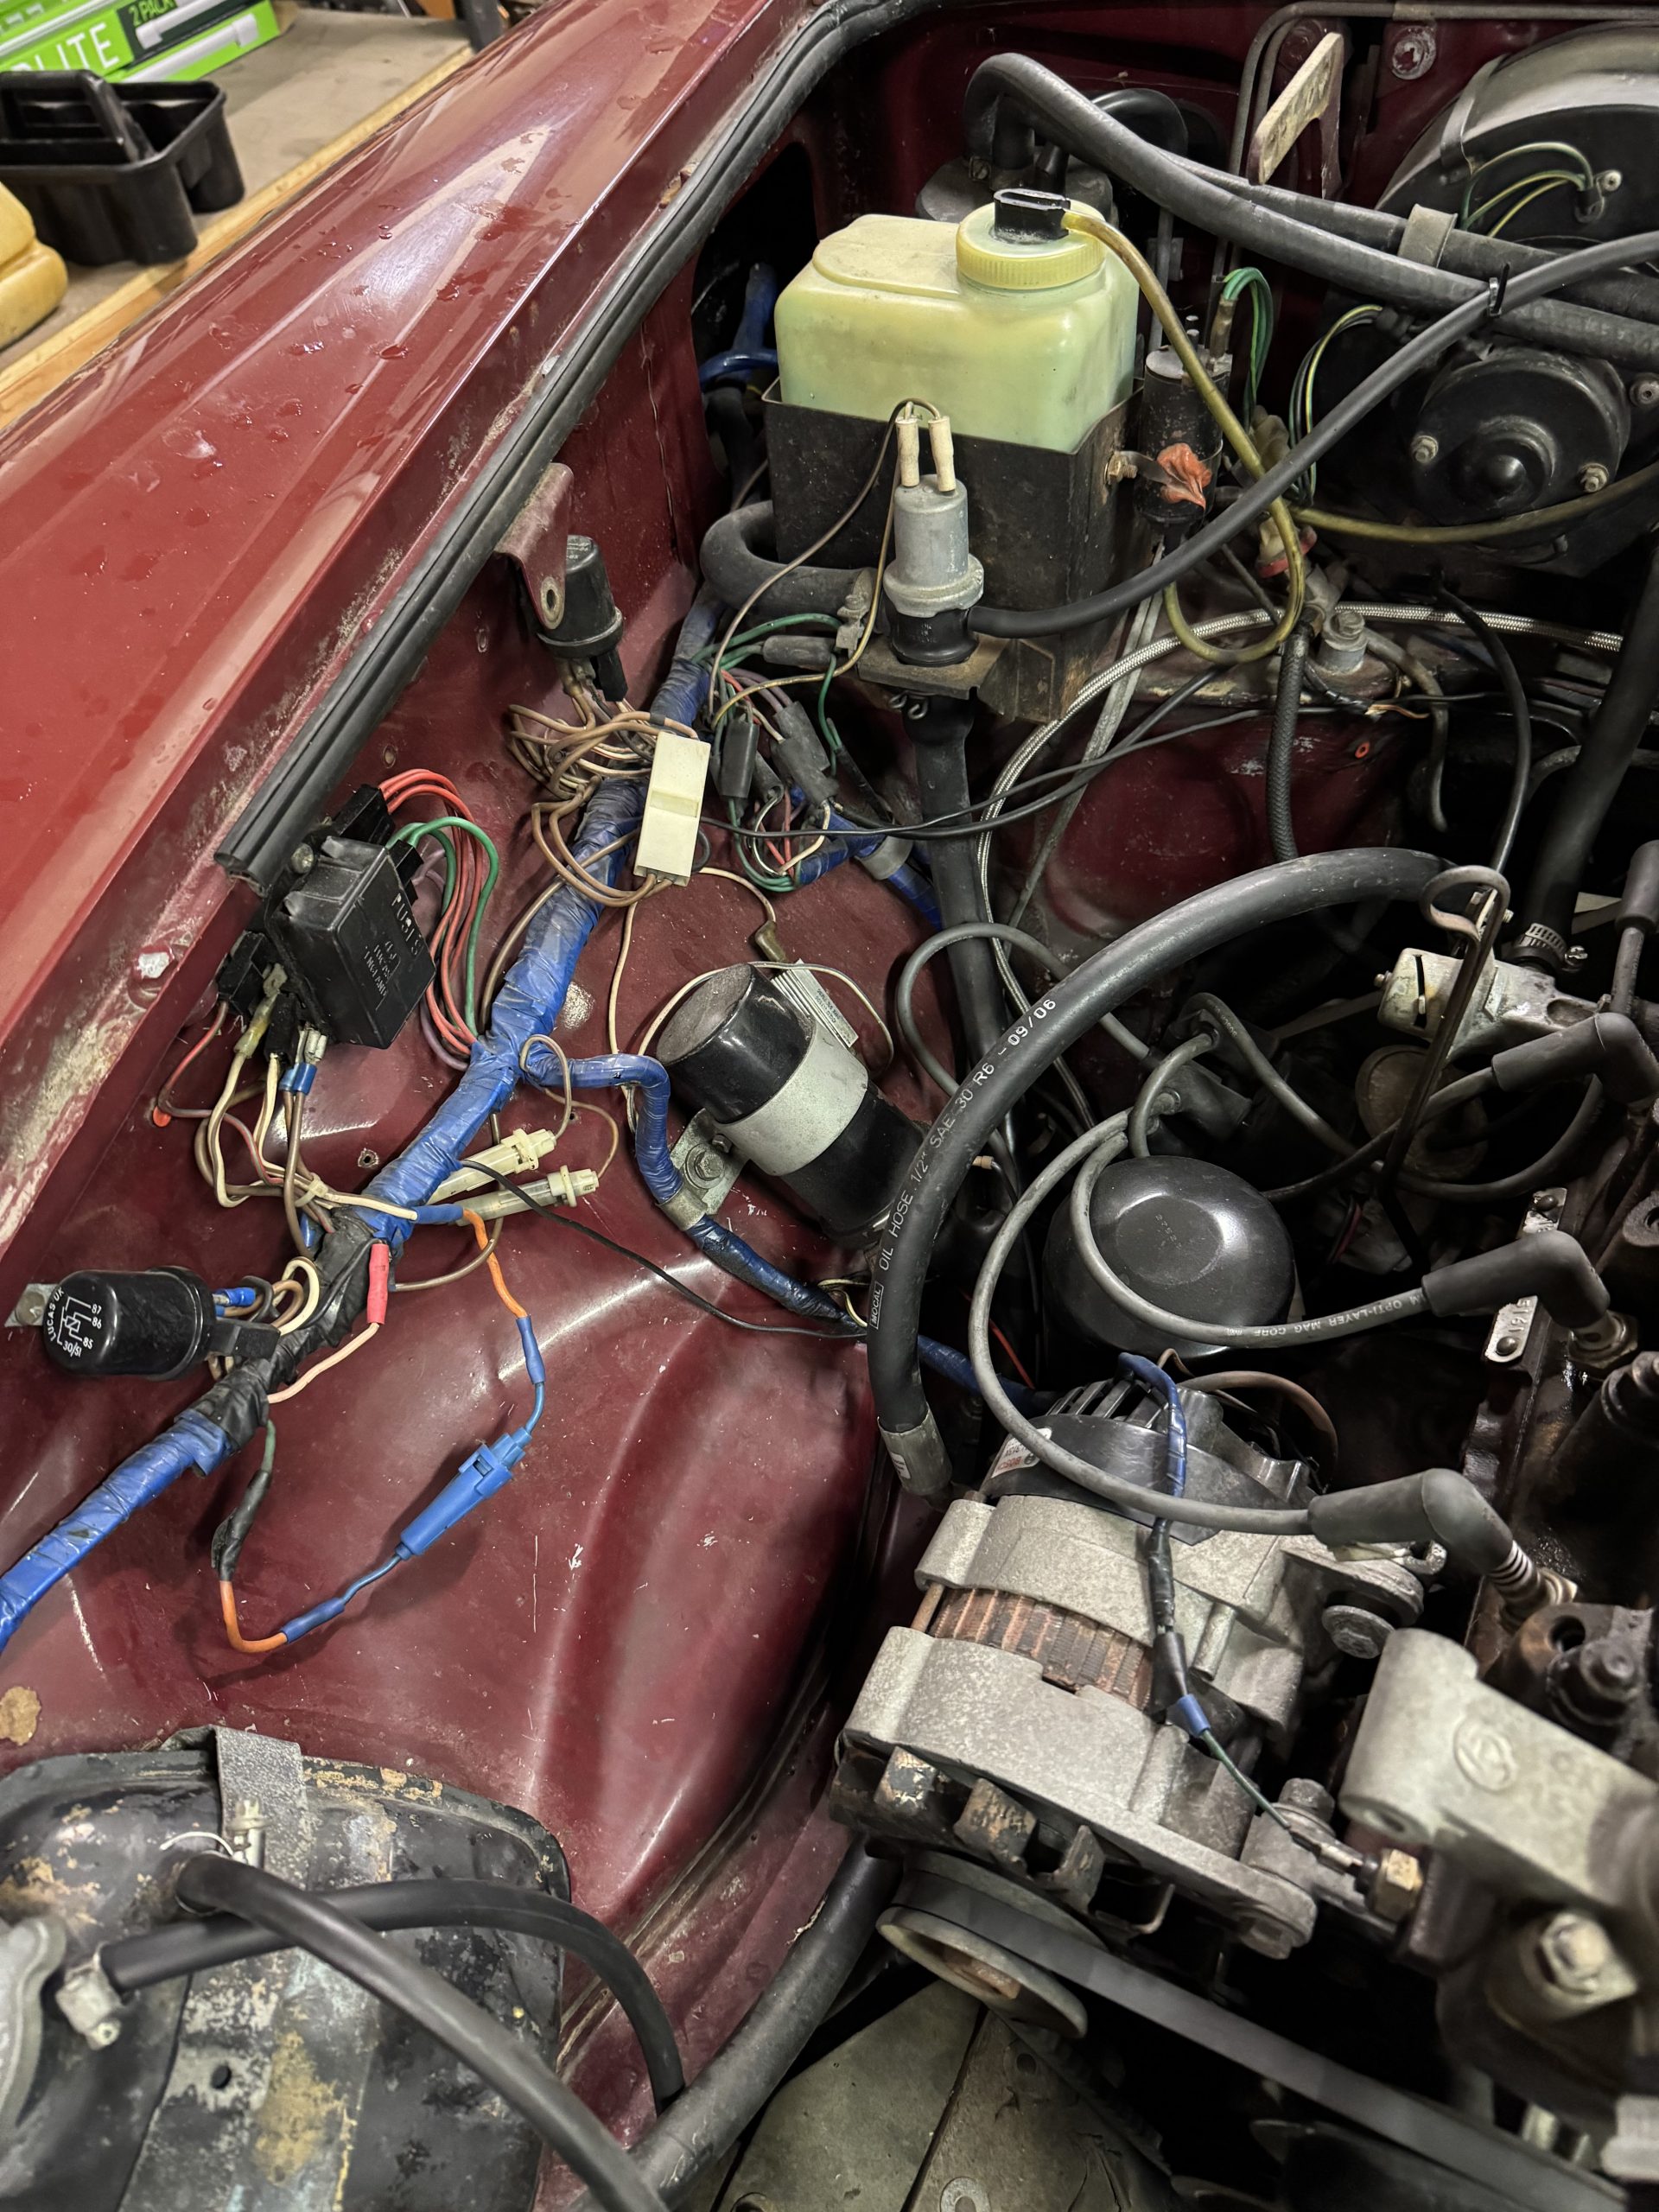
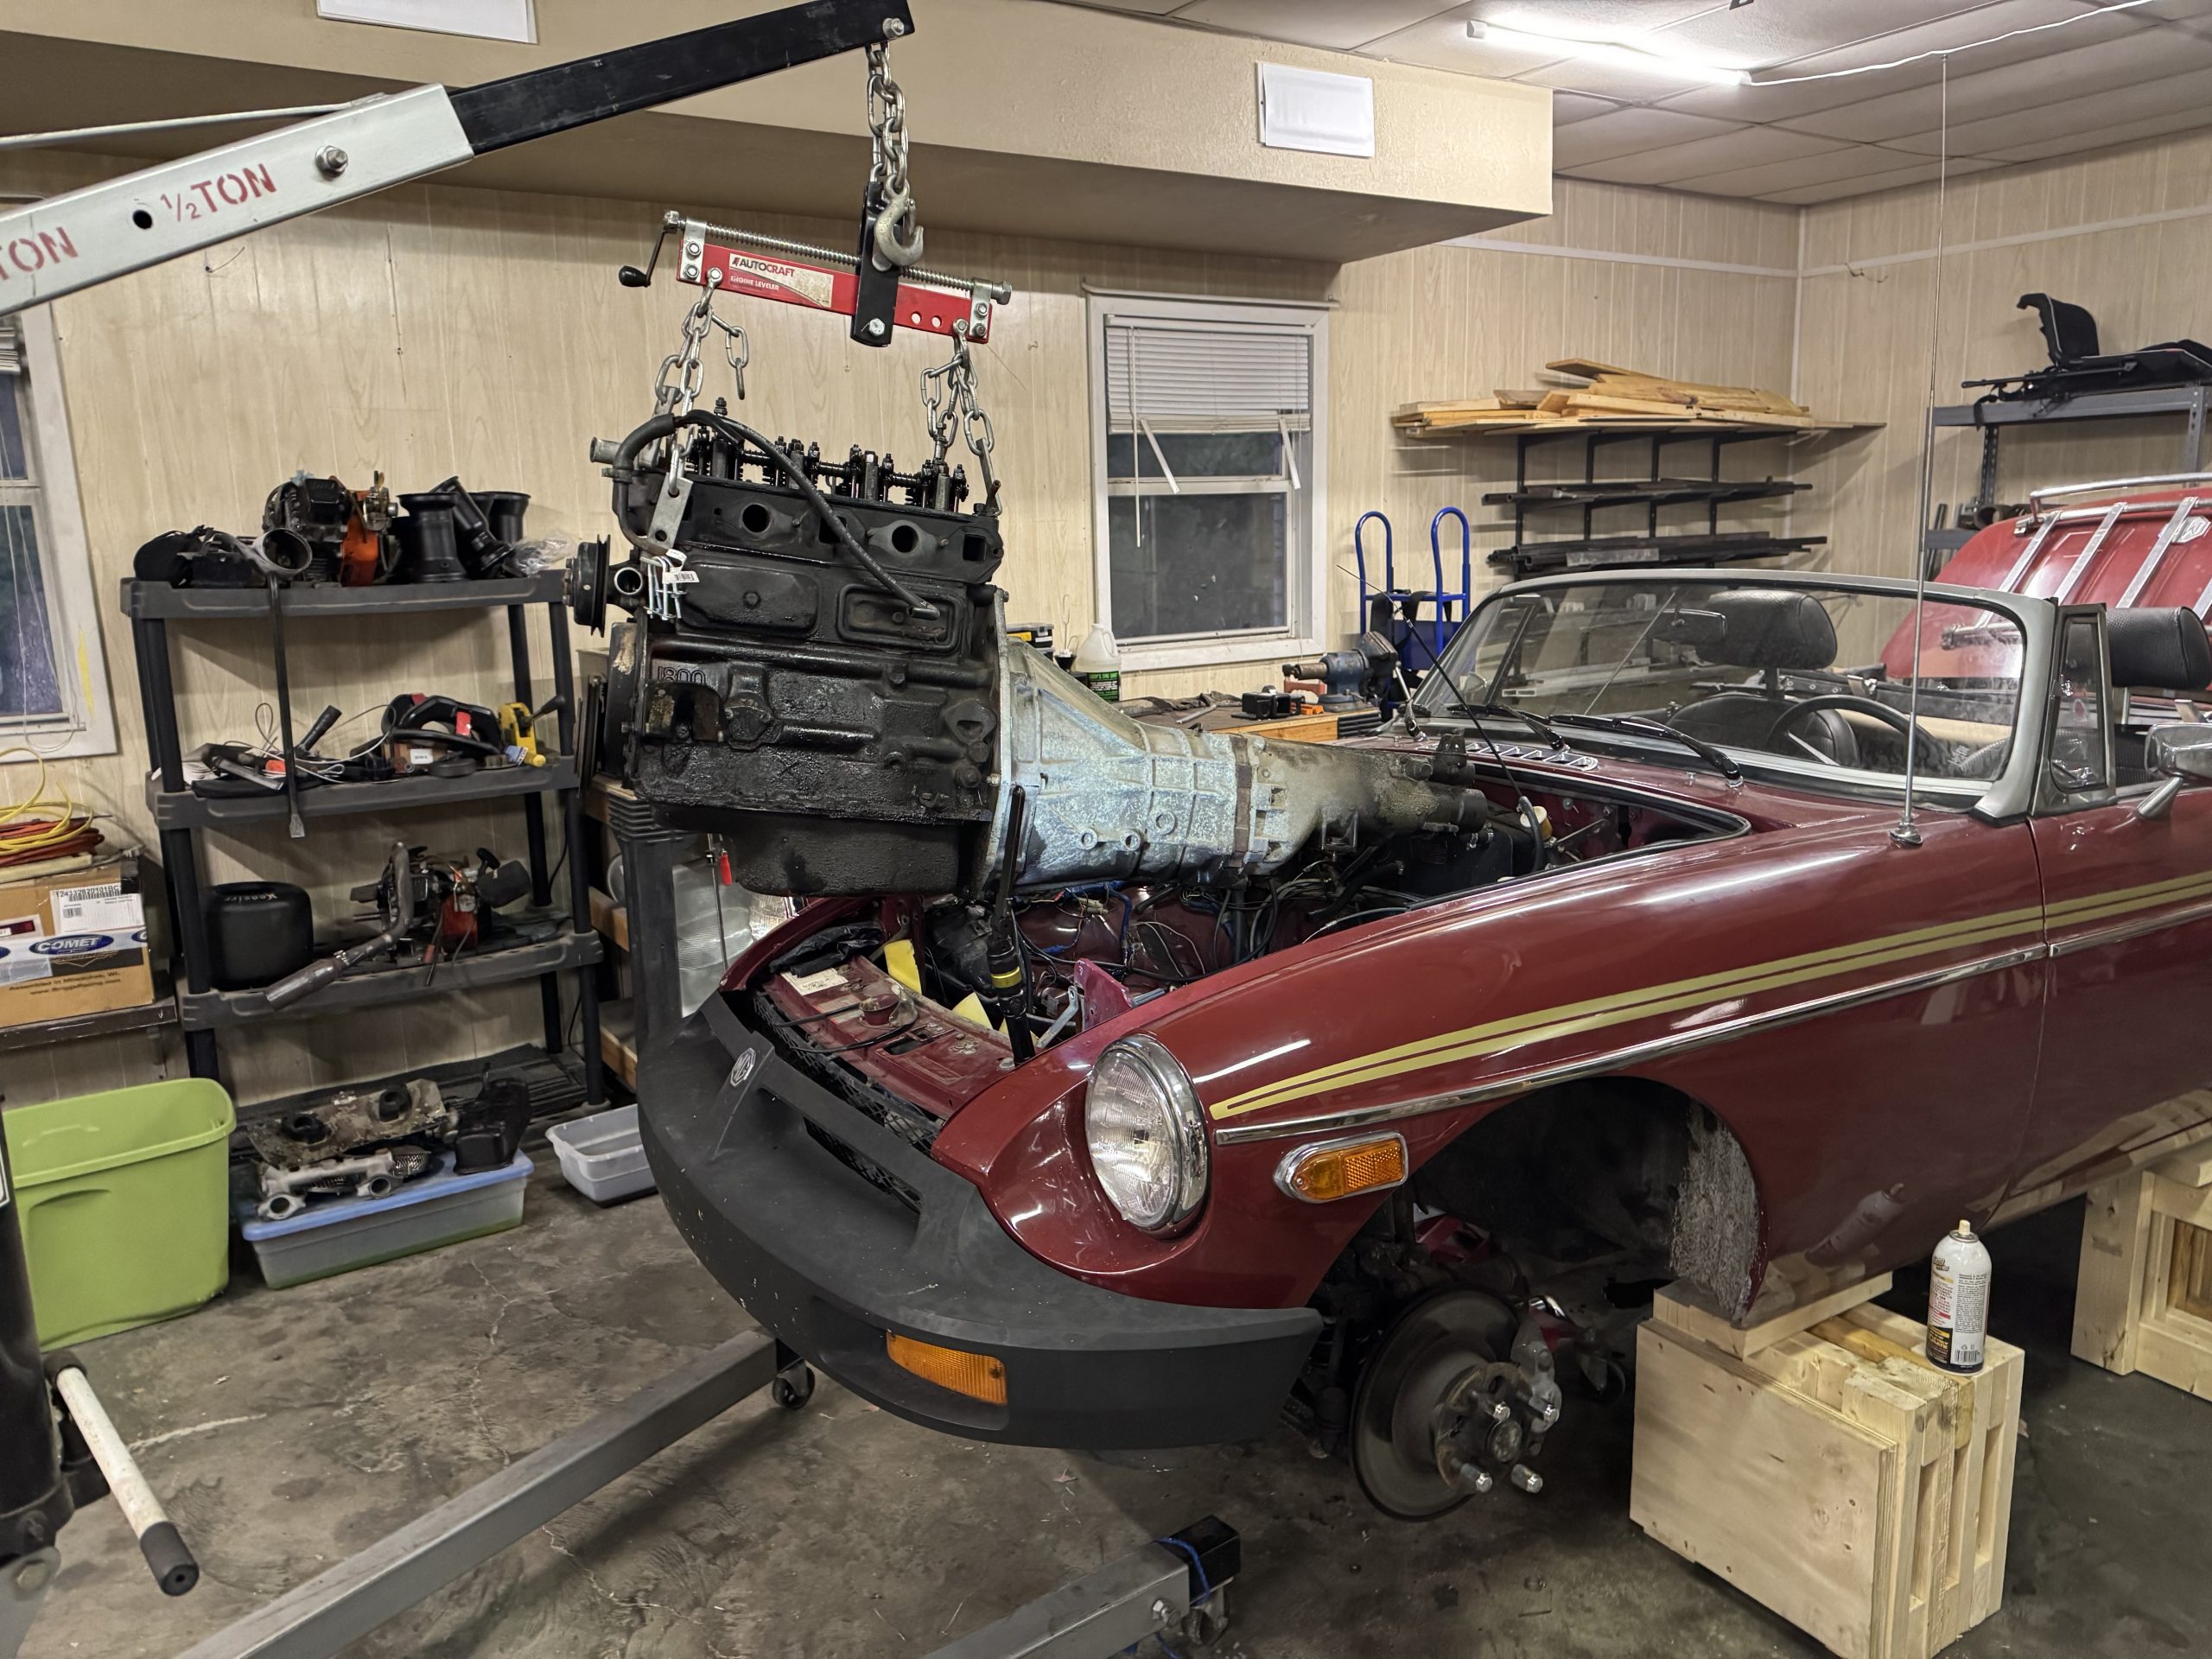
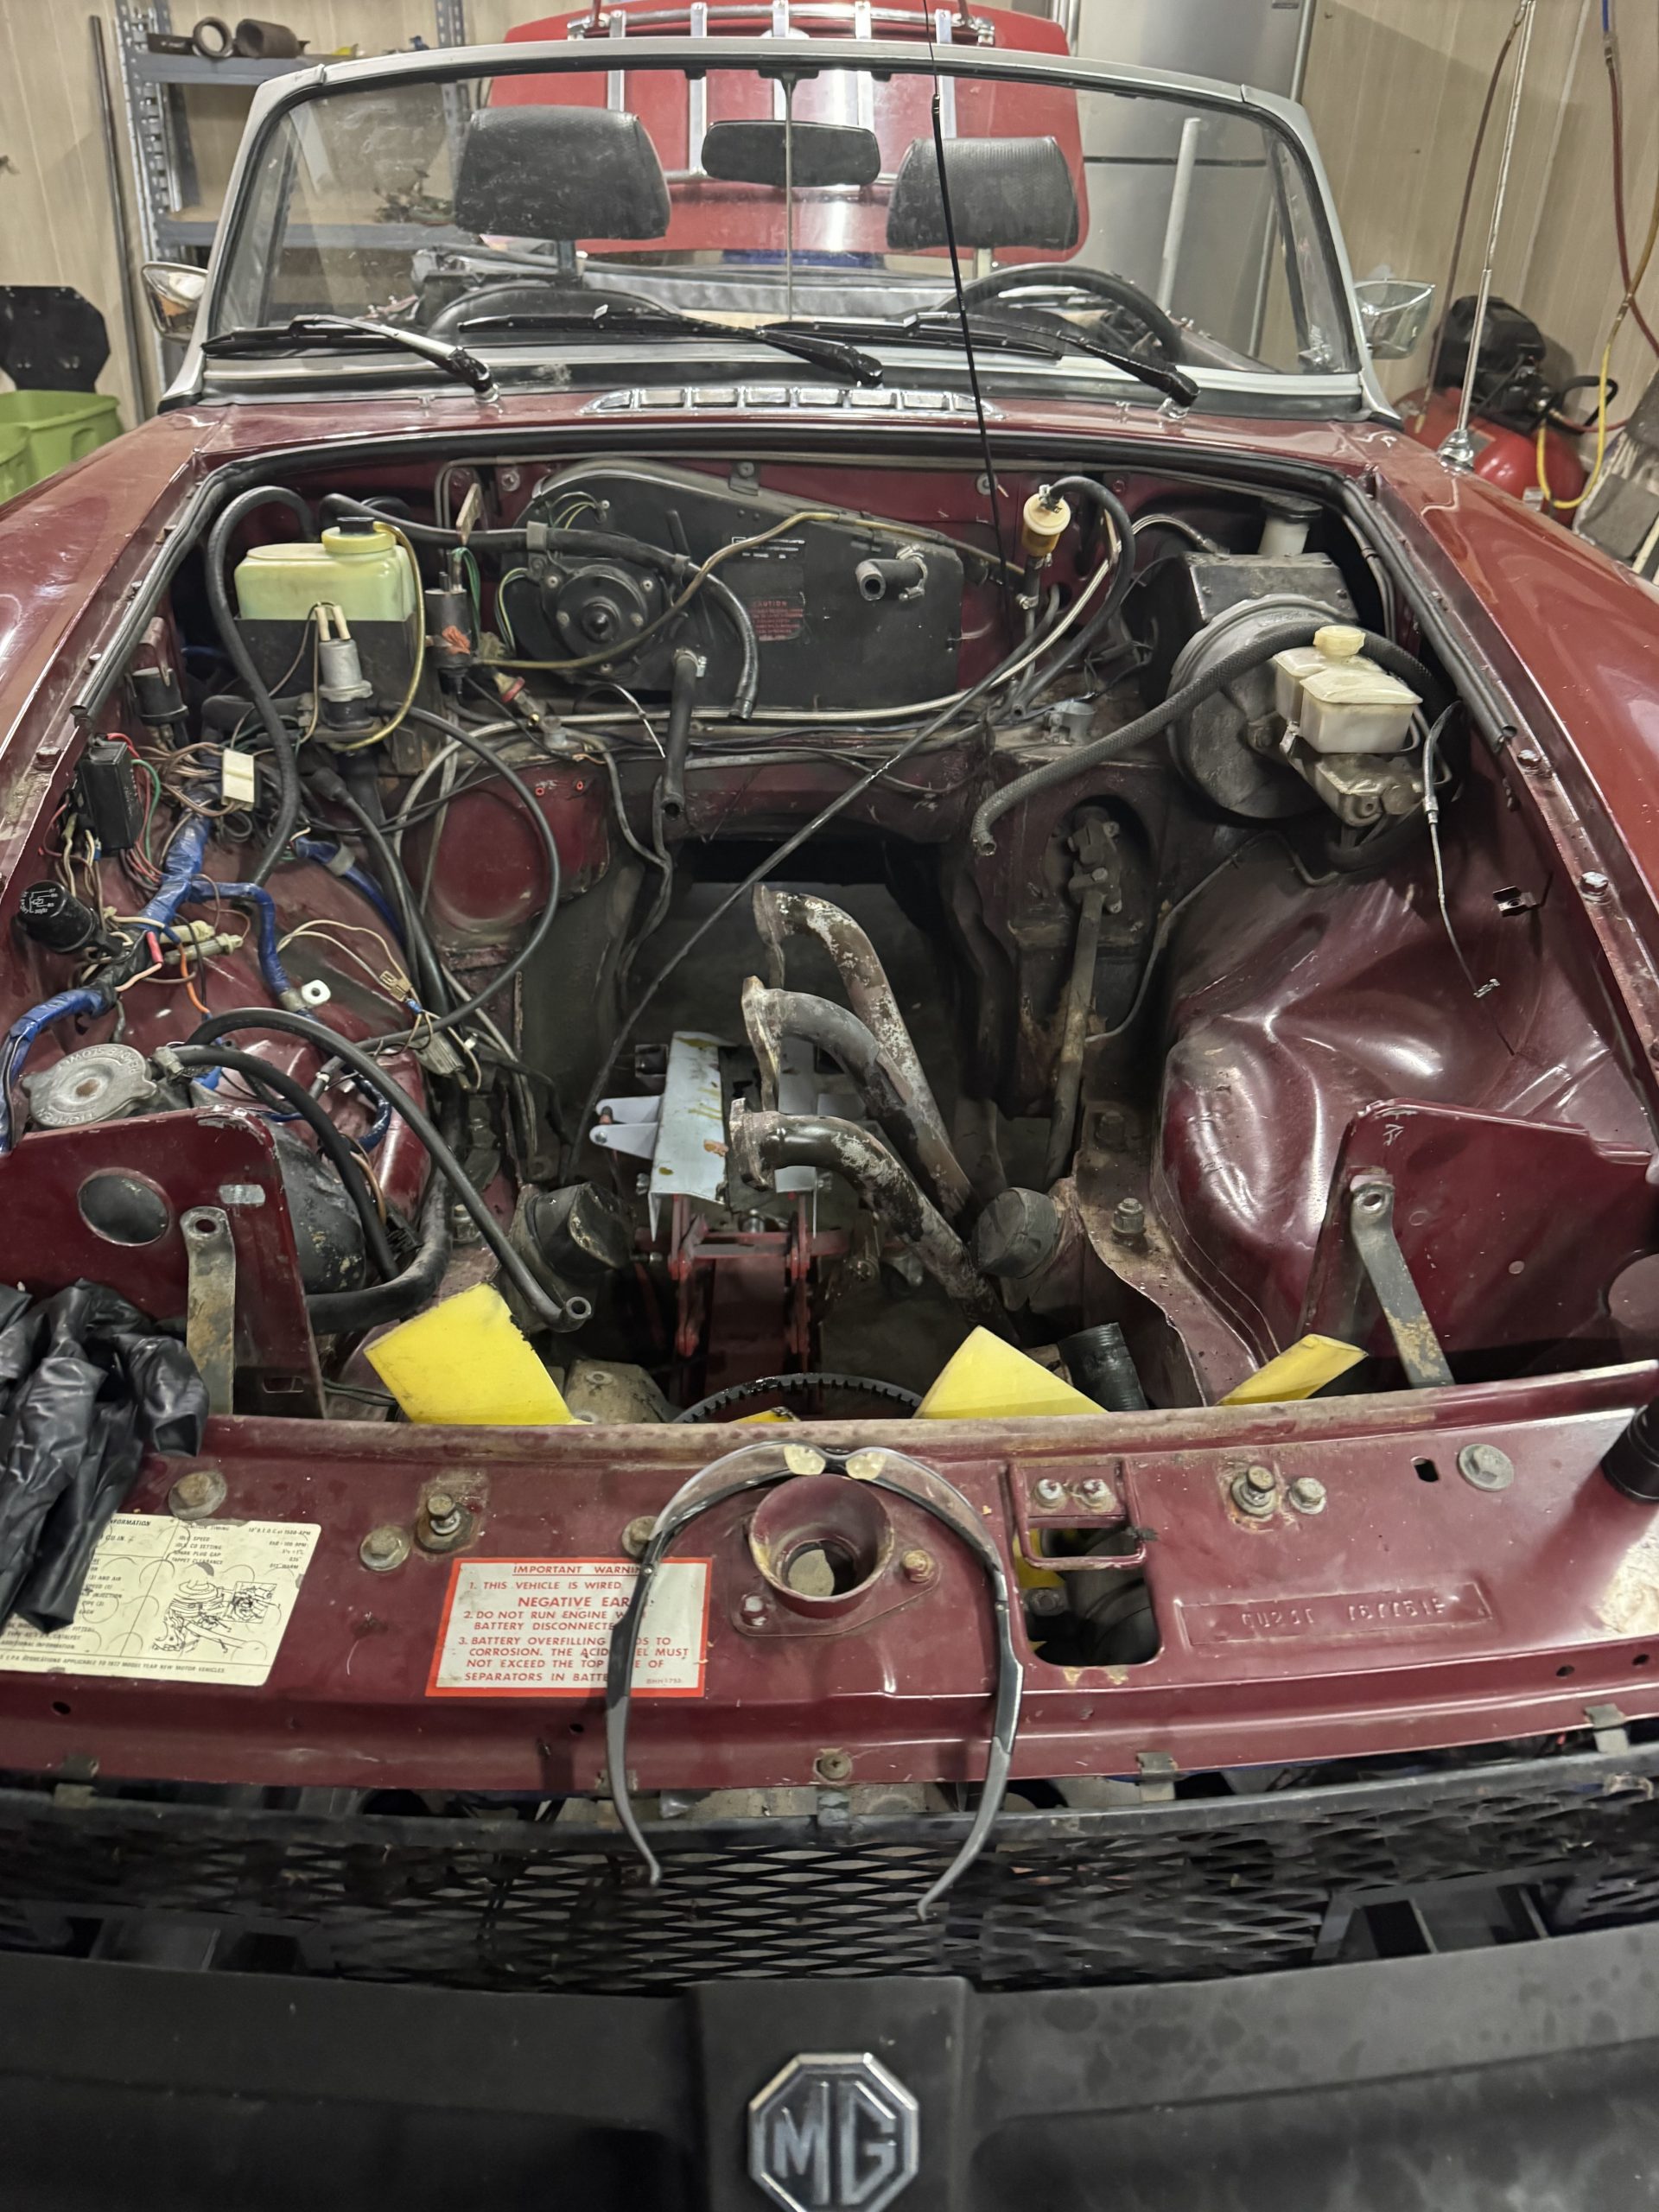
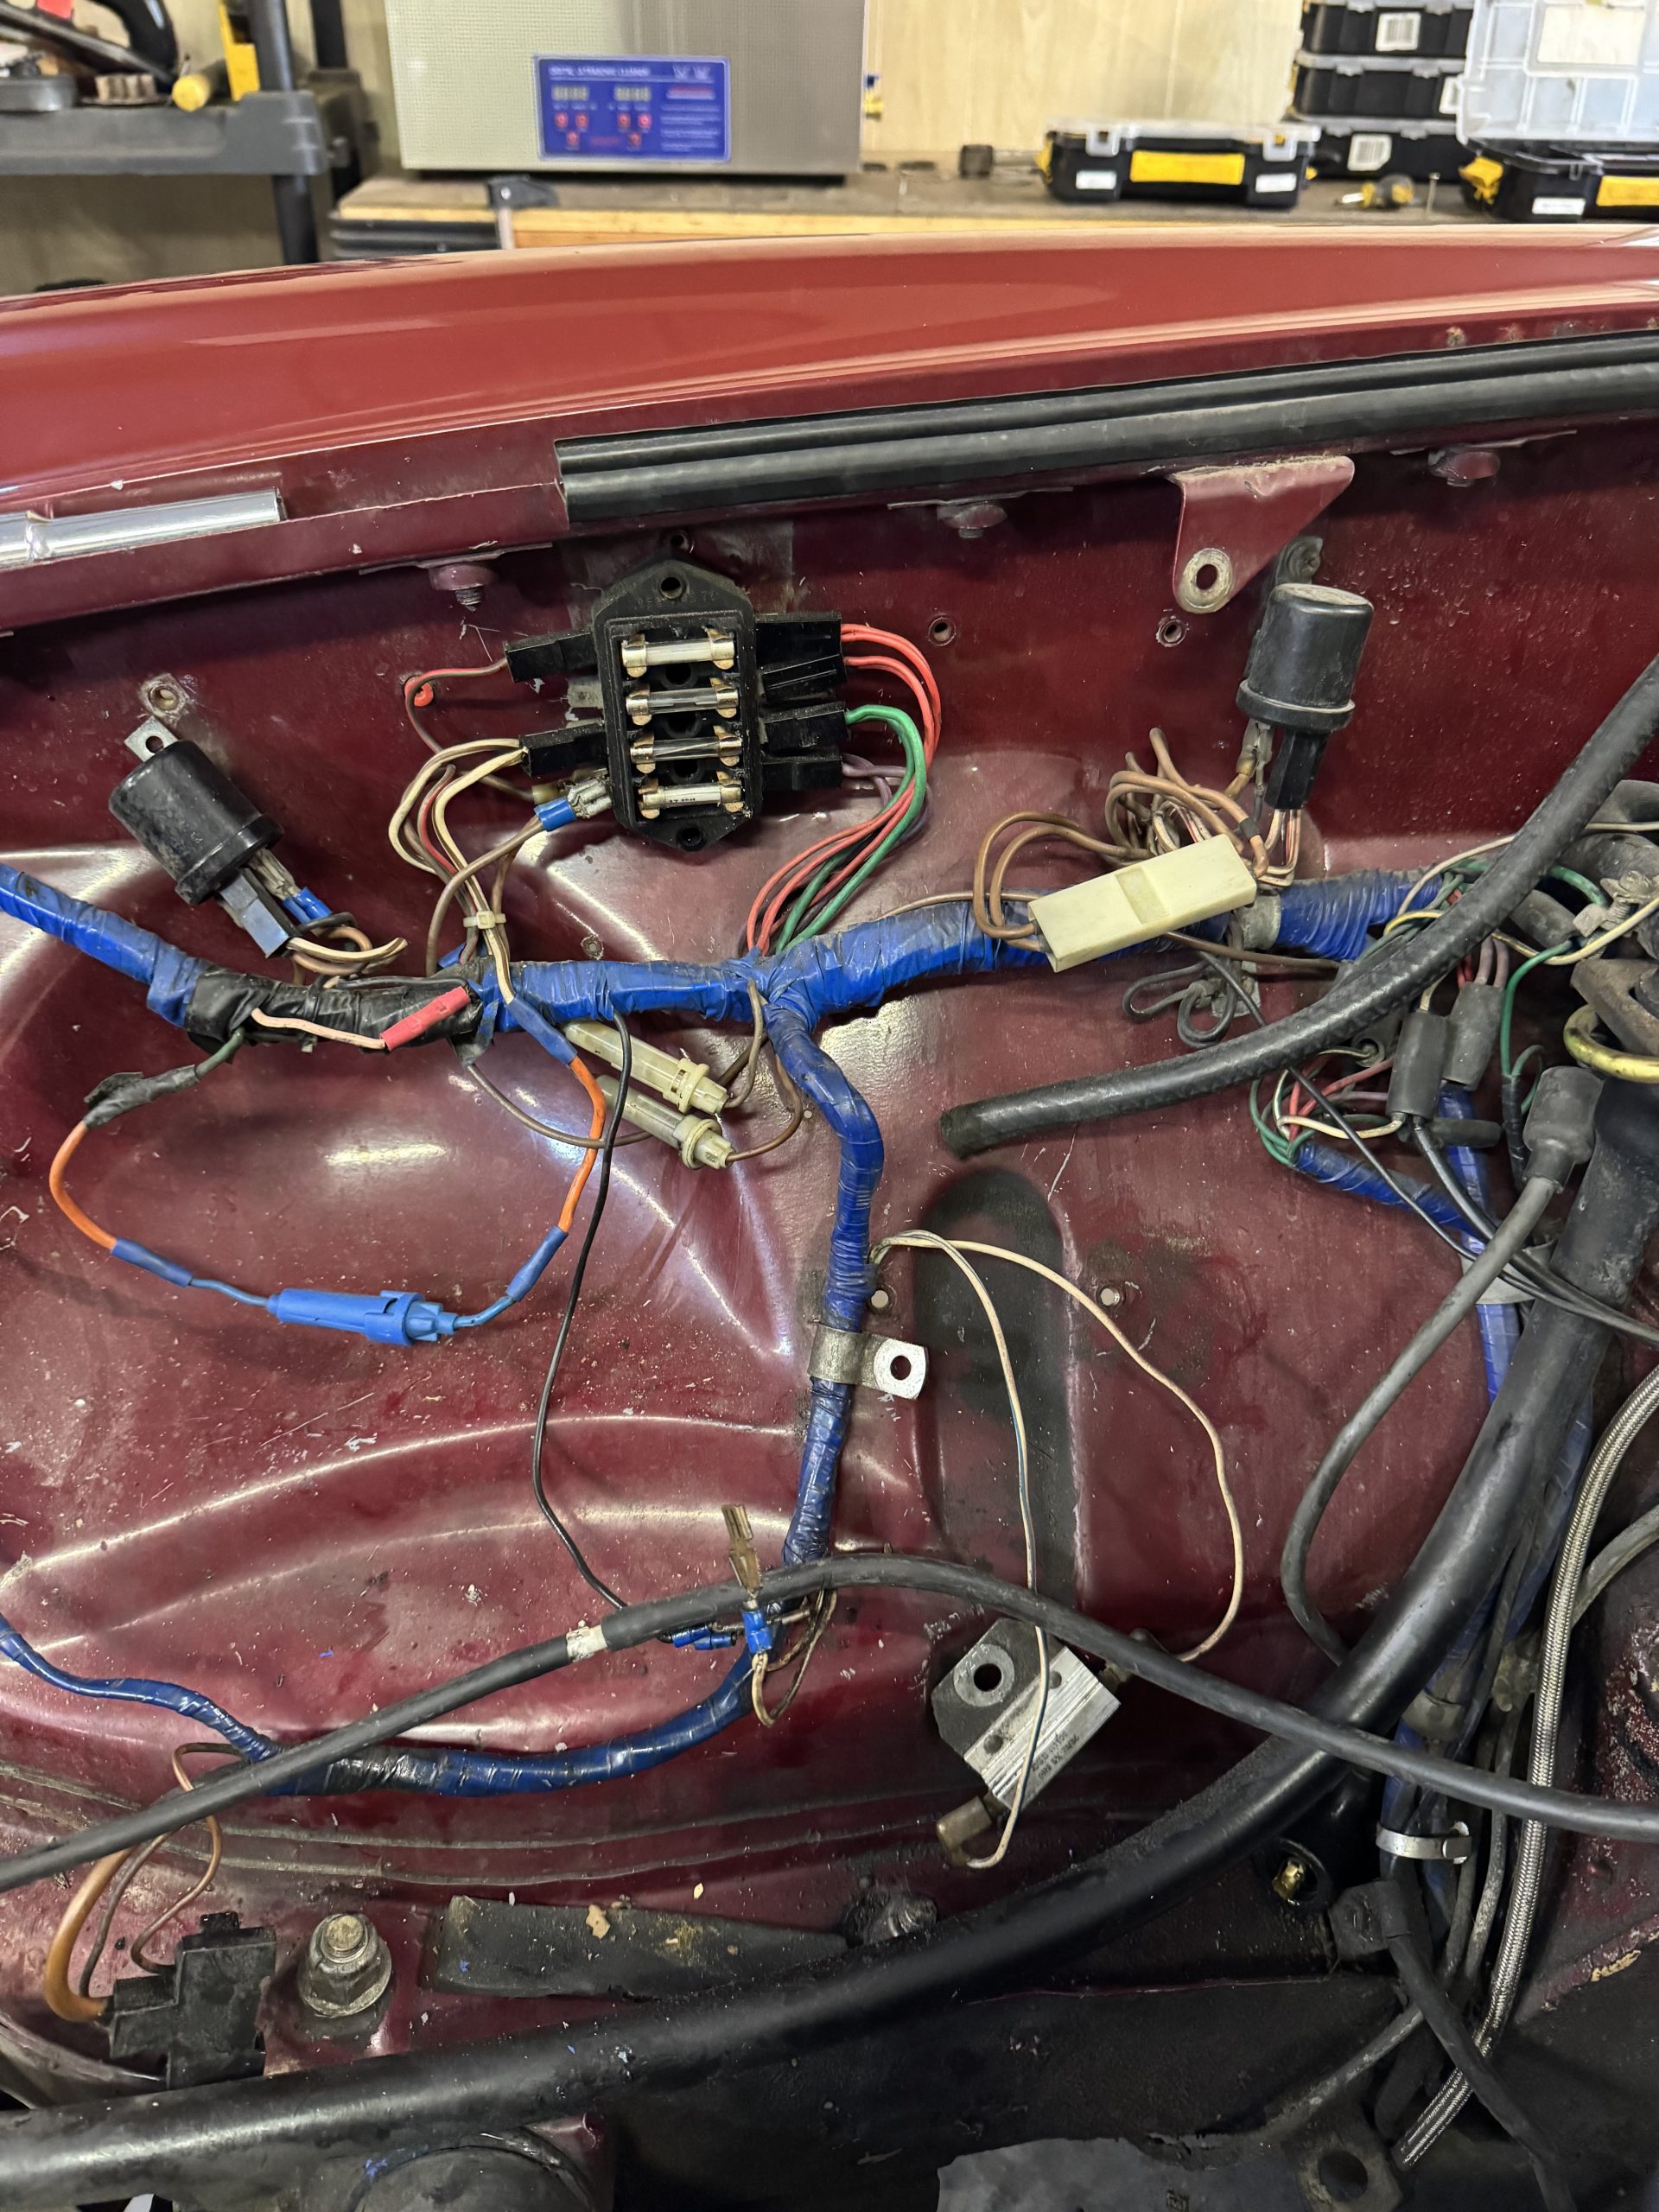
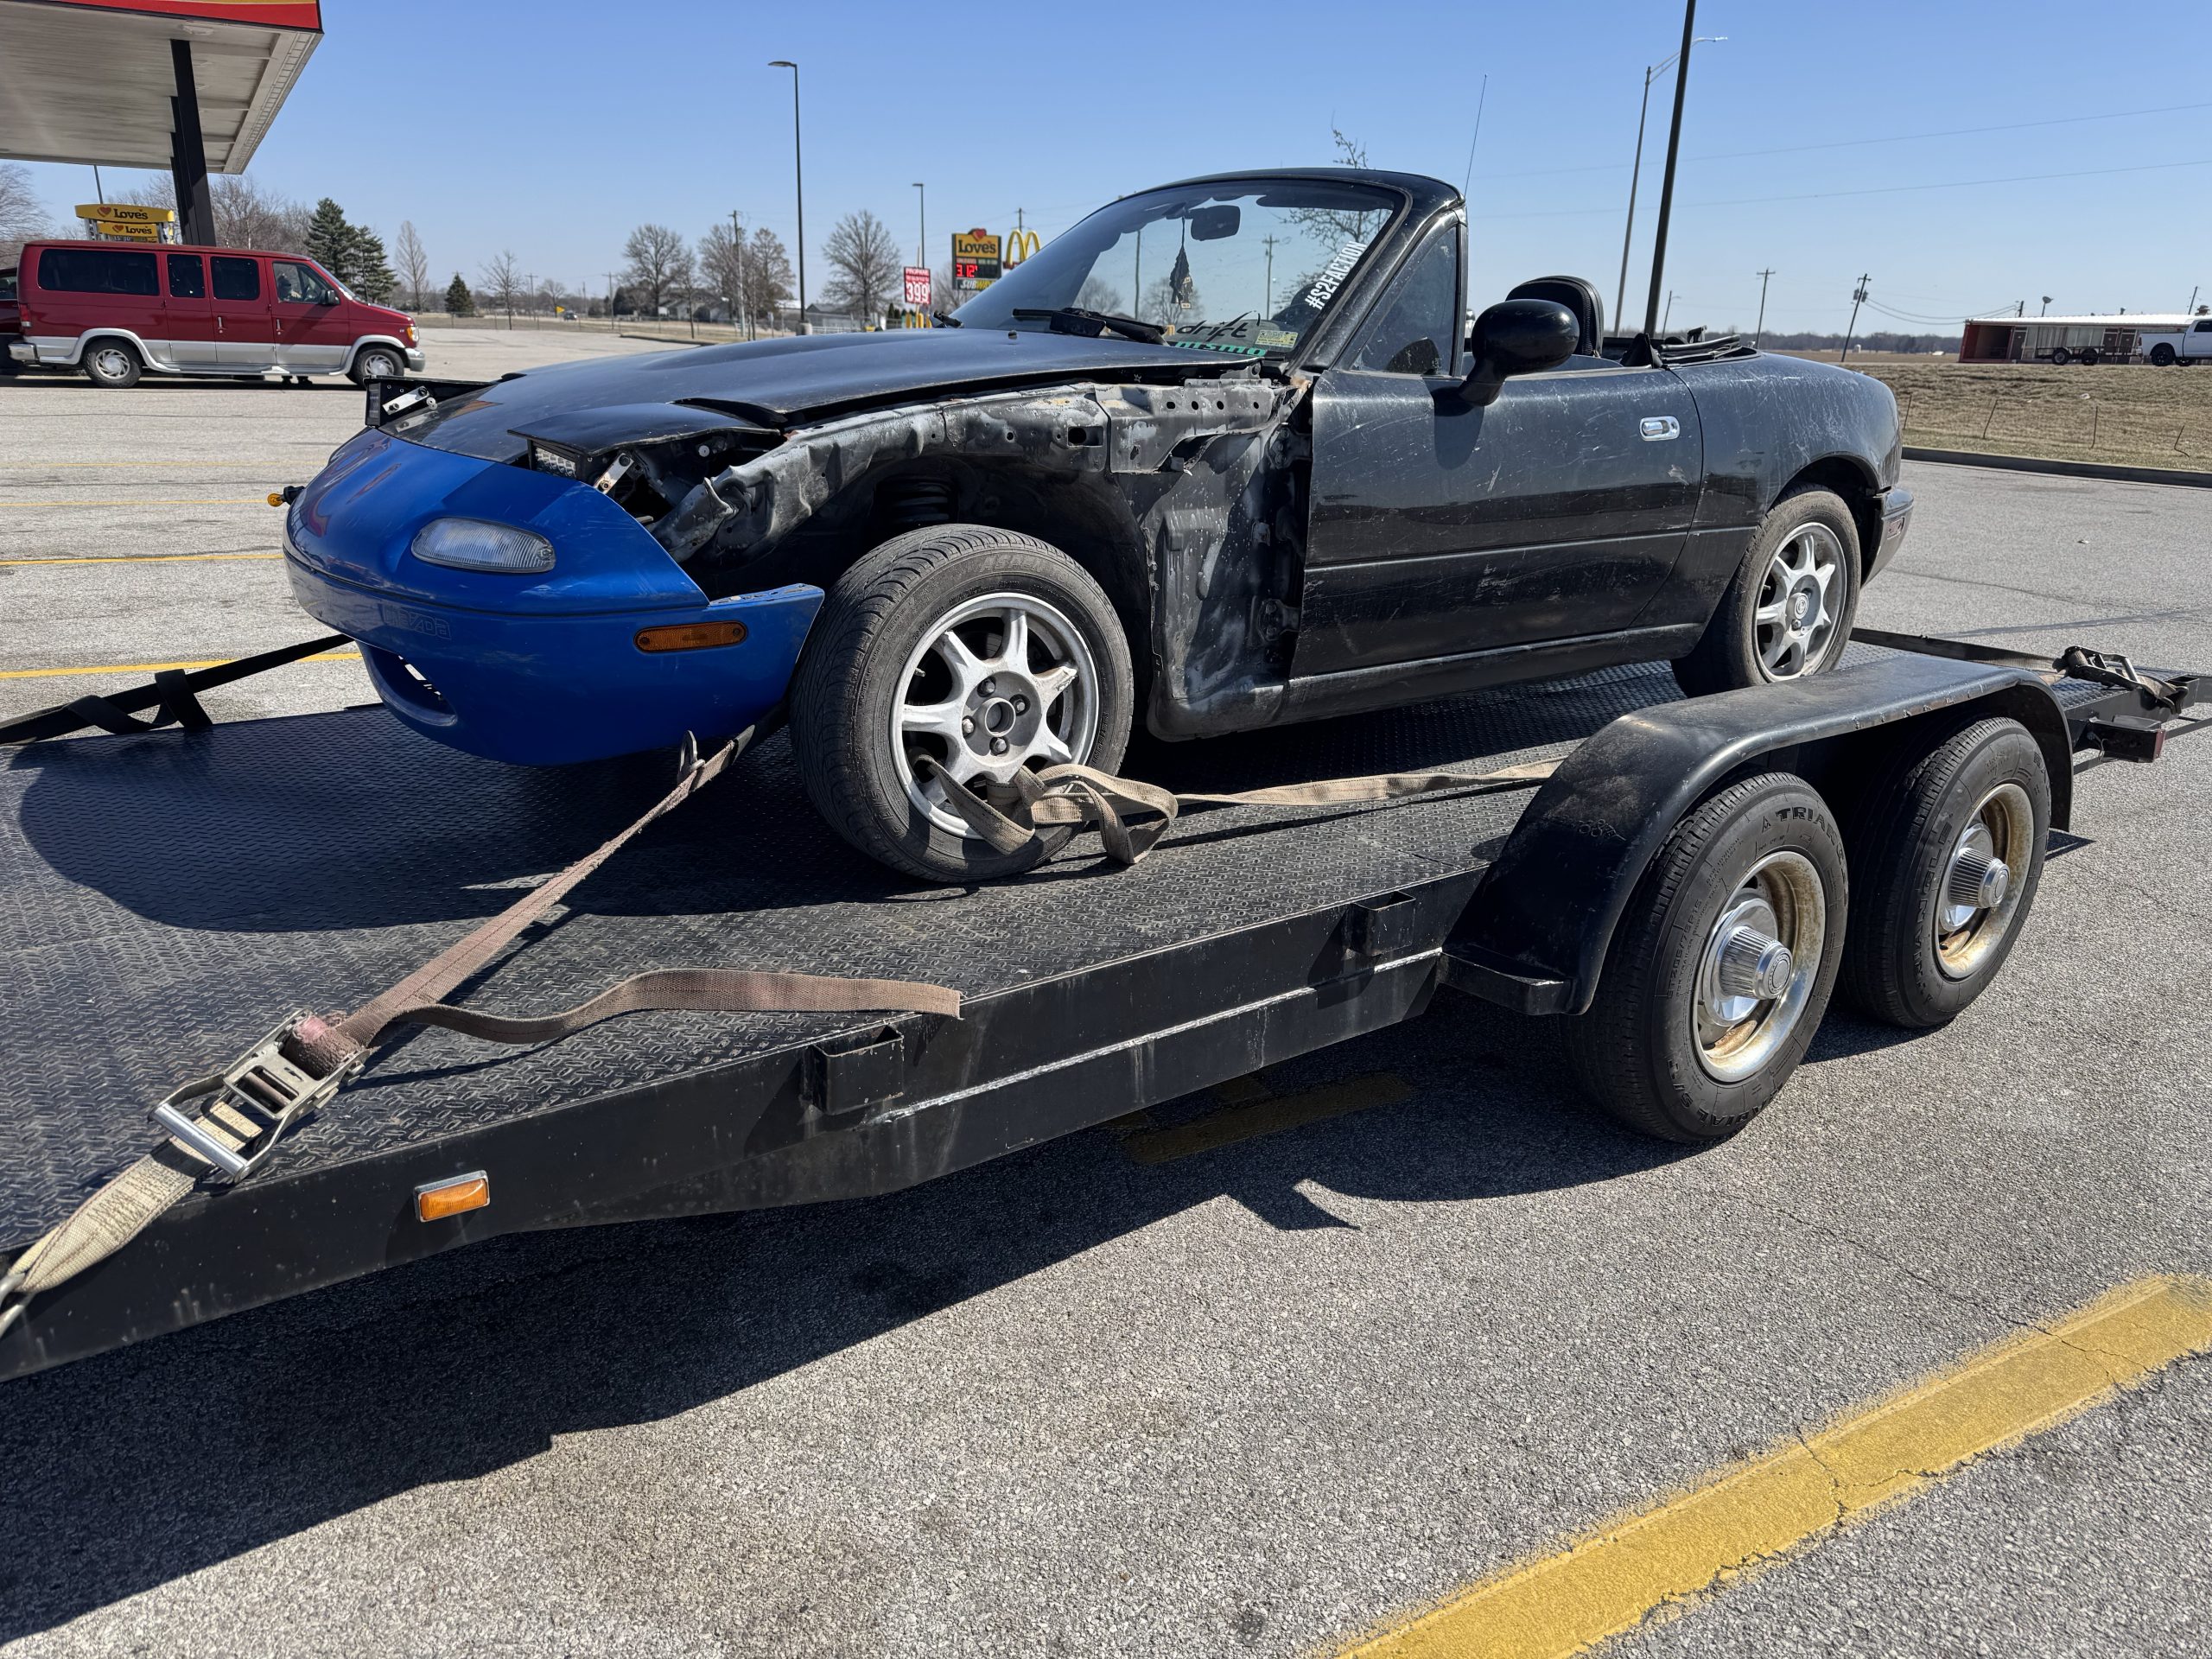
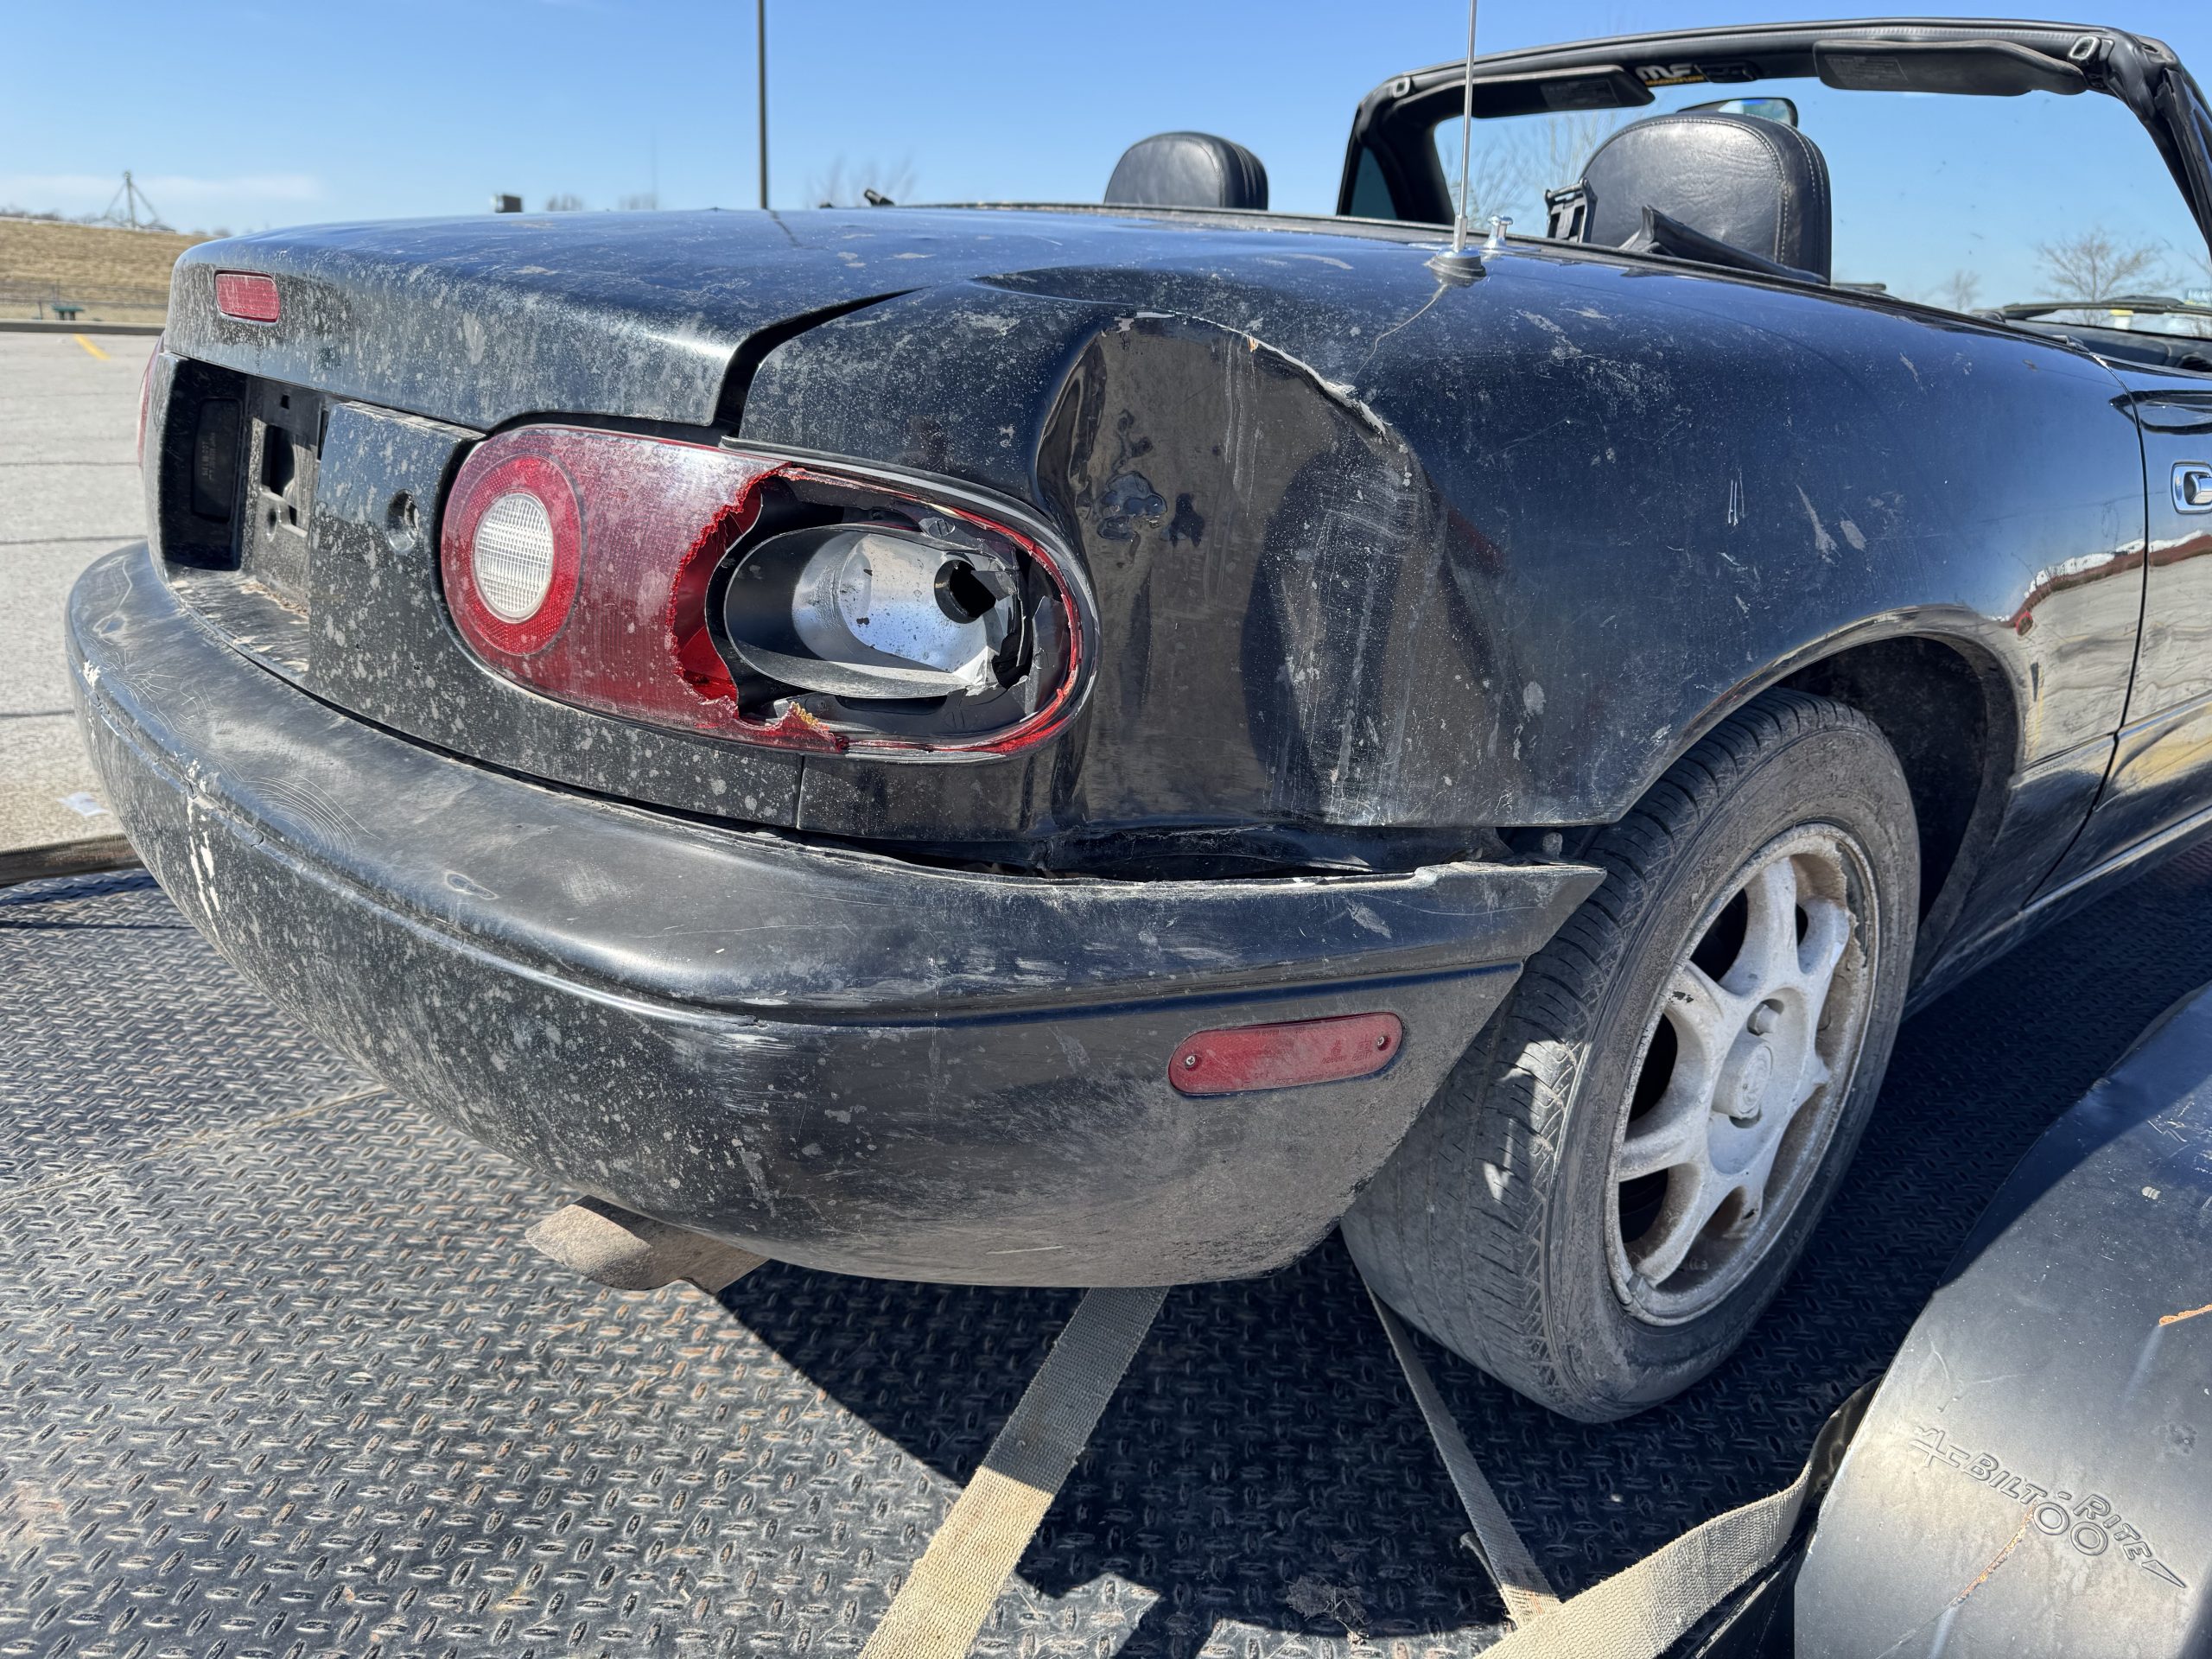
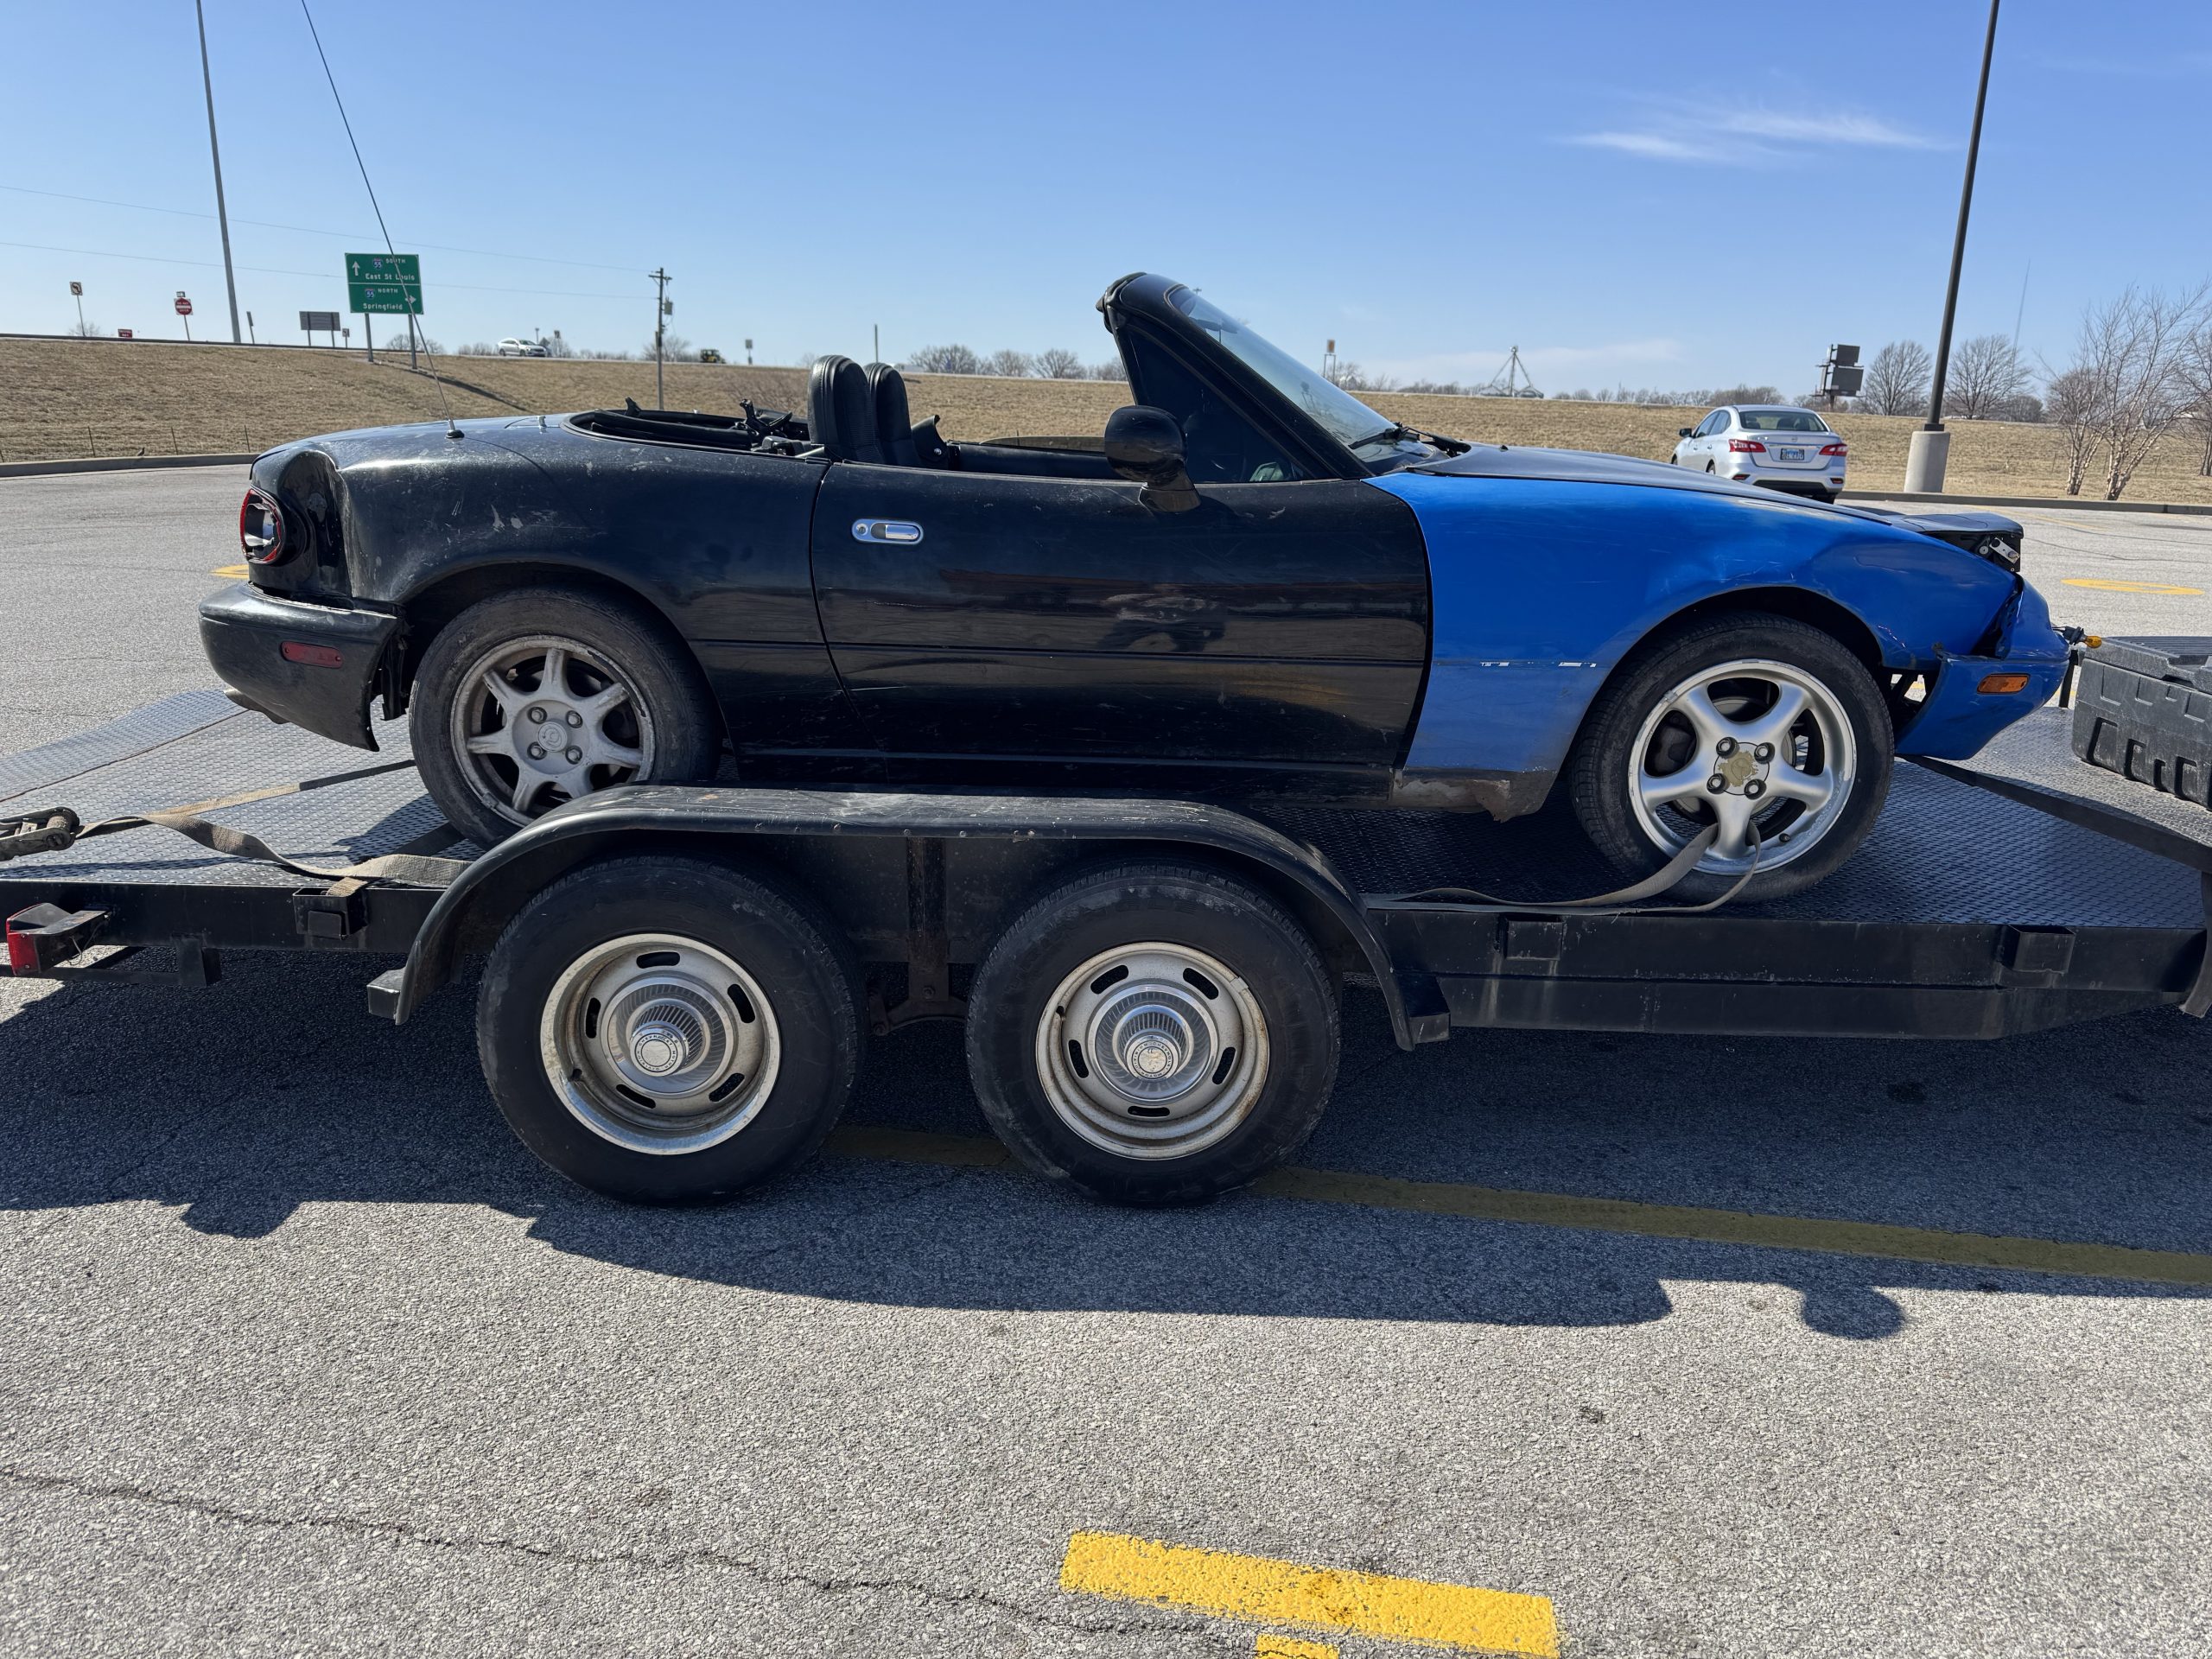
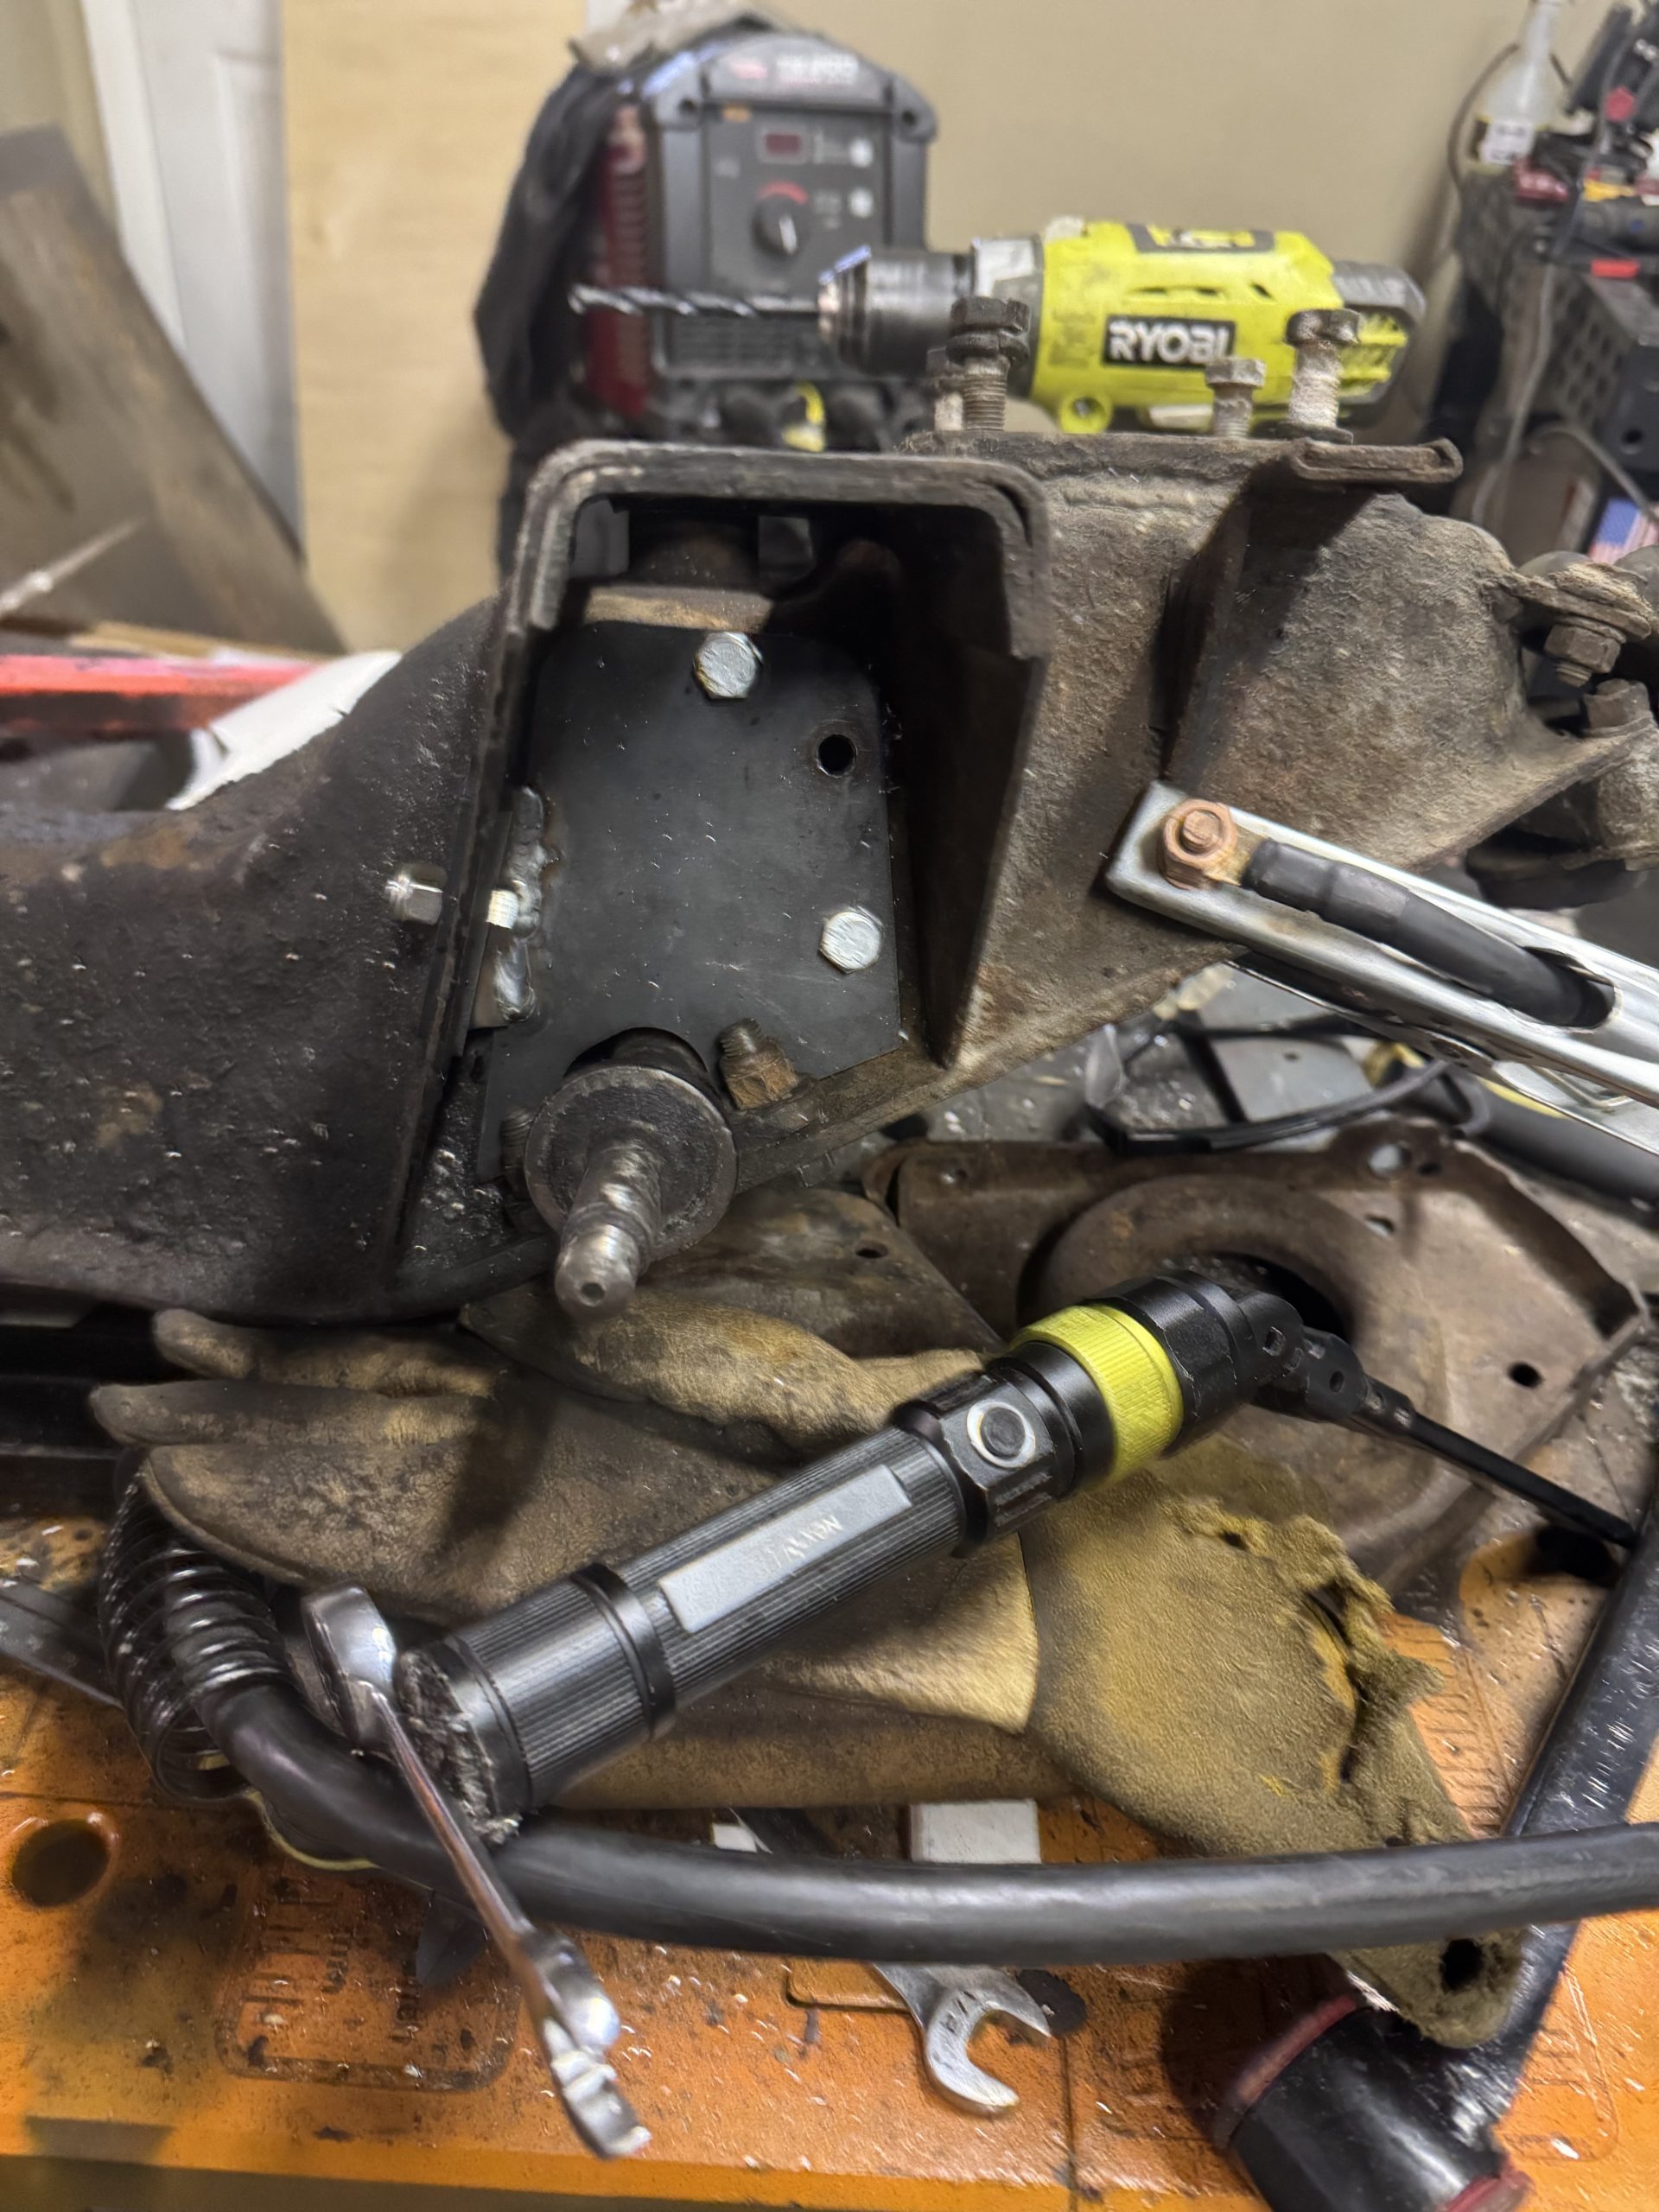
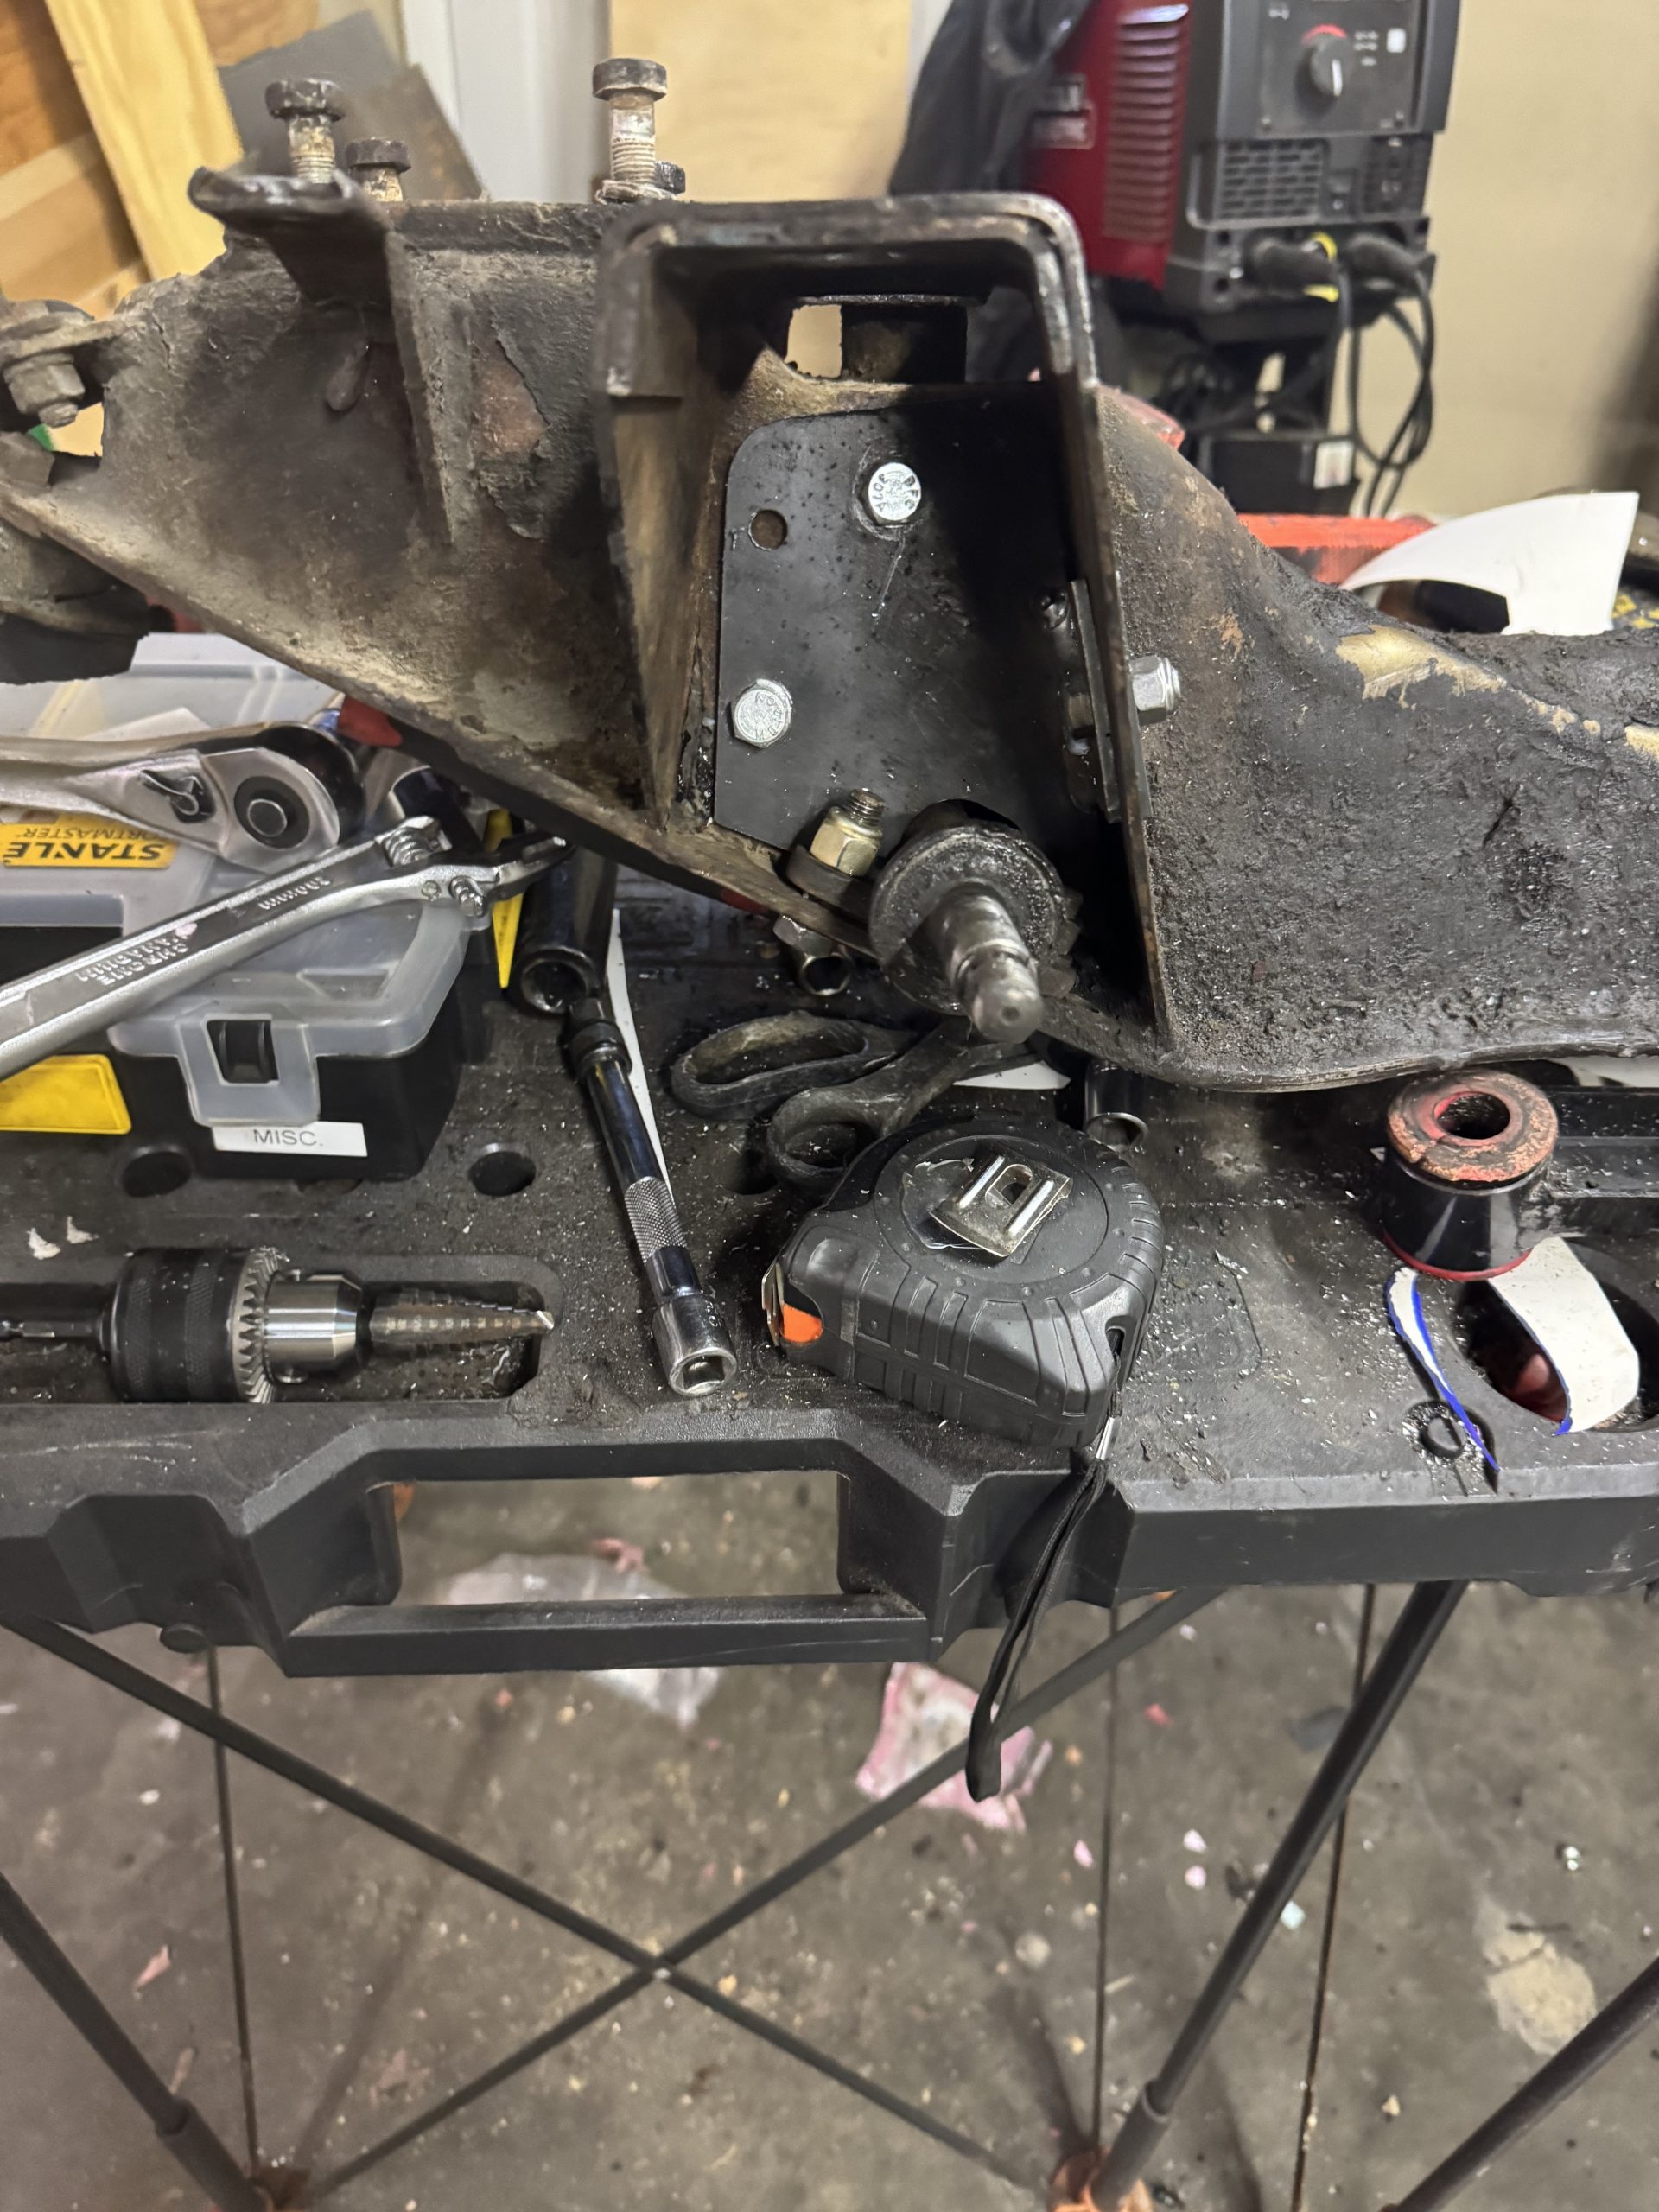
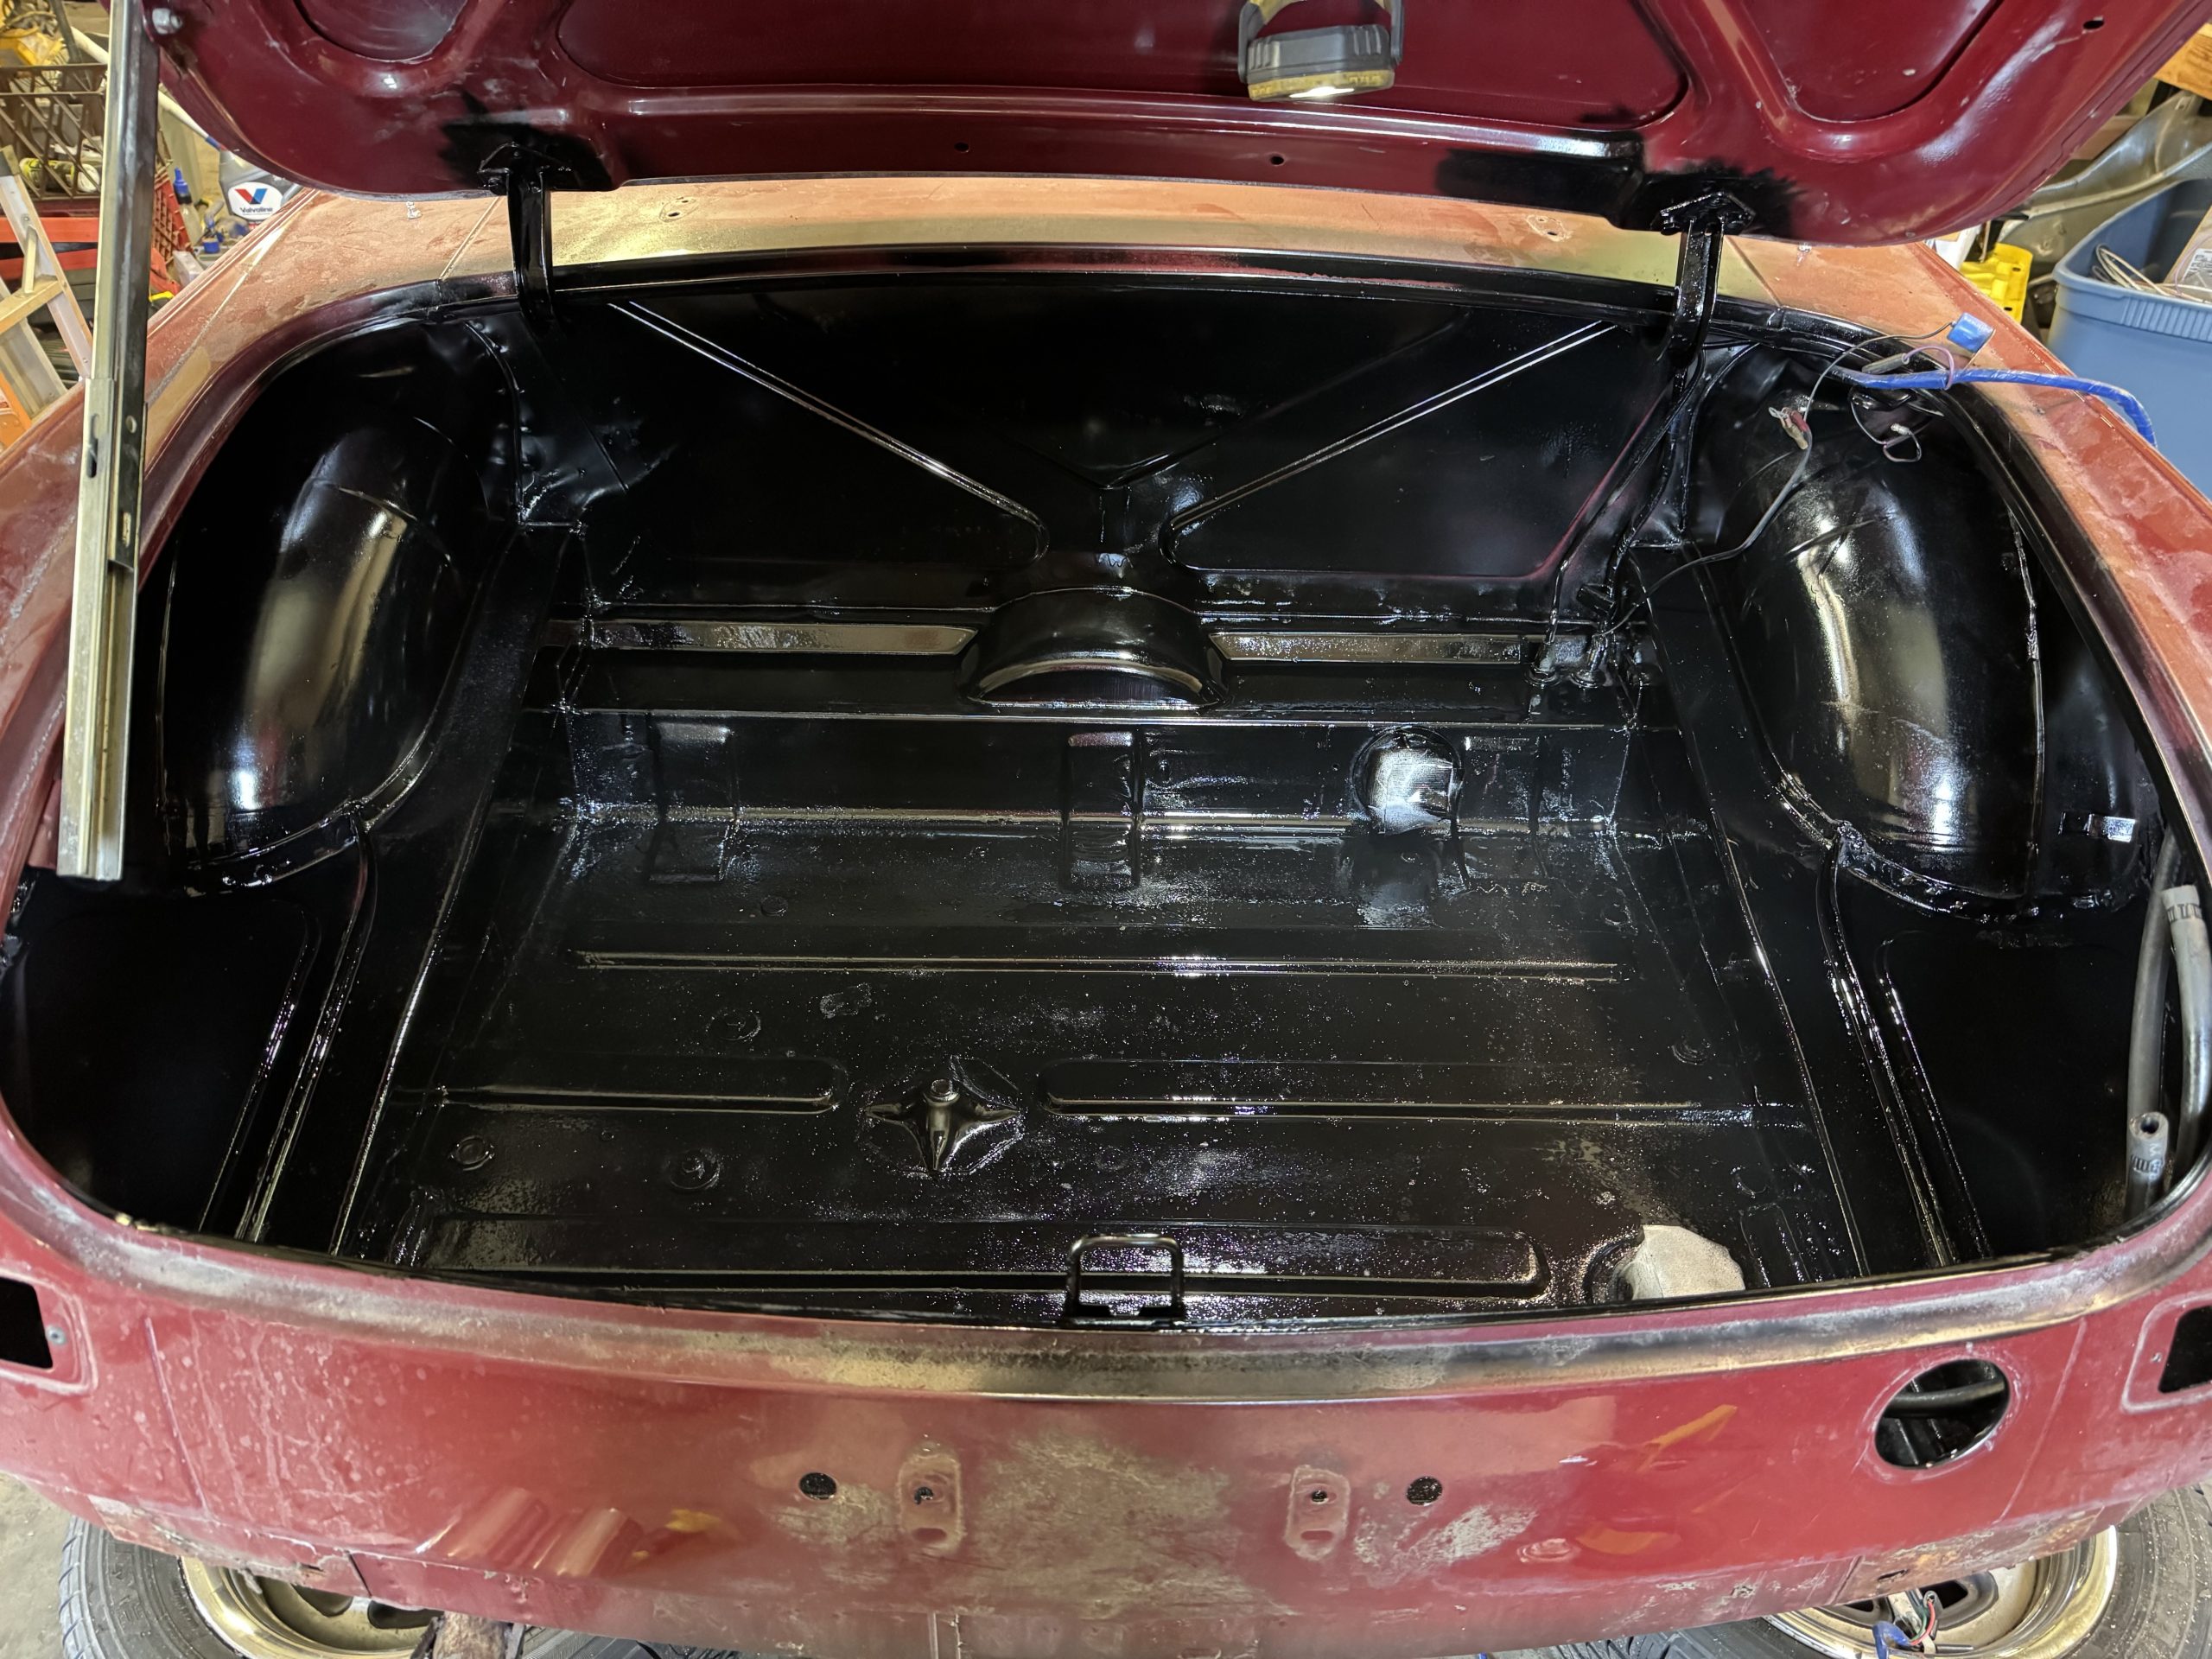
I have now begun taking the car apart to do the drivetrain update. The plan is to put a Miata engine and transmission. I selected it because it fits well, available, and results in a reduction of weight. I have also decided to replace the wiring harness. This is because the existing is just so ugly.I hope to tuck the new one away in a manner that it does not show much. Here are pictures of the dissasembly process as well as the donor Miata. At this point I have also painted under the hood black in plan for future change of pain color.
3/30/2025 – This is not going to really be a blog, but at least while the project is ongoing to track how this page is changing. The scope of the project has changed. Initially it was mostly swap engine and transmission. At the same time update wire harness under hood. That was just because the twin cam engine will look pretty nice. Having a cleaner wiring harness would be nice. I was already going to have to do something for the computer. I also planned to make some suspension upgrades at the time.
To tie drivetrain into the dash I figured I would need to take dash out. As long as the dash is out this would be the best time to paint it since I want to take windshield frame out to paint, and putting it back in is much easier without the dash in place. And as long as I am painting it, now would be when I should change it chrome bumper with maybe Sebring style in the front. Oh yeah, reupholstering seats while I am in there. I have not decided if that is MGB or Miata seats.
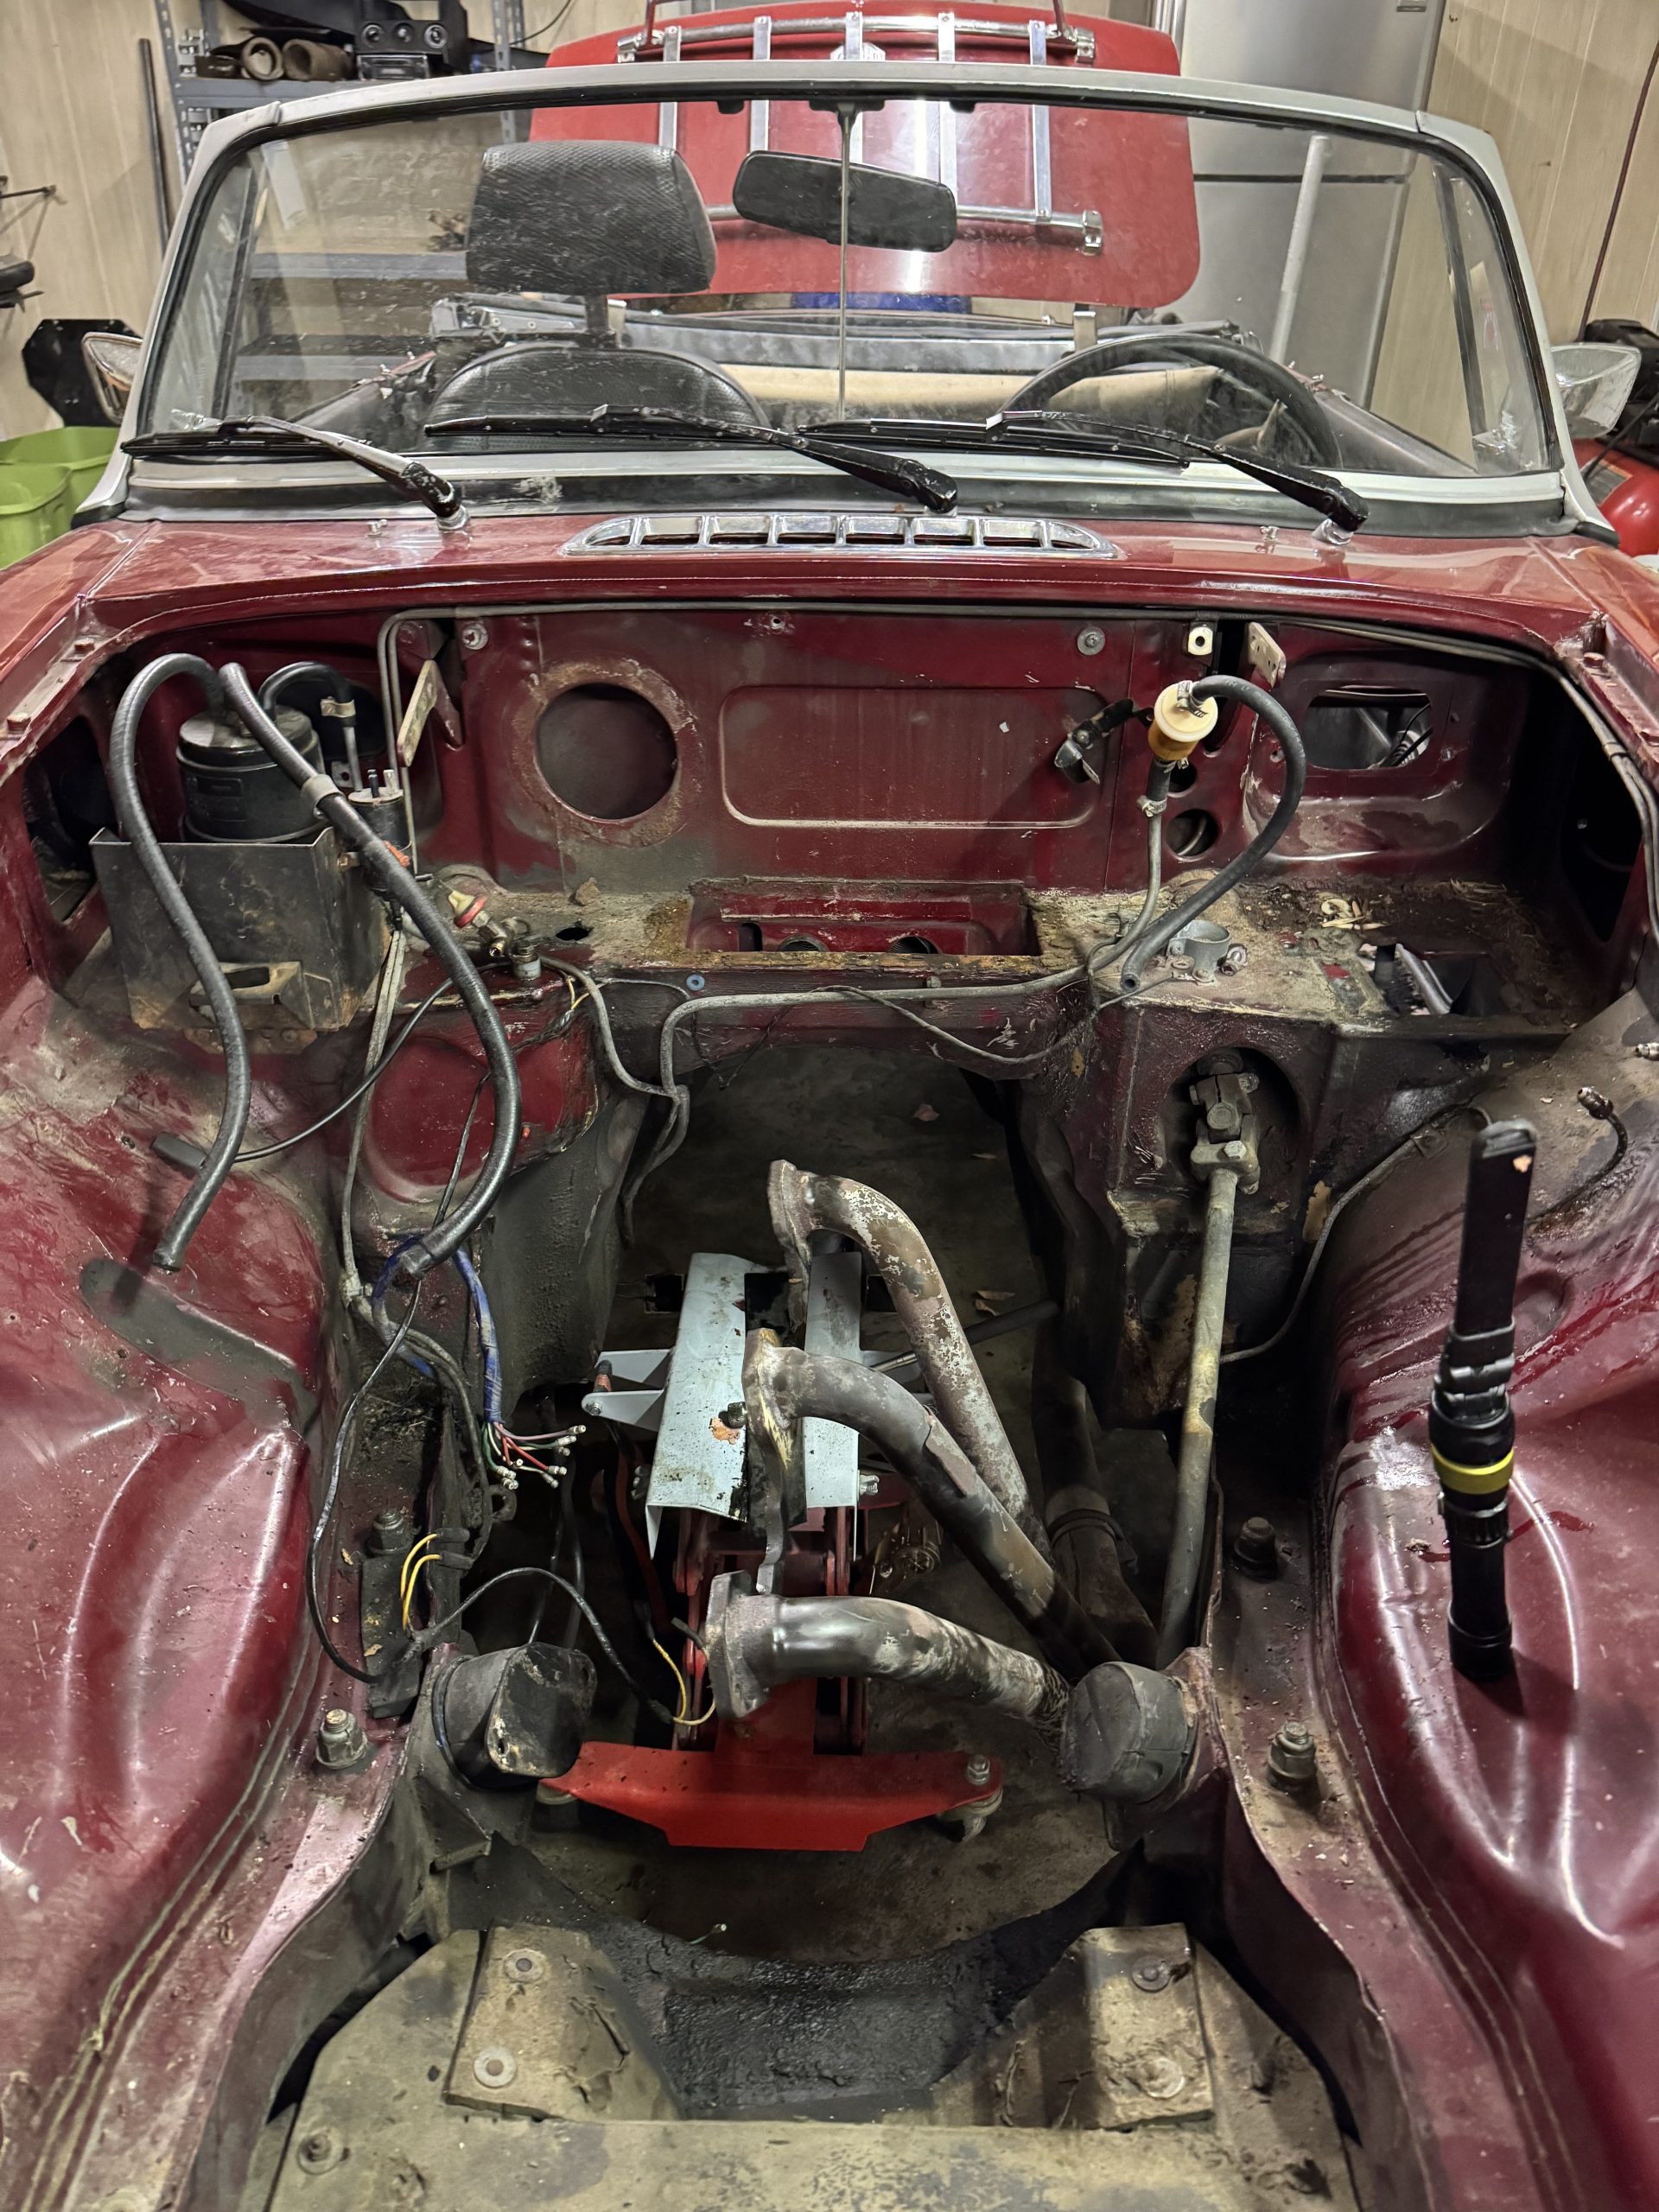

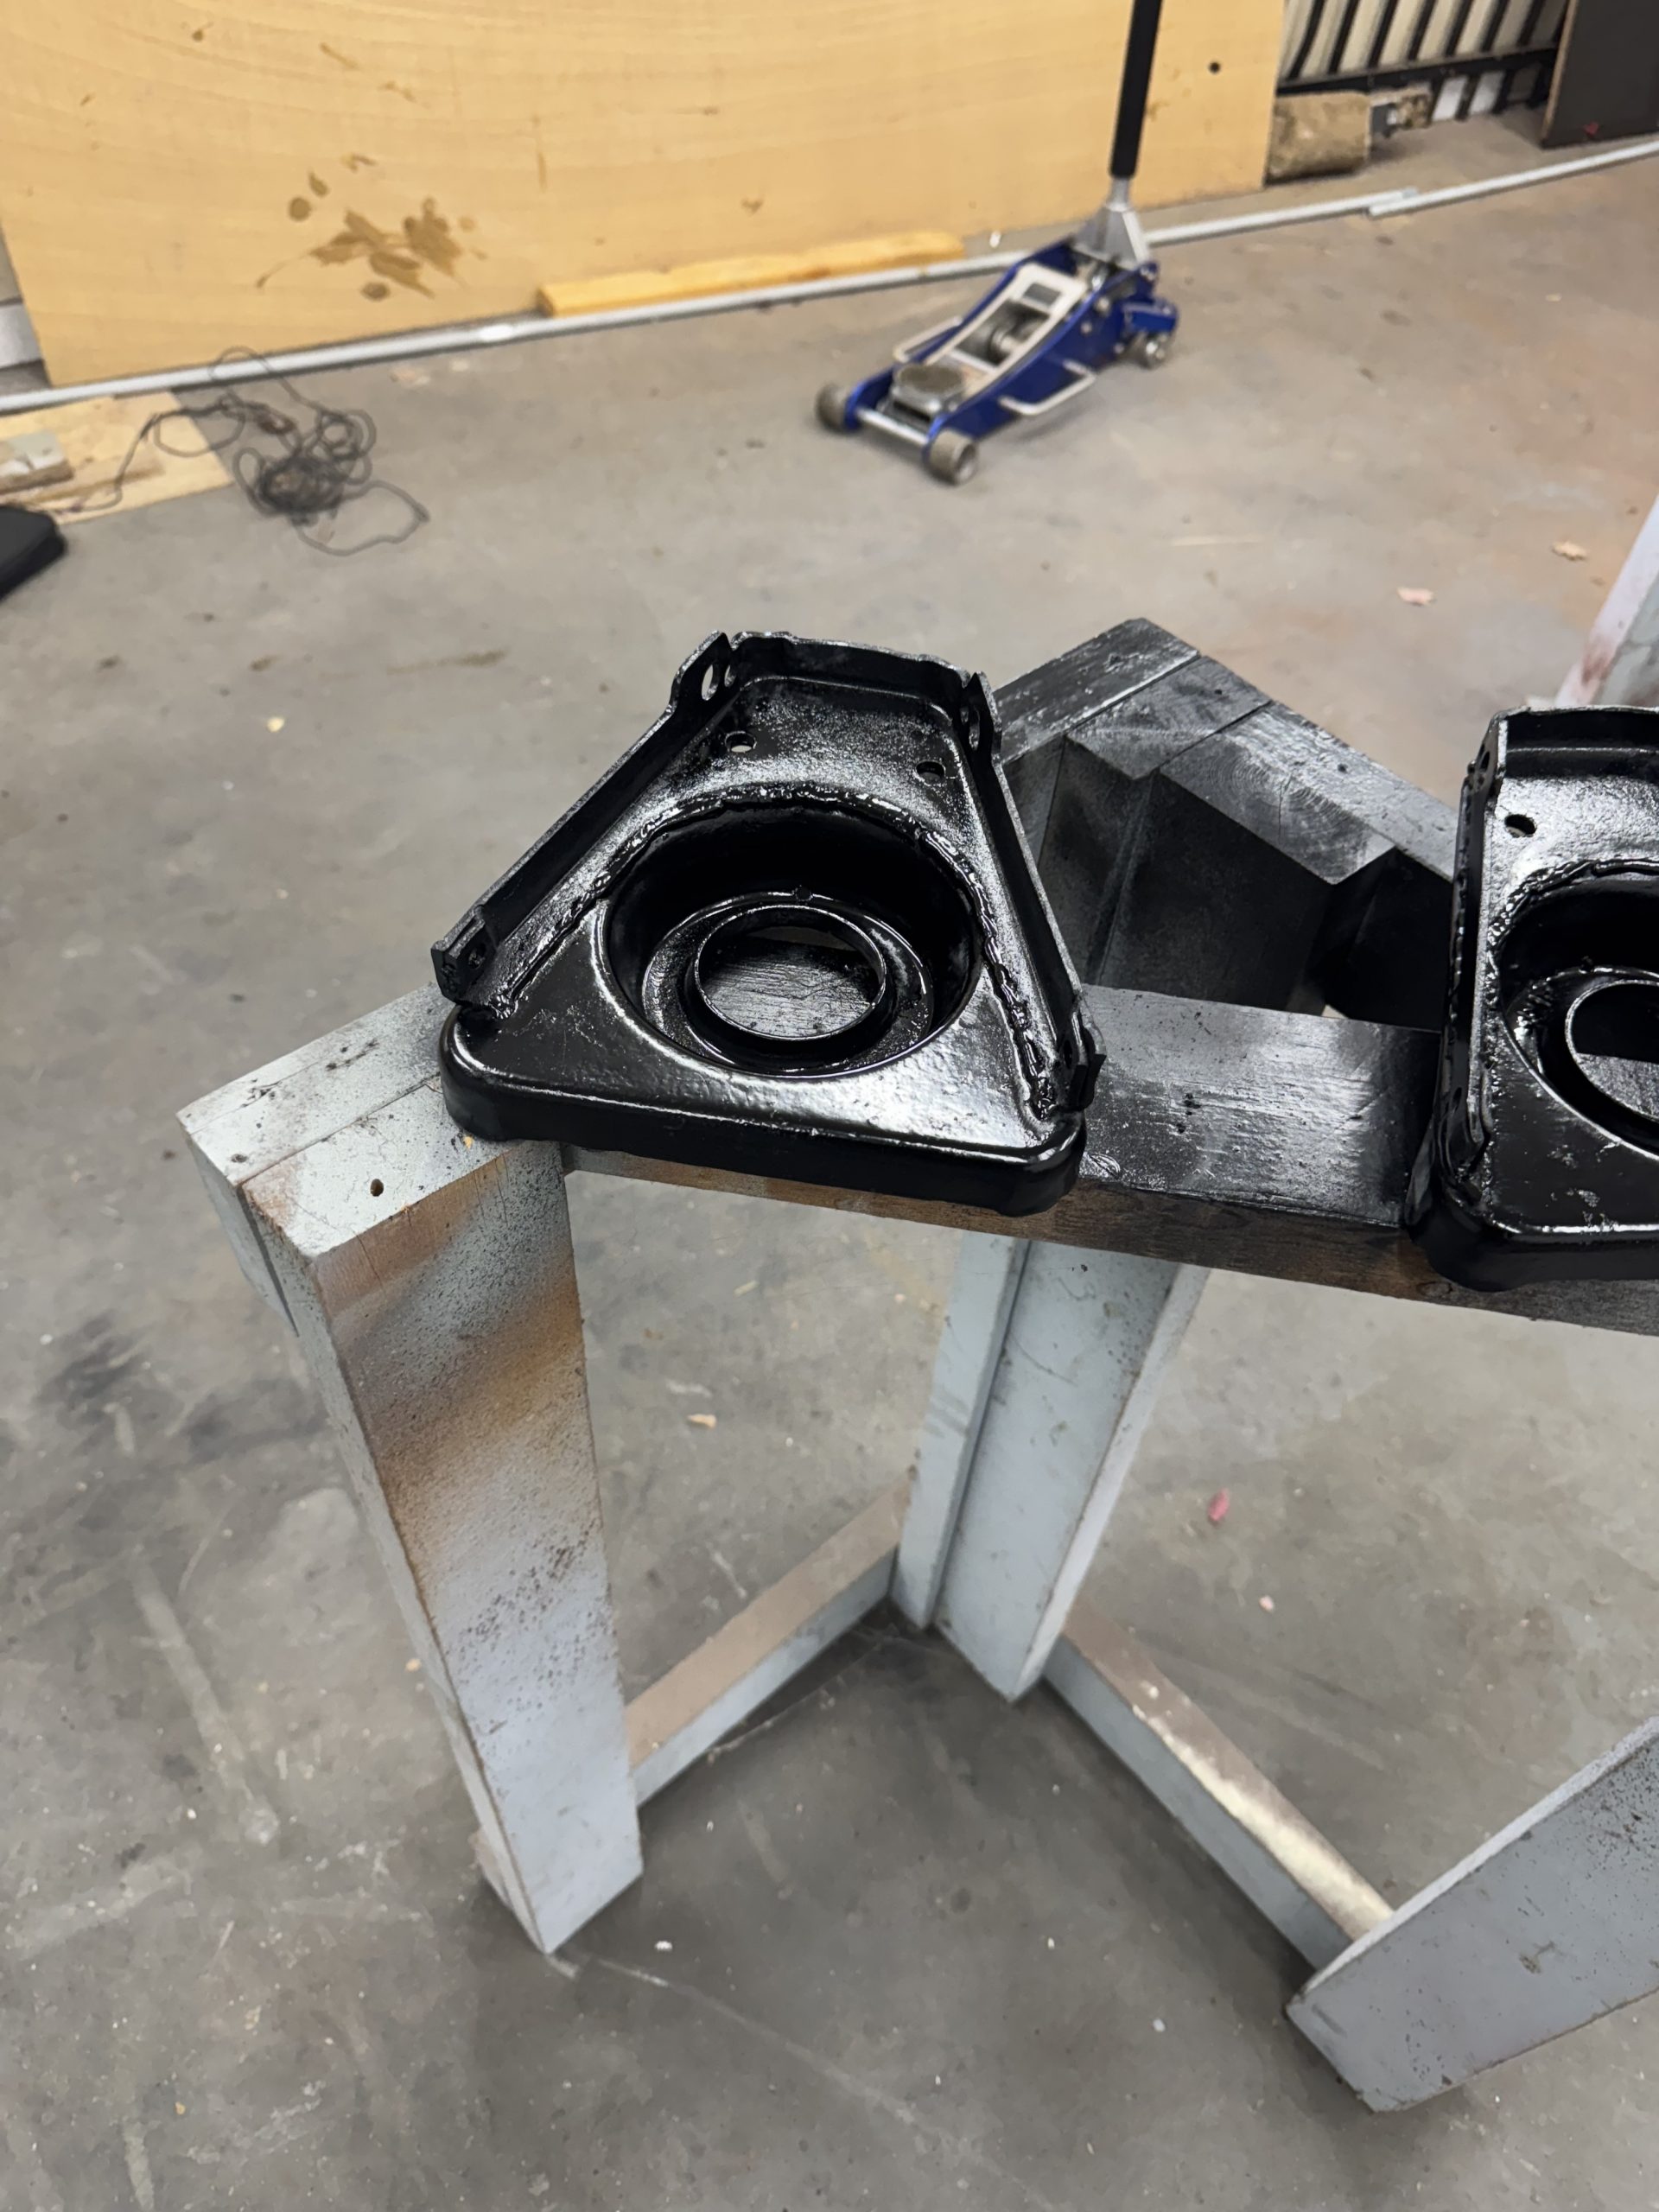
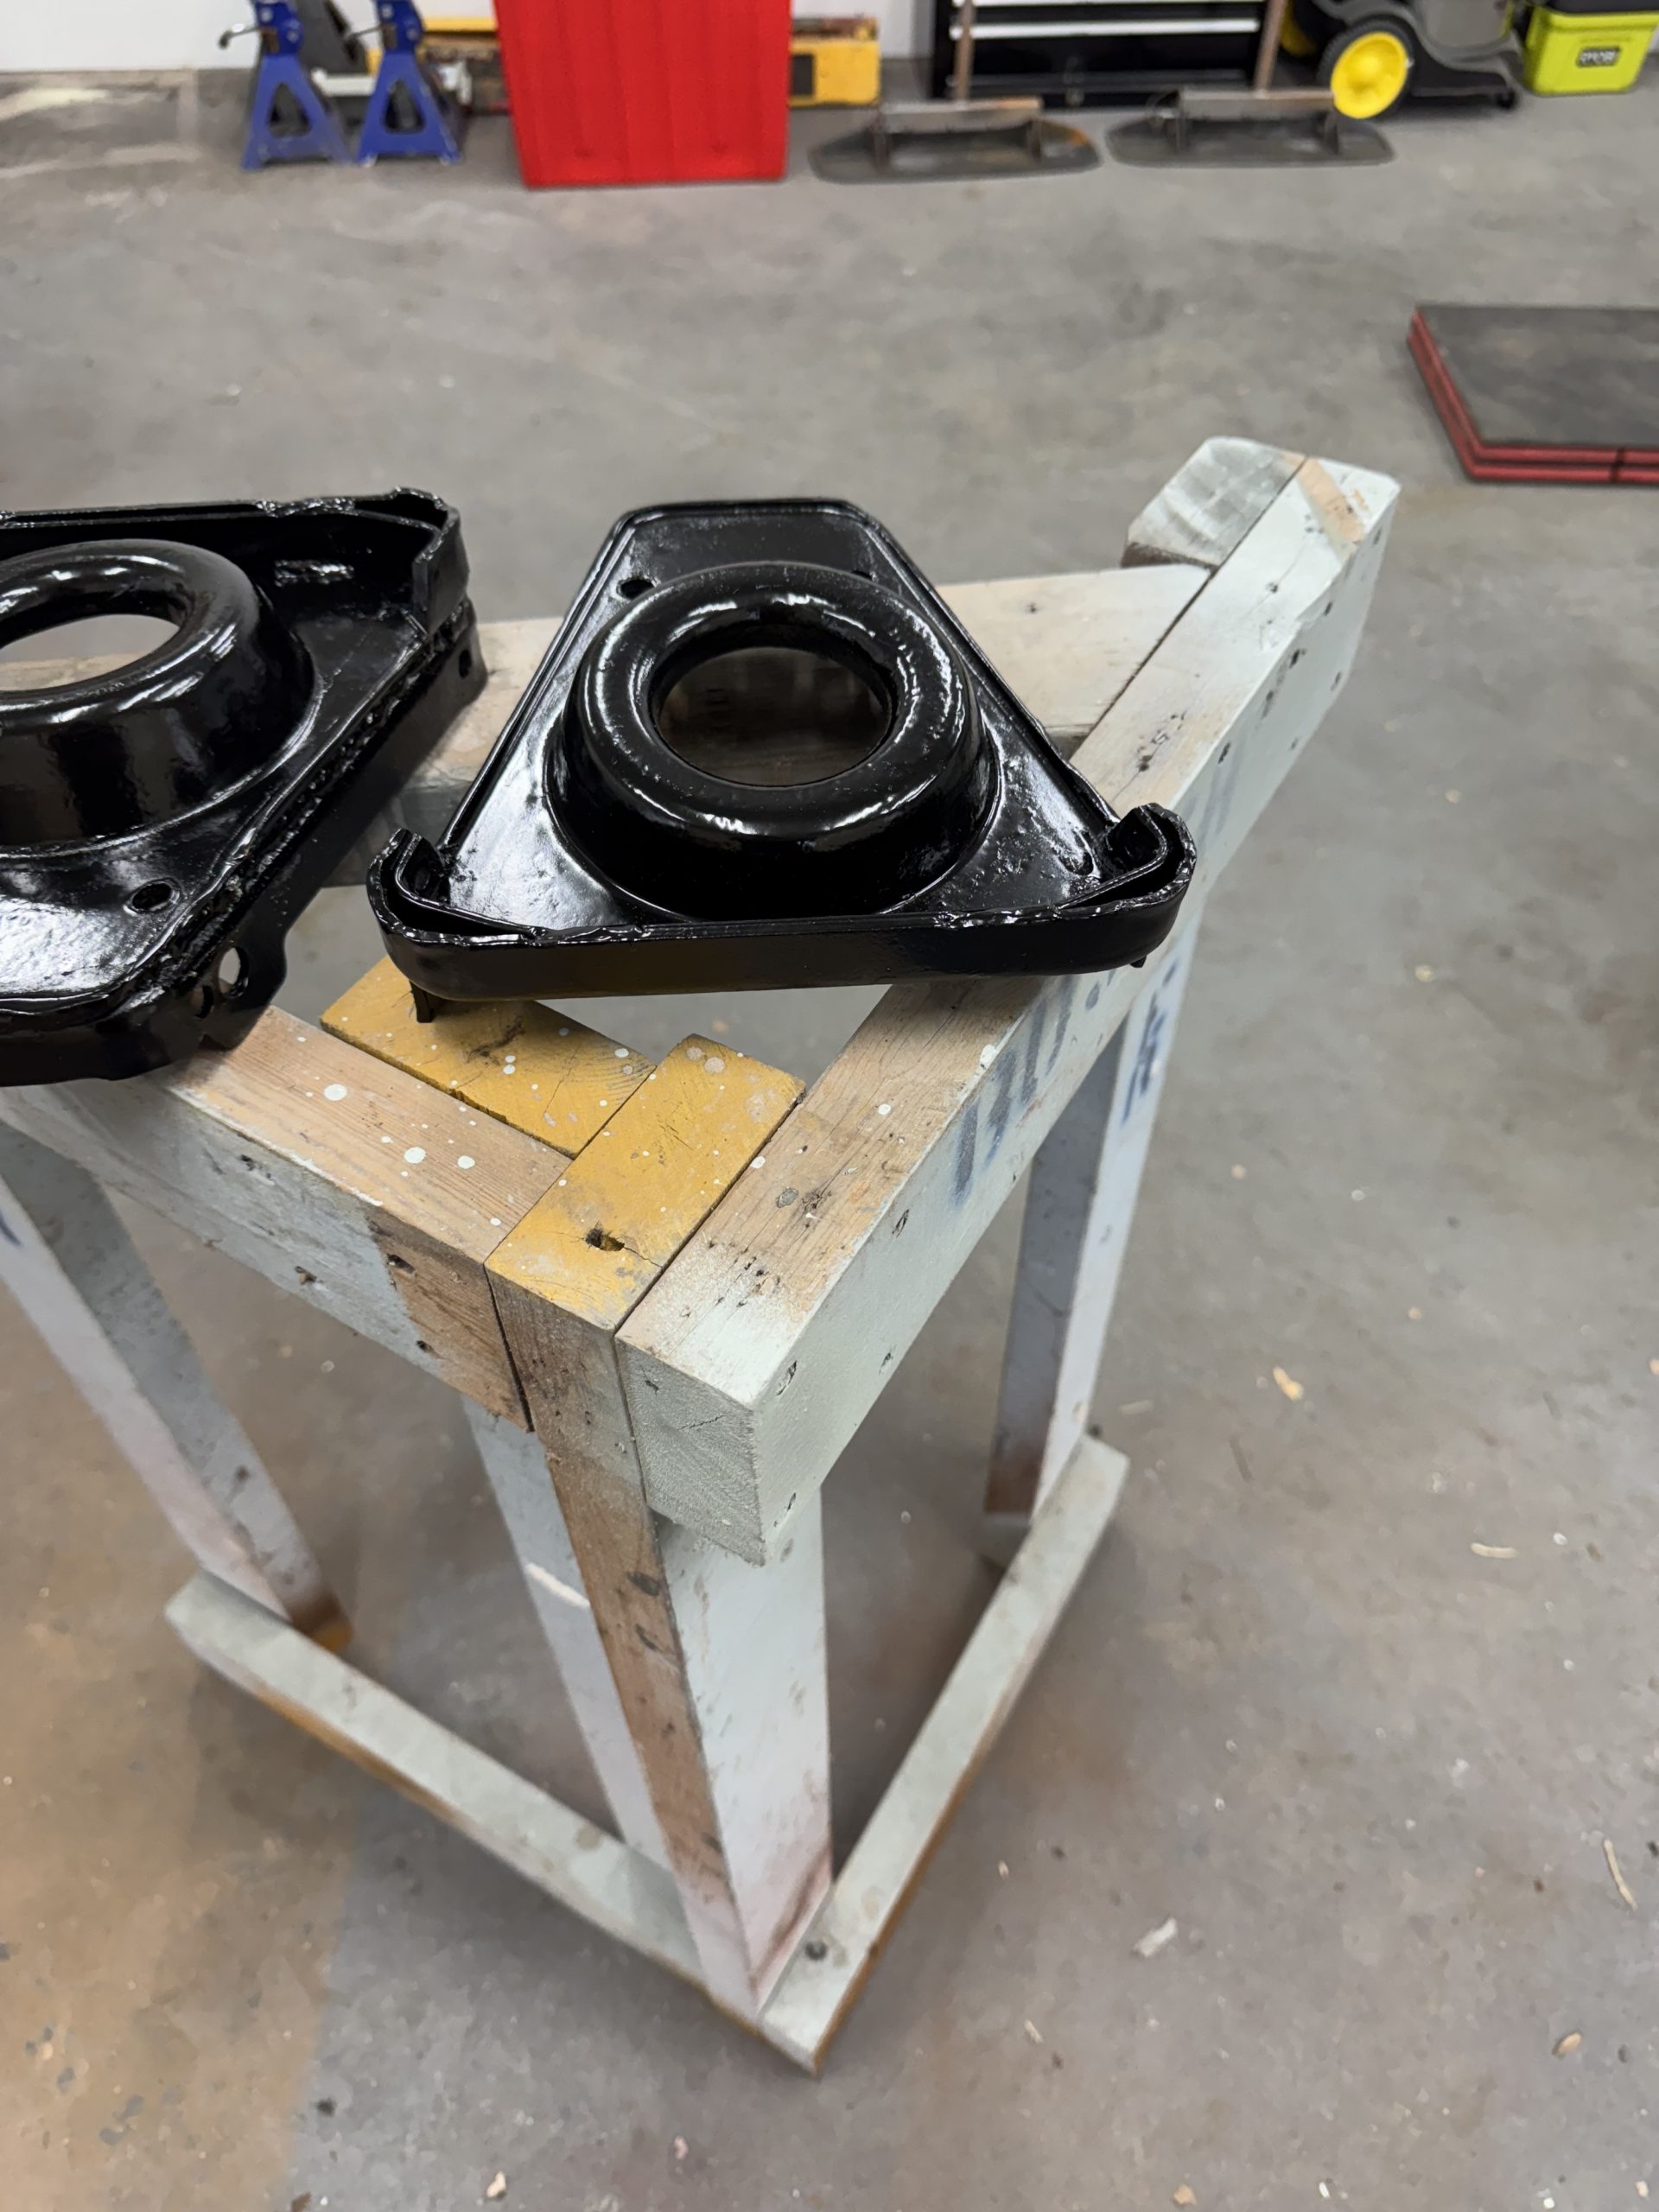
There first task is the suspension. Being a rubber bumper car the car rode higher than the chrome bumper cars. I like the stance of the chrome bumper cars so I lowered it with a kit from Moss Motors. This lowers the stance but results in lower control arms slanted at about 7 degrees. They are higher at the wheel. Also the internal pivot point of suspension is slightly further apart thant the far end. This is not ideal from a camber curve perspective. I decided to move the inner pivots up to level the lower control arm. This will move roll center to a better location, add about 0.6 degrees of negative camber. It also increases the camber gain in roll. It turns out moving it was not hard. Moving the pivot to the top side of lower plate is about perfect. New holes had to be drilled since the plate is angled the mount had to be further from car center to have pivot in the same place. I used a 3D printer to make jigs. The mods were simple enough that if I don’t like the change I will be able to easily return to normal. Next will be modifythe a arms so they do not impact the frame at full compression. I have assembled the suspension and everything looks ok. The gain at anticipated ride height is about -0.3. At full compression it is about -0.7. I might get longer lower a arms to get a little more camber. I will wait until end of project to decide.
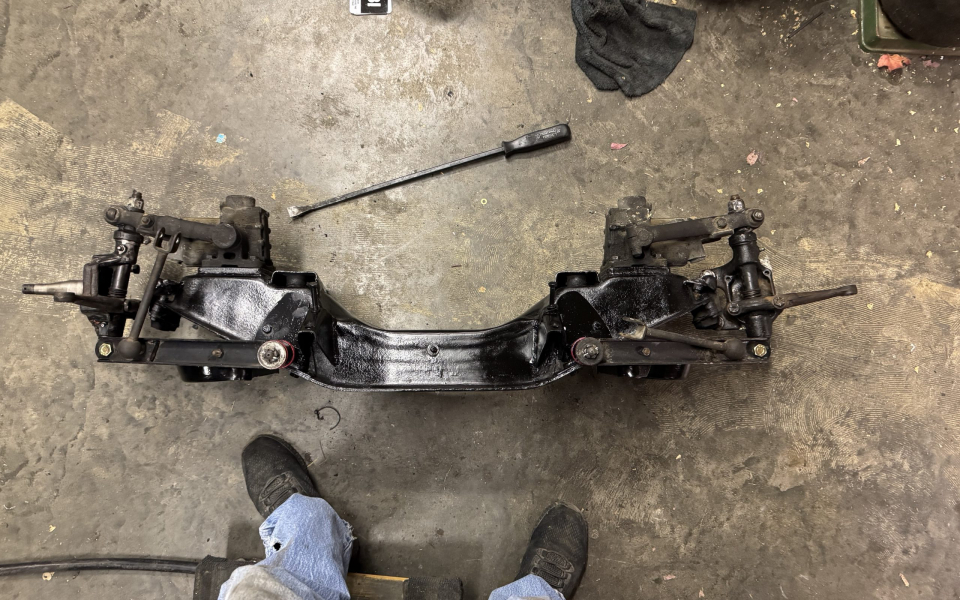
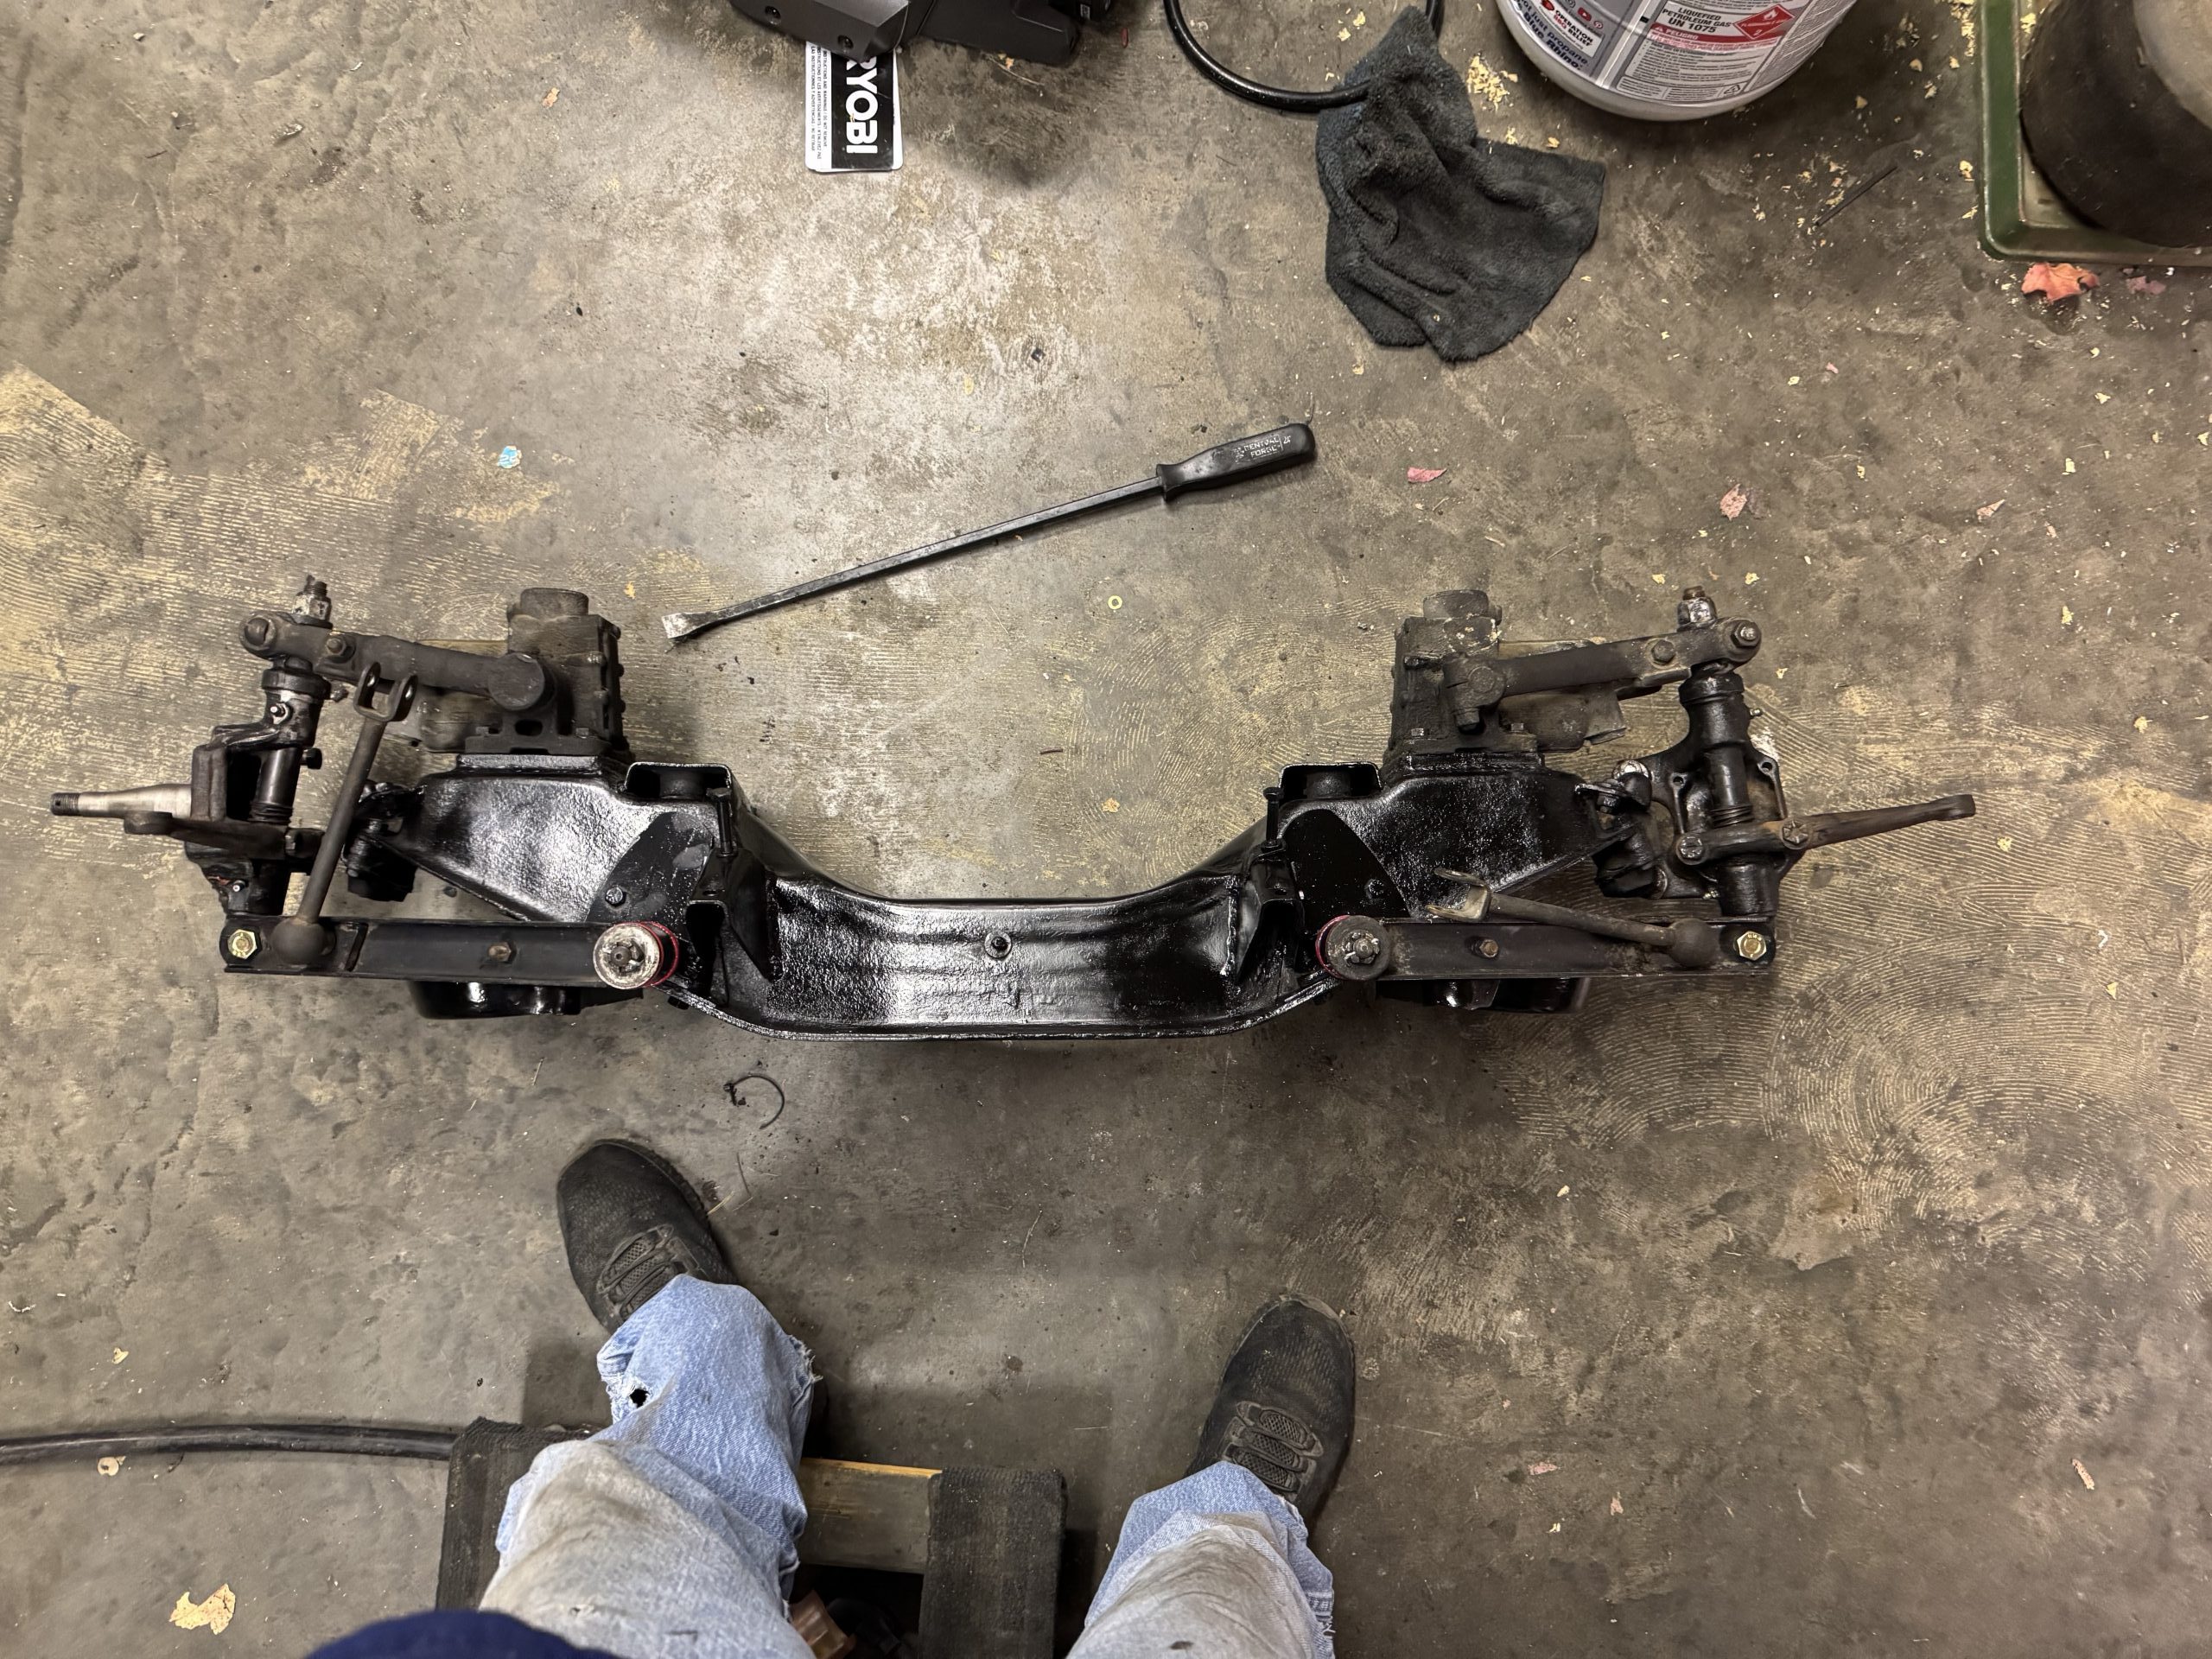
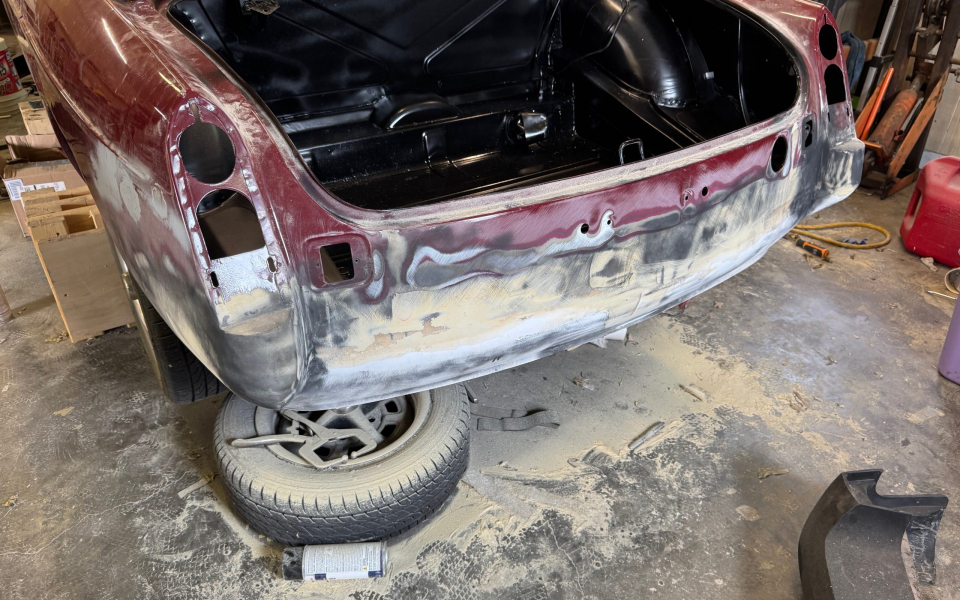
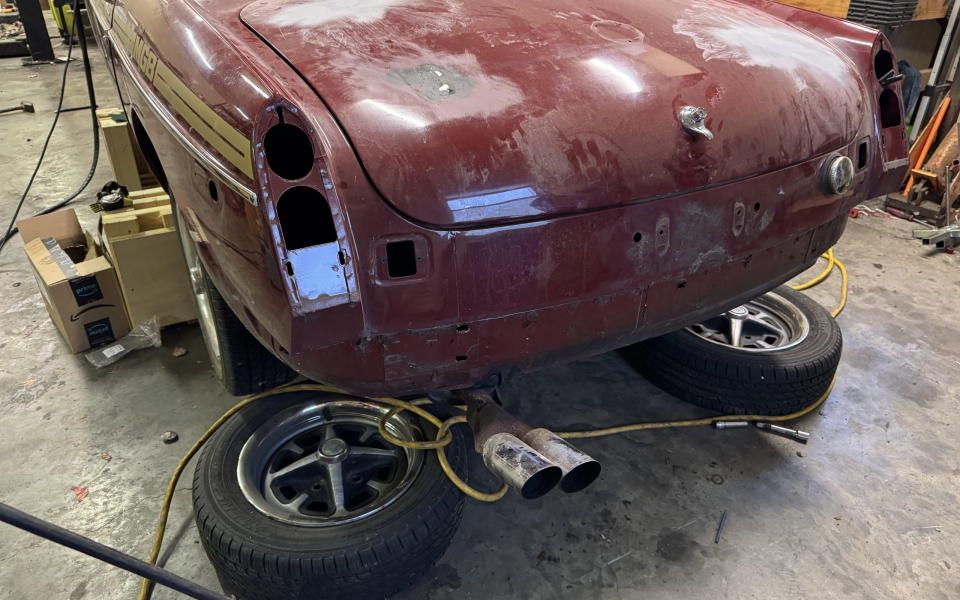
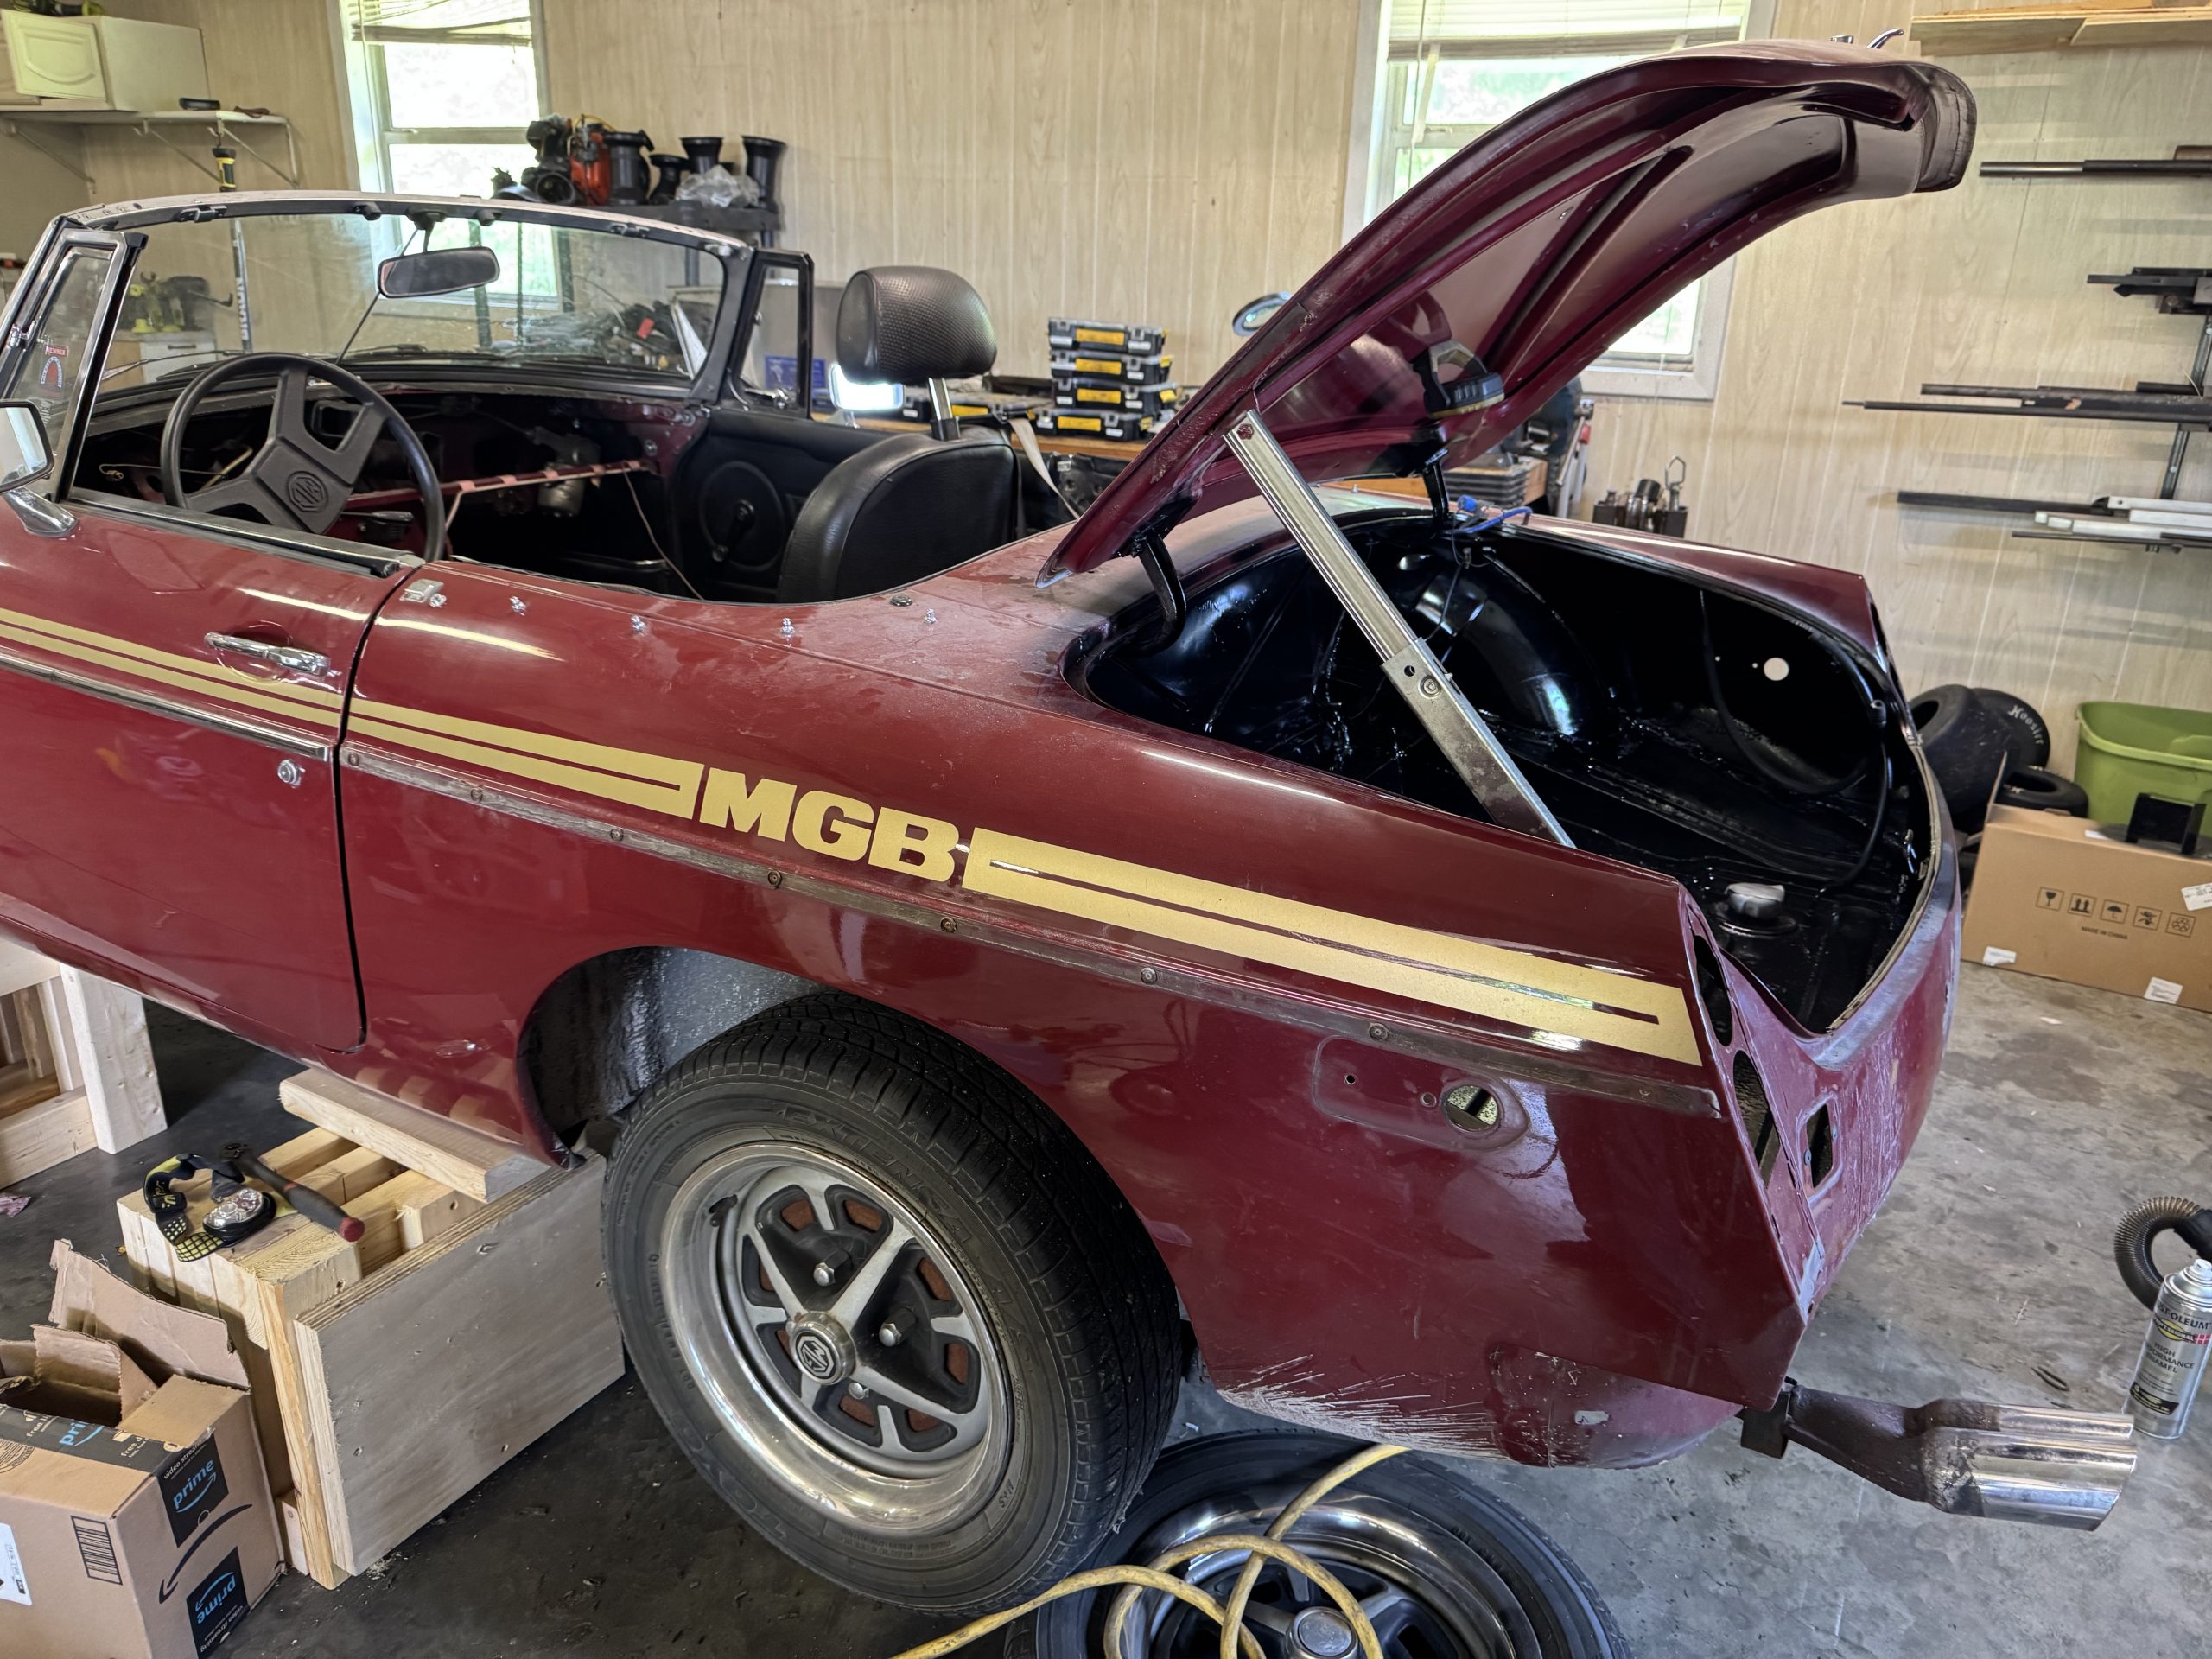
4/30/2025 I have finally got a chance to do some work on the car. I put the cross beam and suspension back in the car with new bushings. I have begun work on the rear. I removed the luggage rack and have welded the holes shut since I do not plan to use it in the future. I have also removed the lights and bumper. Next I need to decide what I am doing in that area. I may go with chrome rear bumper. I also may go with bumperless approach more like it would be on a racing MGB.
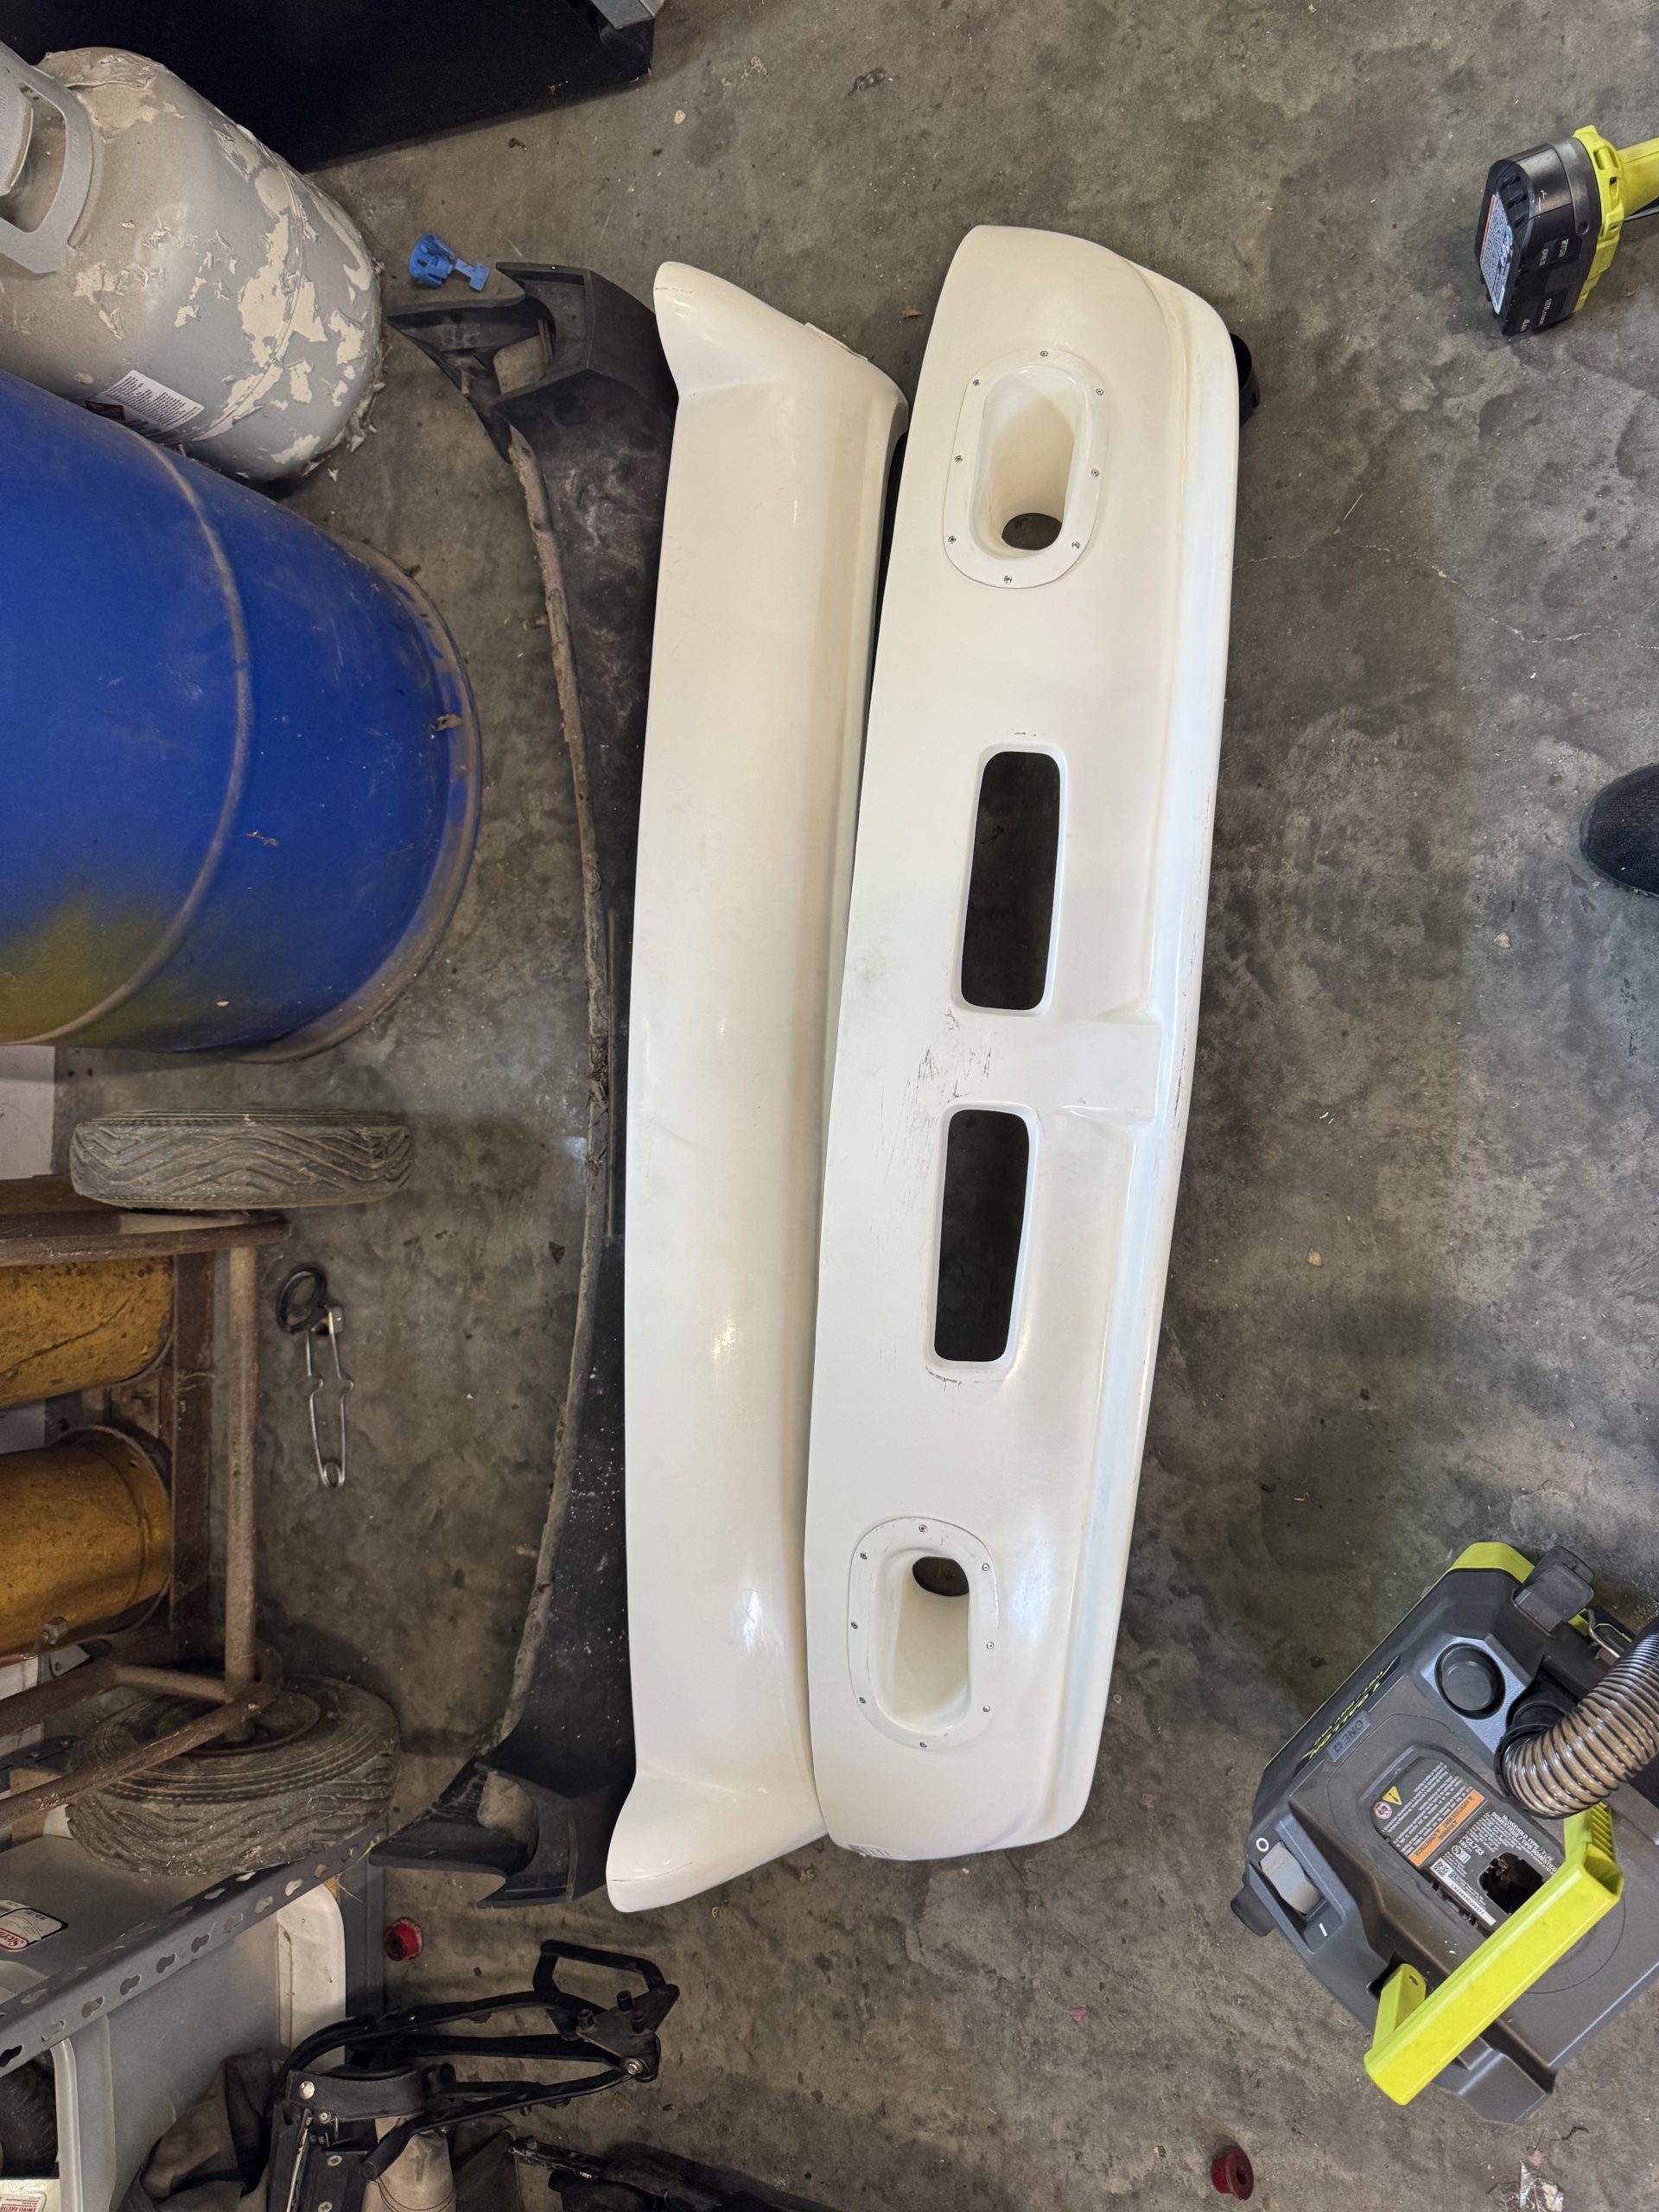
5/11/2025 A little more progress. I have pulled off the rest of the trim around the rear of the car. I have also received new front and back valances from Moss. Now I have to figure out how to attach them. The front should not be too complicated. The back is going to take more enginuity.
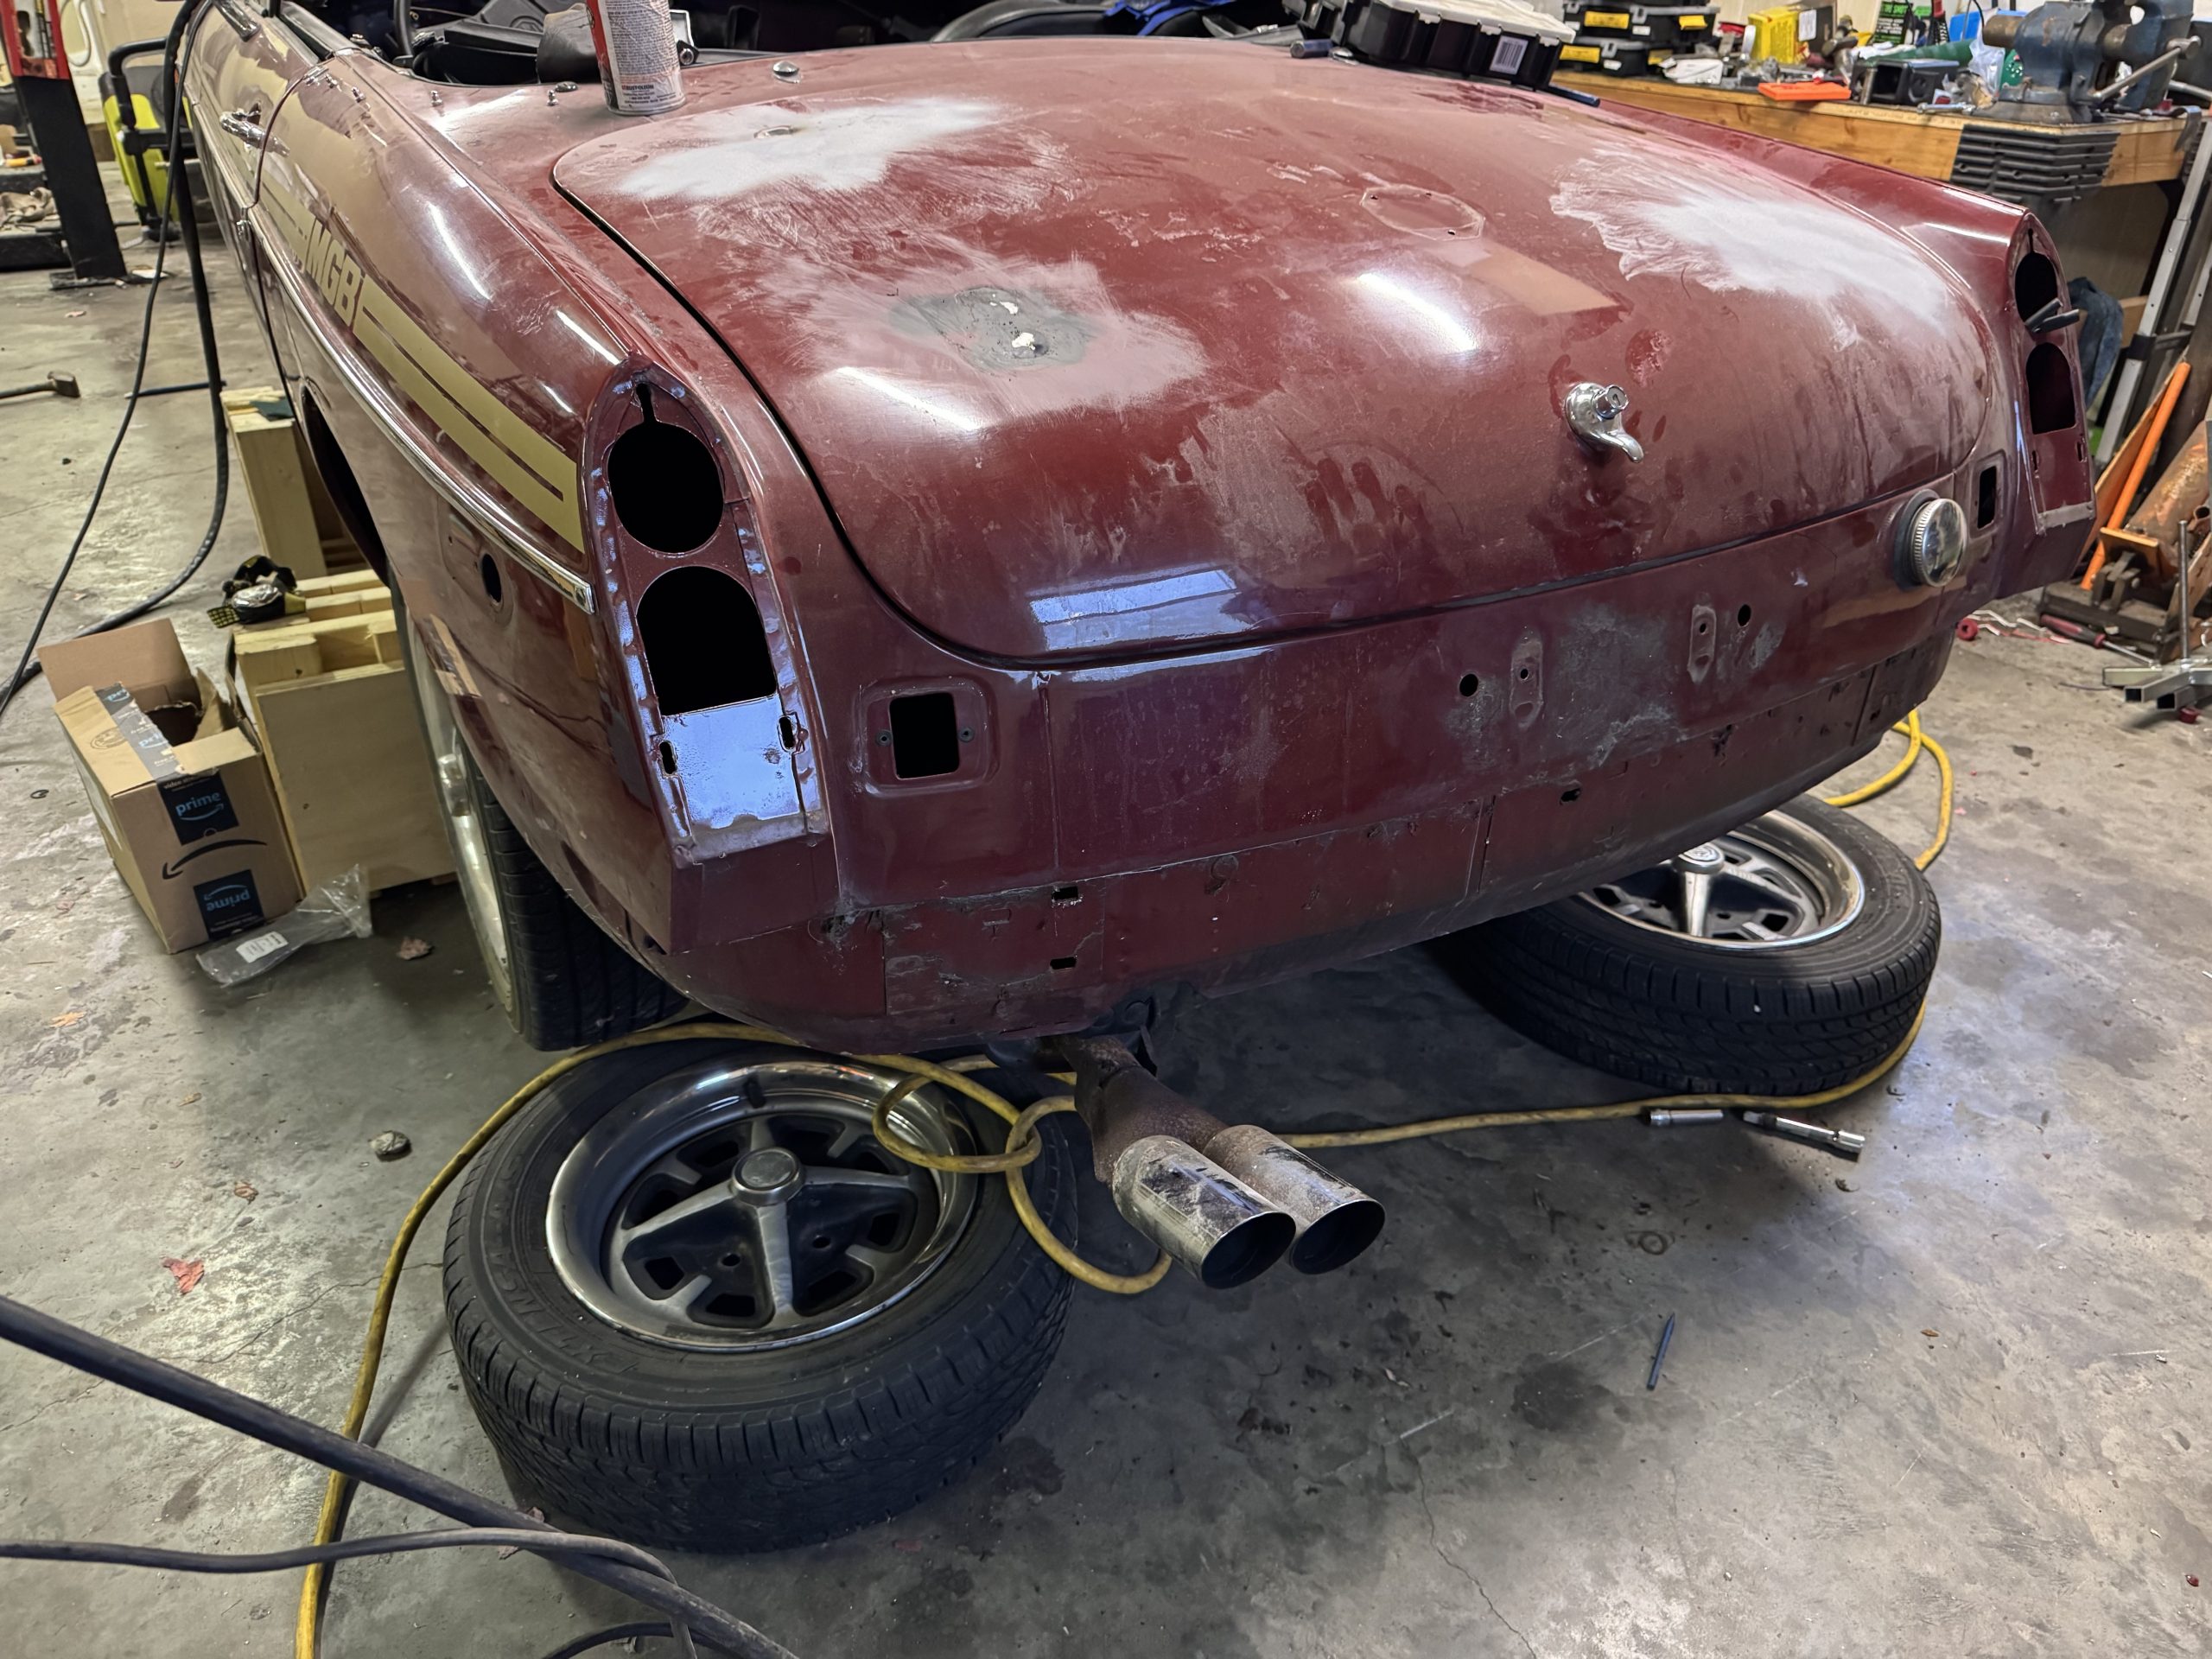
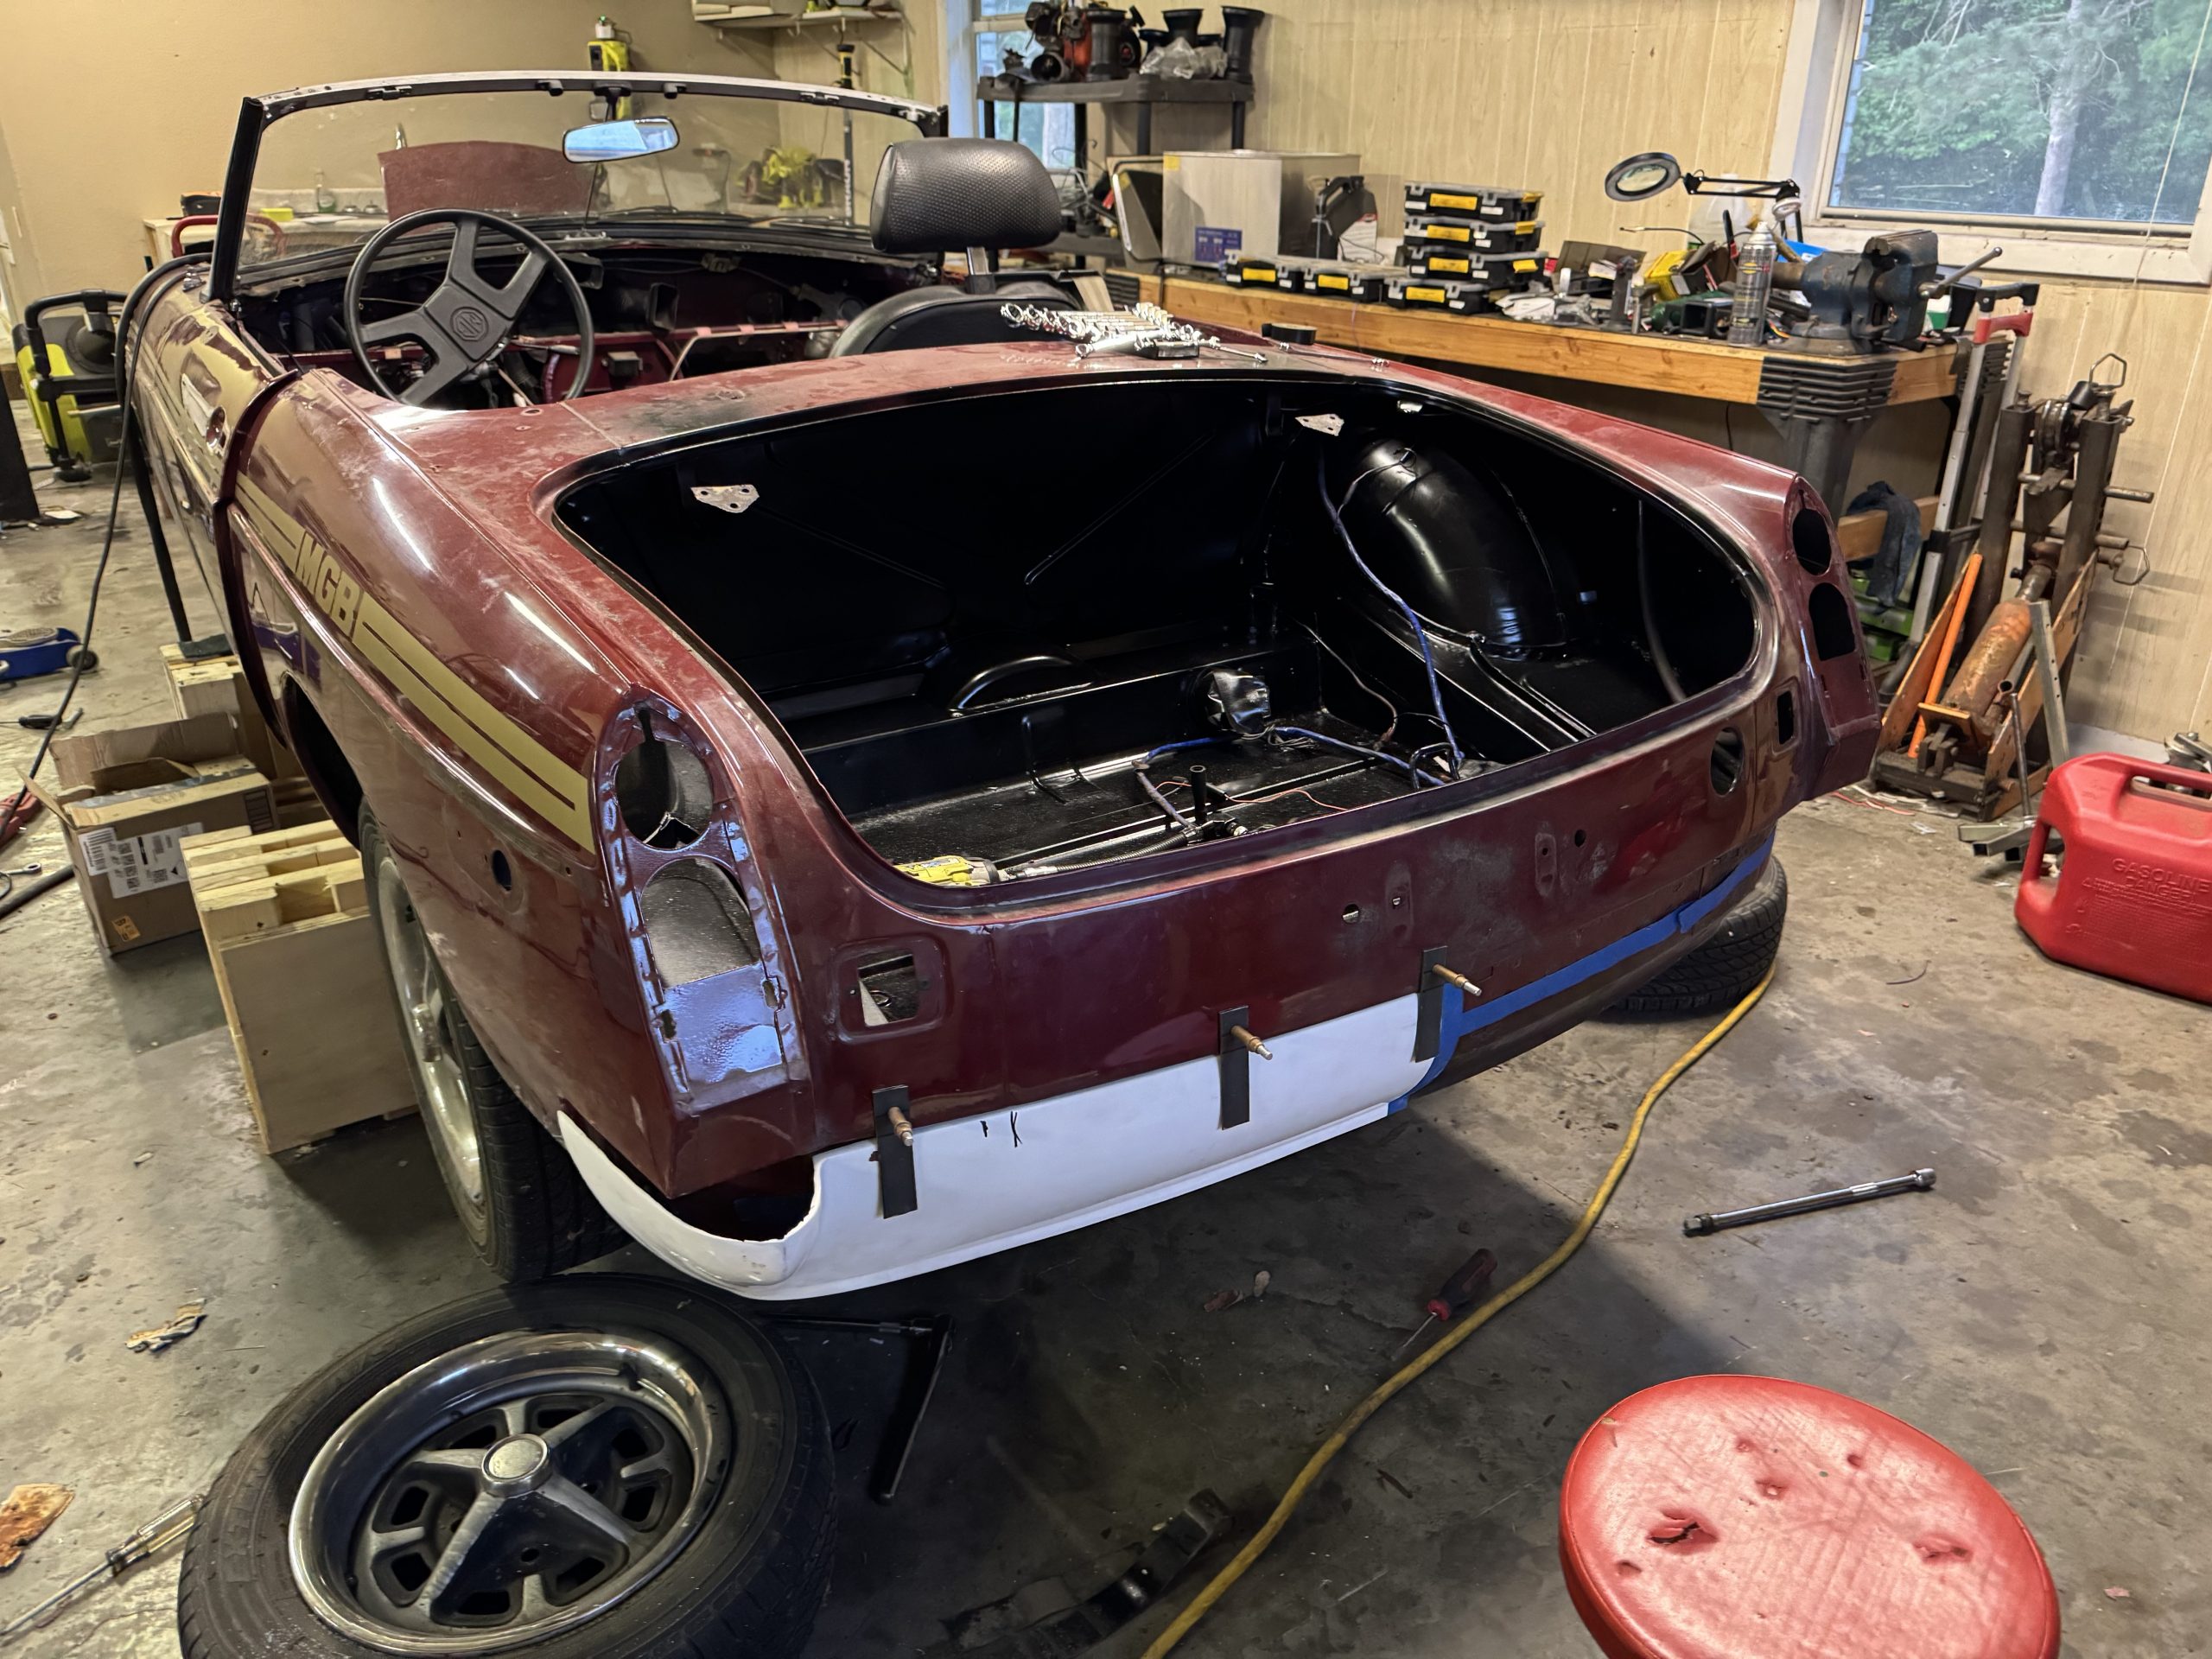
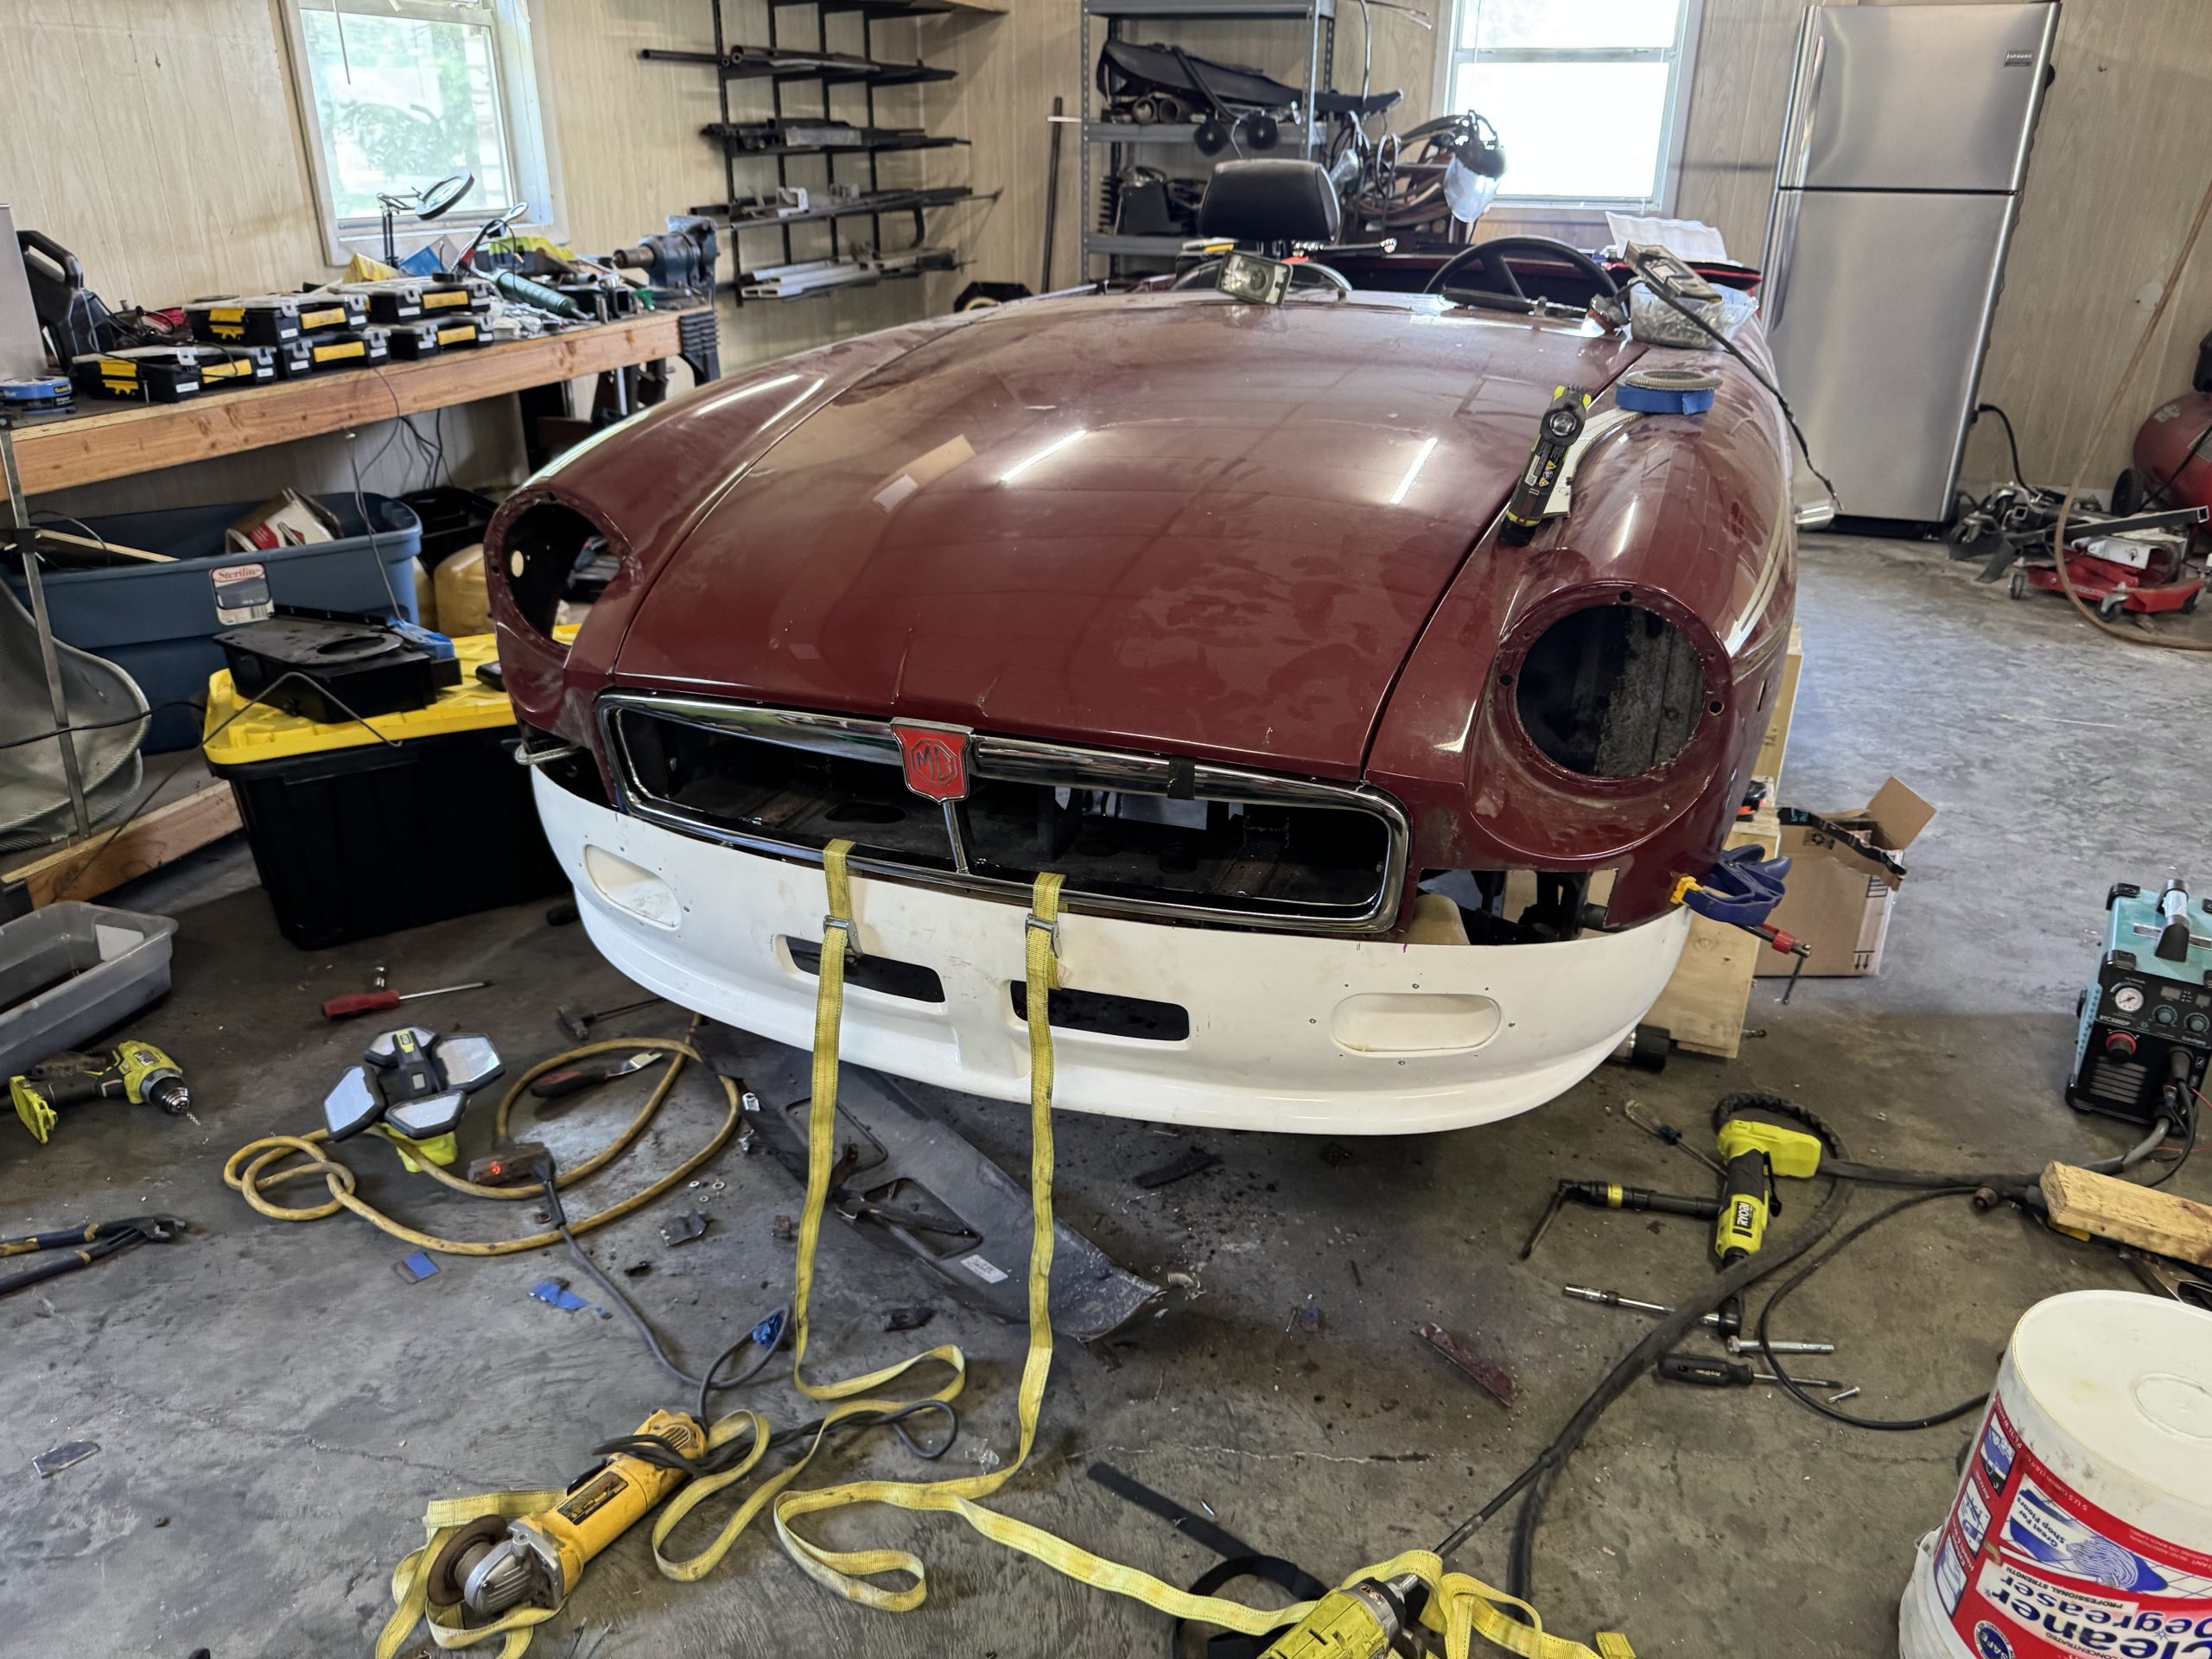
6/3/2025 Since last time I have been further stripping down the car. All trim and hardware has been removed from car. The only thing external to remove is winshield, wipers, and front bumper. For now I am transitioning to fitting the new Sebring rear valance.
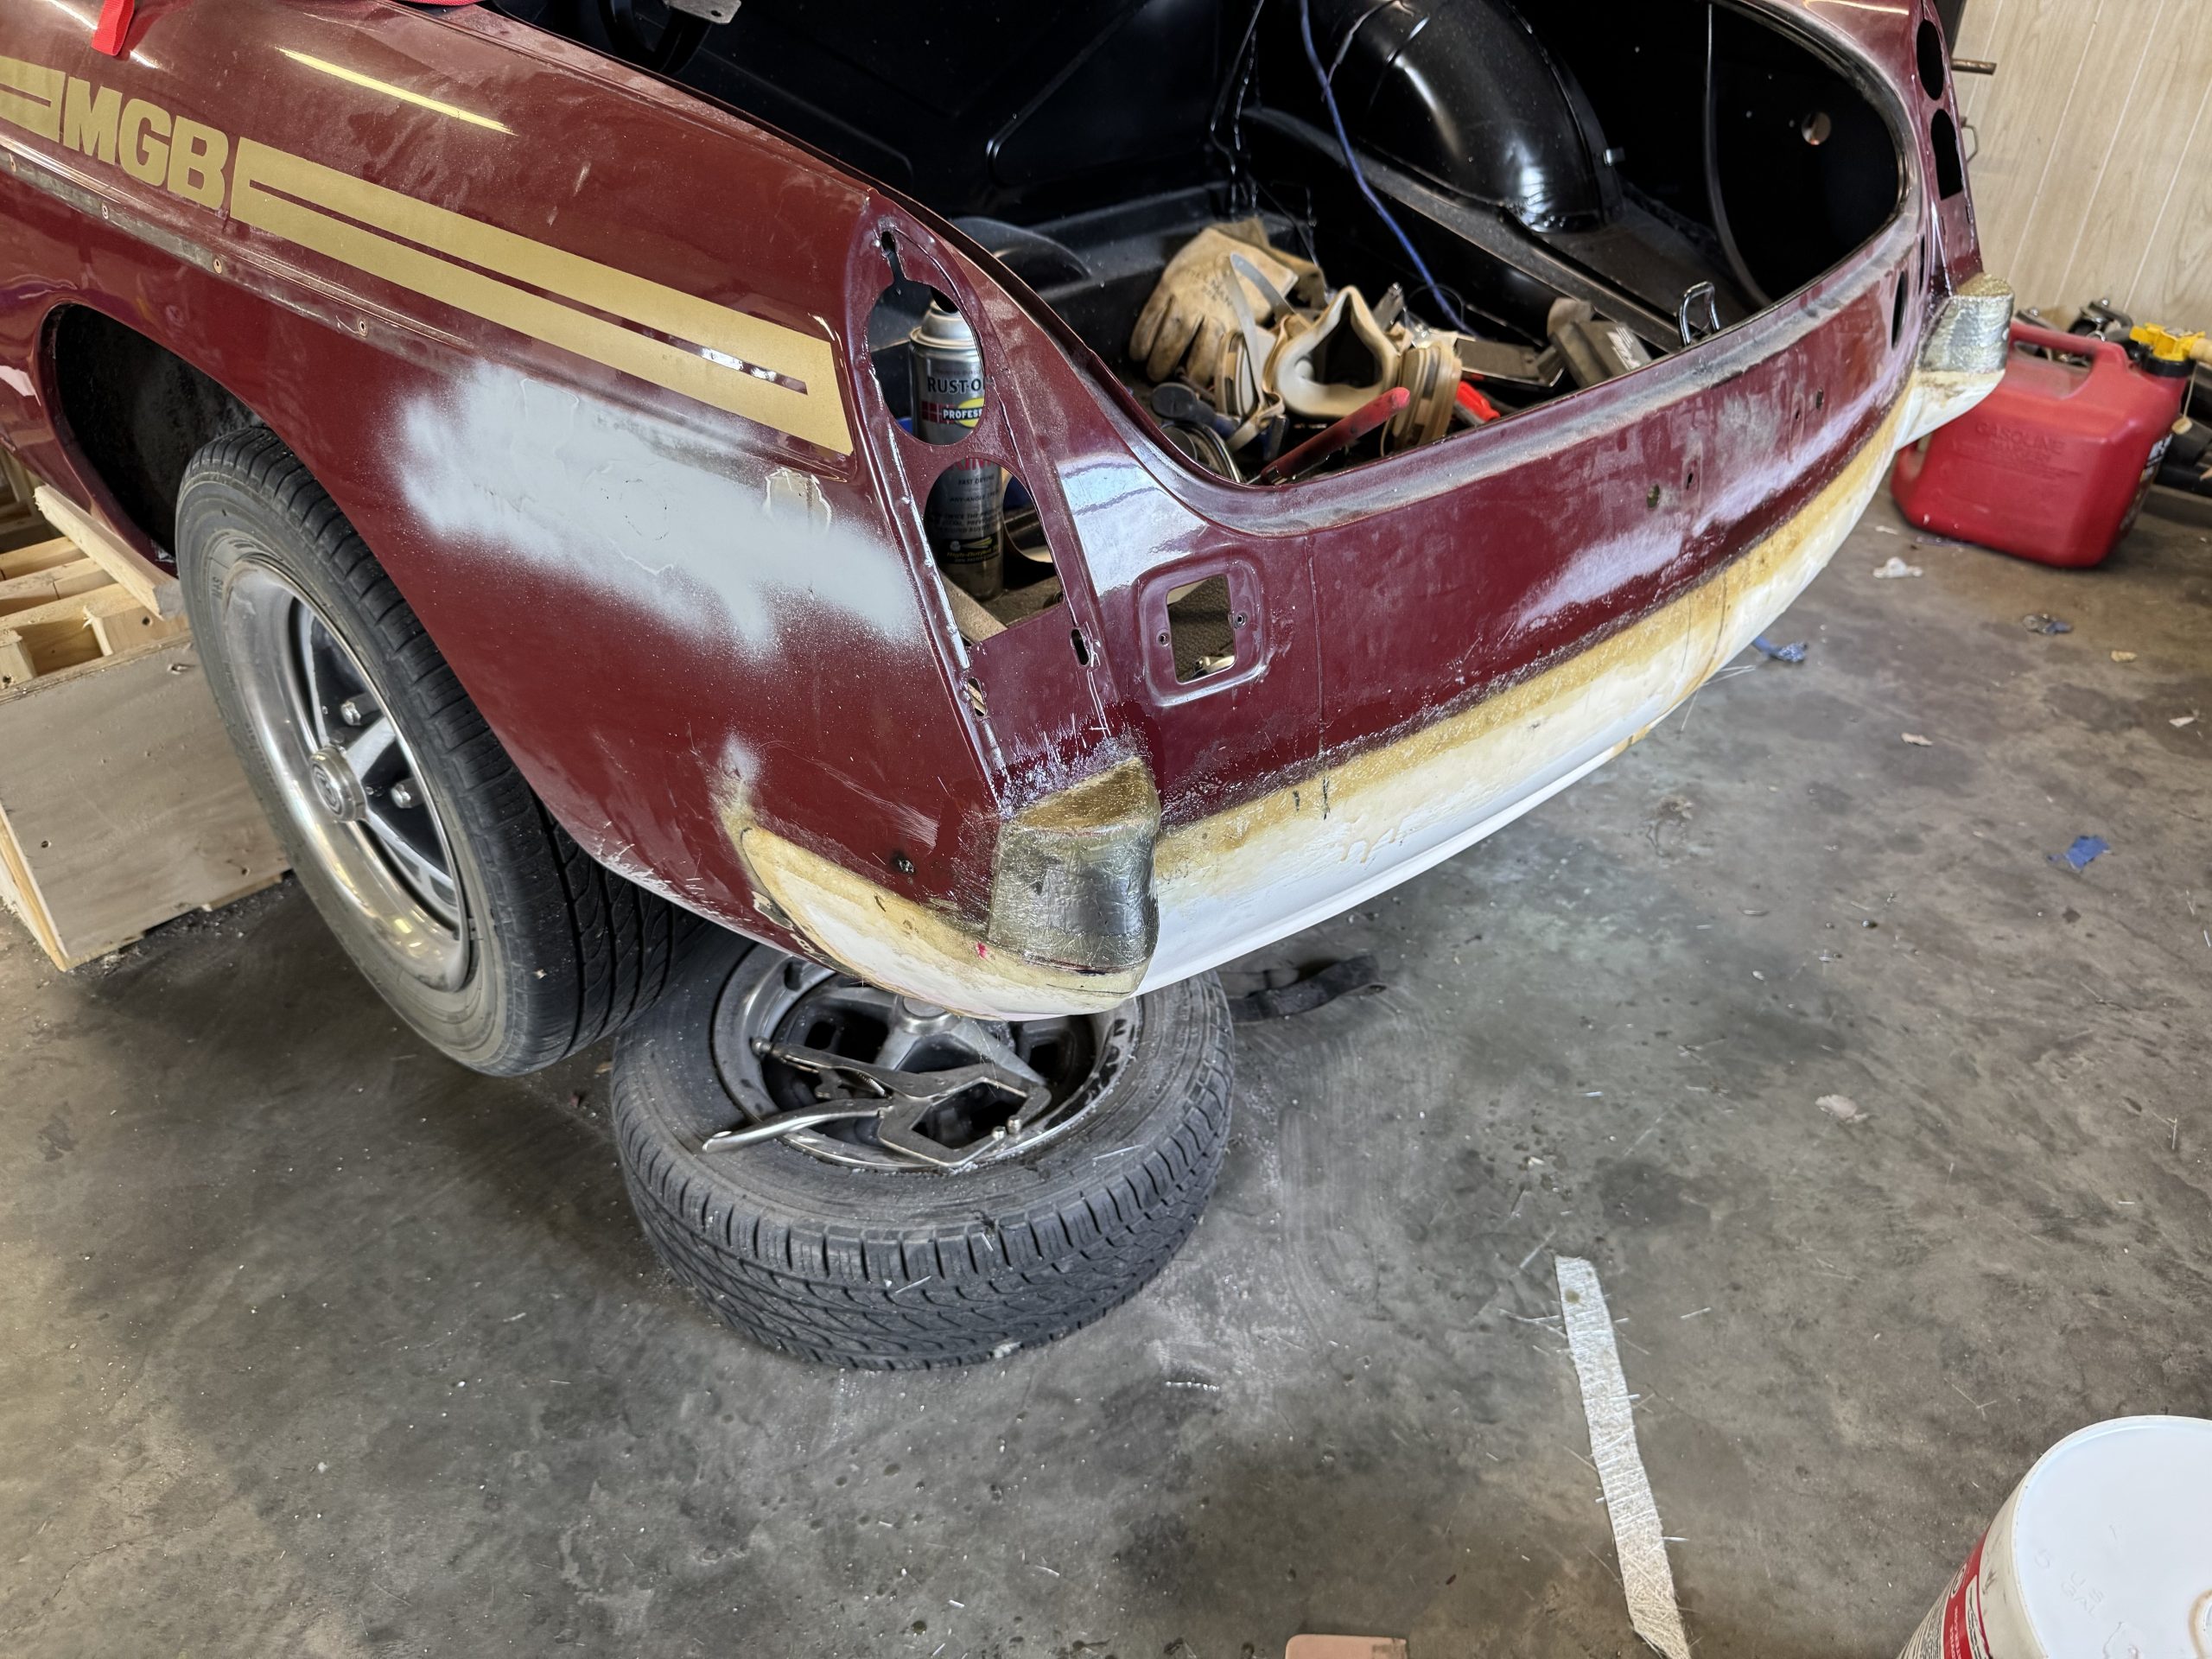
7/26/2025 I have been able to make some good progress in the last few weeks. I cut the rear valance in two so to handle a slight difference in measurement between car and valance. Once I had both peices installed align with fenders I fiberglassed them back together. The valance did not come with the bullet points directly below the taillights. I purchased two pieces from Moss and they fit terribly. I decided to fabricate the parts out of metal. Now I using filler to clean up all the seams and get this part ready for paint. I also have started fitting the front valance.
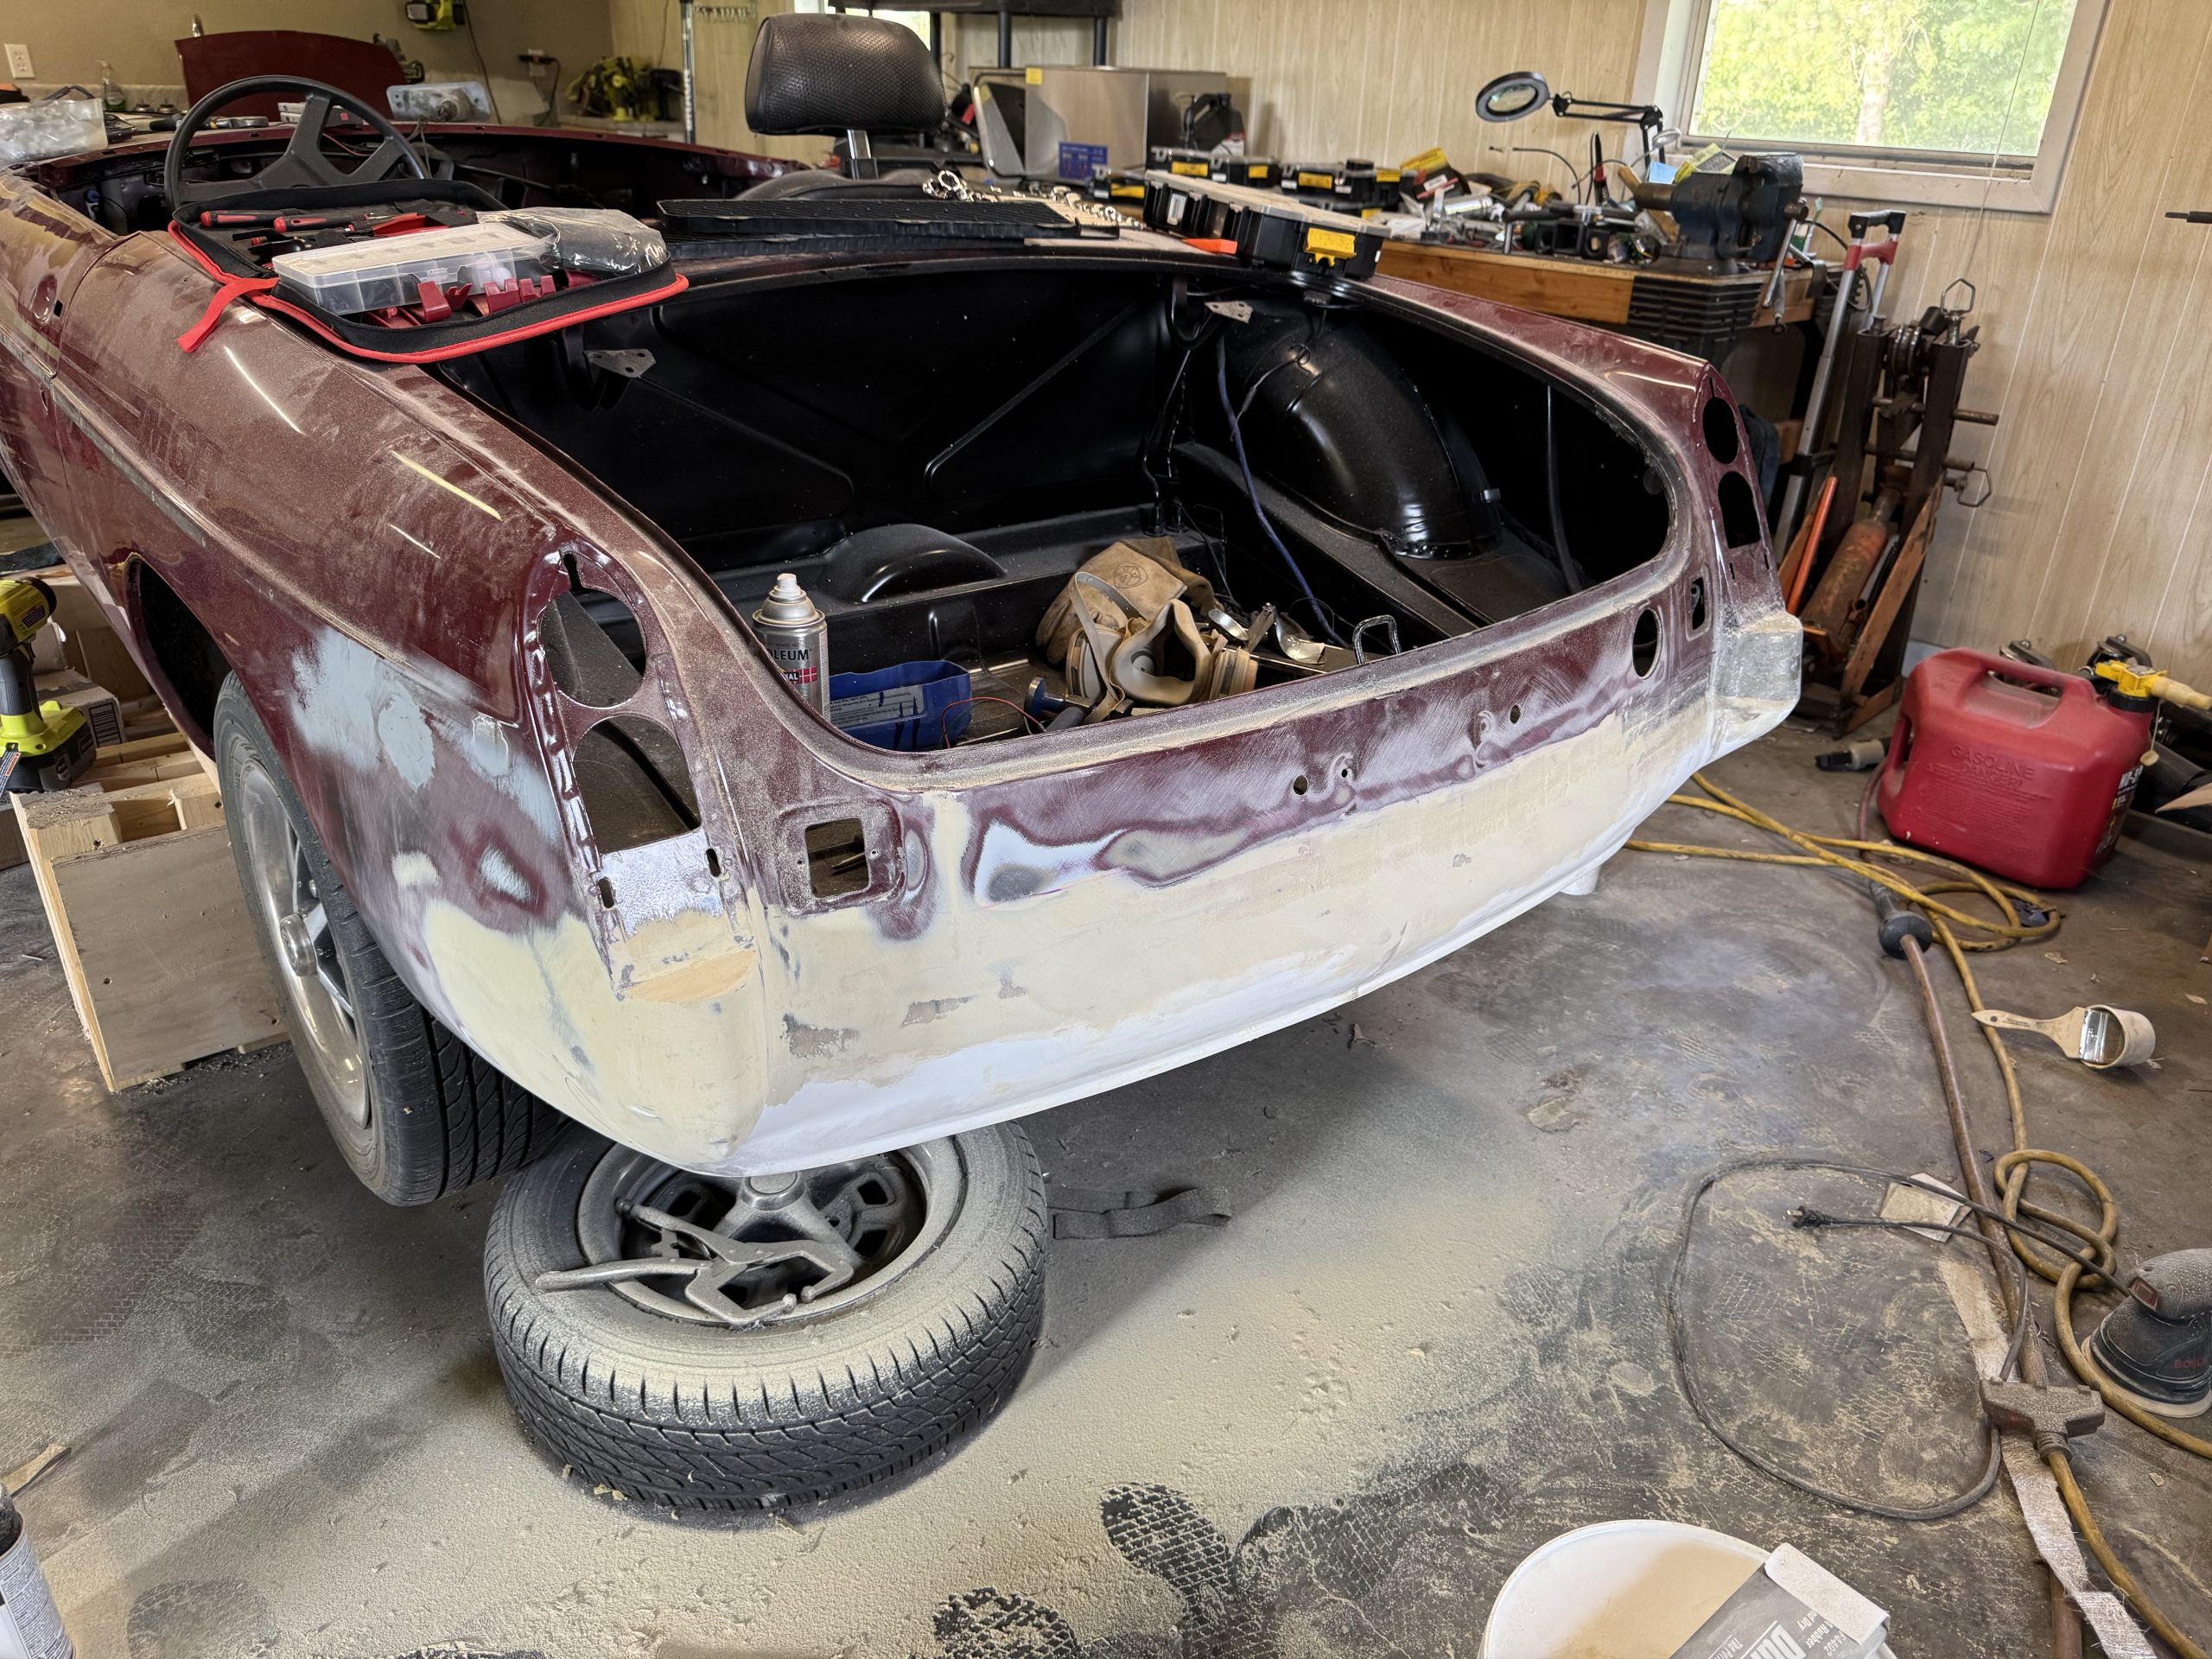
All the trim holes, side clearance holes are welded up. One small spot of rust is fixed and antenna holes is welded up. Car is ready to head off to my brothers to be painted Porsche Lava Orange. Now it is time to start pulling the drivetrain from the 1997 Miata.